


 internet
Similar presentations:


")
")

")

")
Main features of CSS
1.
Main features of CSSLecturer – Mukazhanov N.K.
Department: CE
2.
Content:Introduction to CSS
Selectors
The Difference Between div and span Elements
Advanced CSS/CSS3 Modules
Responsive Web Design
3.
Introduction to CSSCSS stands for Cascading Style Sheets
CSS describes how HTML elements are to be
displayed on screen, paper, or in other media
CSS saves a lot of work. It can control the
layout of multiple web pages all at once
External stylesheets are stored in CSS files
4.
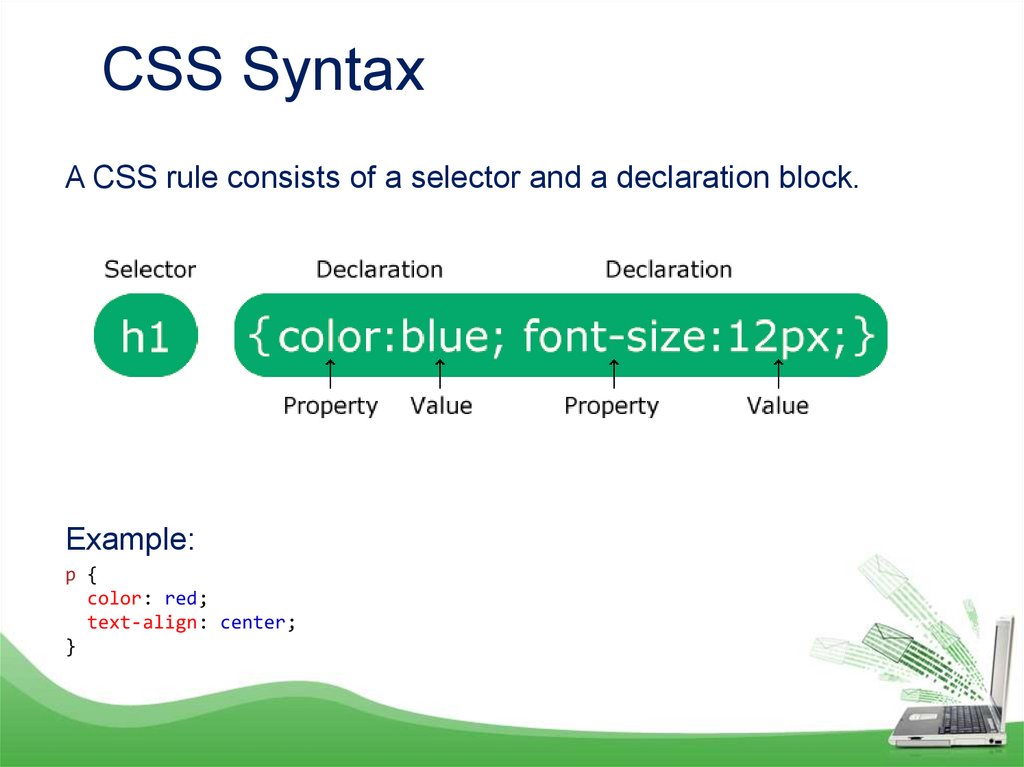
CSS SyntaxA CSS rule consists of a selector and a declaration block.
Example:
p {
color: red;
text-align: center;
}
5.
Three Ways to Insert CSSThere are three ways of inserting a style sheet:
External CSS
Internal CSS
Inline CSS
6.
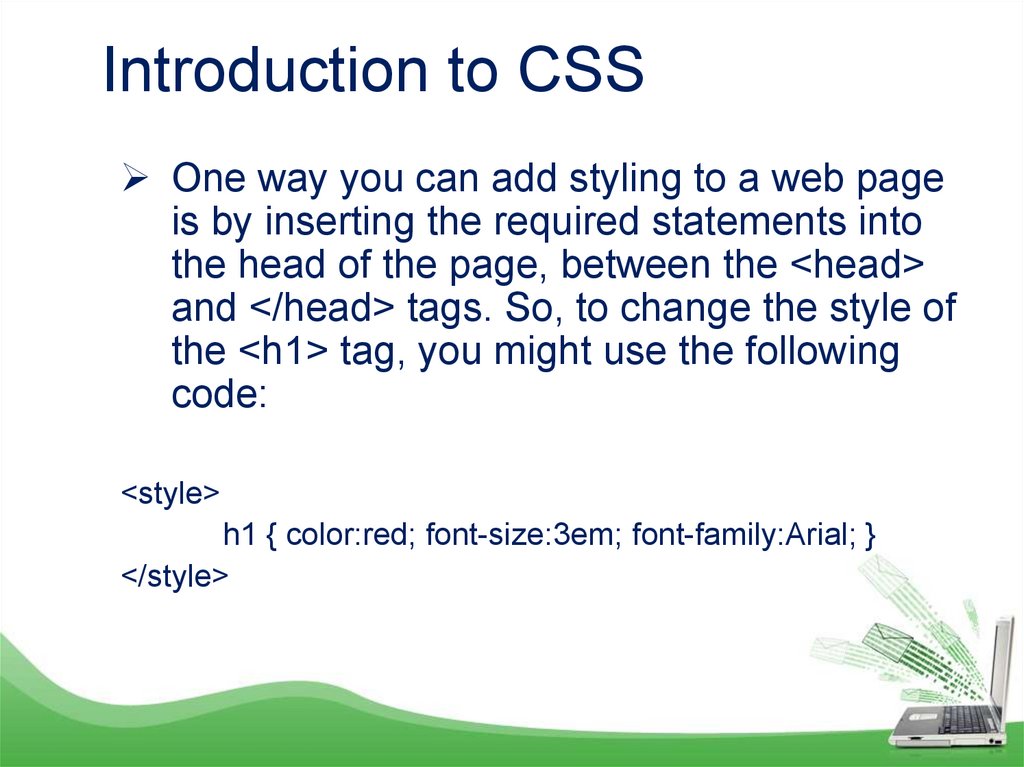
Introduction to CSSOne way you can add styling to a web page
is by inserting the required statements into
the head of the page, between the <head>
and </head> tags. So, to change the style of
the <h1> tag, you might use the following
code:
<style>
h1 { color:red; font-size:3em; font-family:Arial; }
</style>
7.
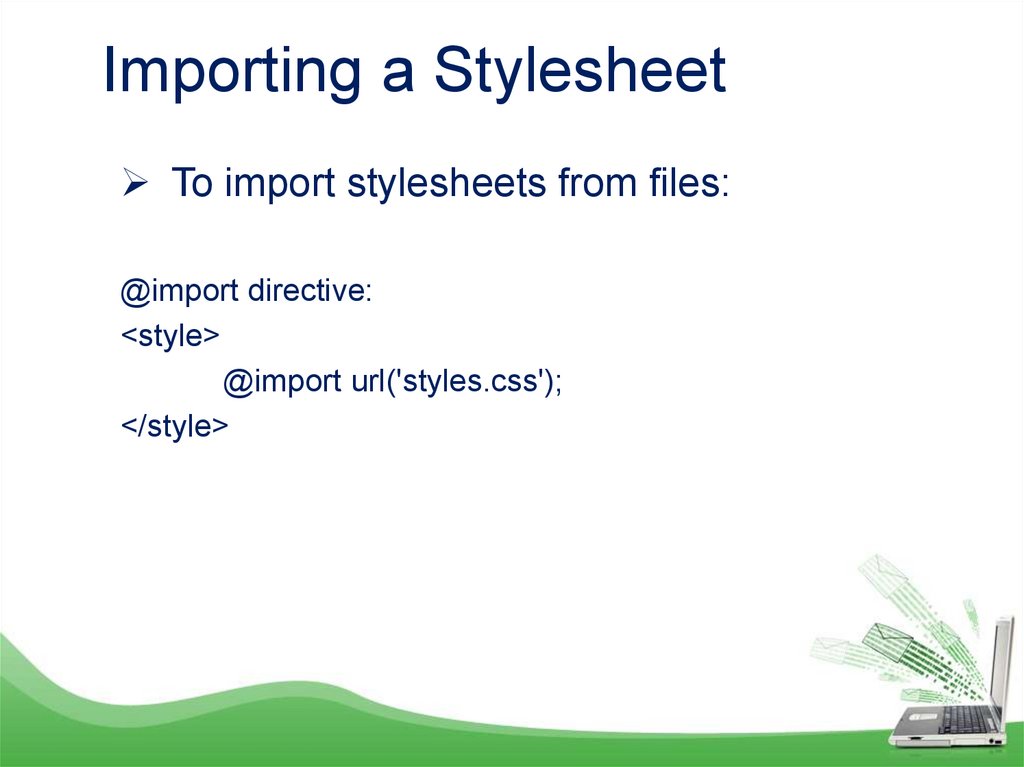
Importing a StylesheetTo import stylesheets from files:
@import directive:
<style>
@import url('styles.css');
</style>
8.
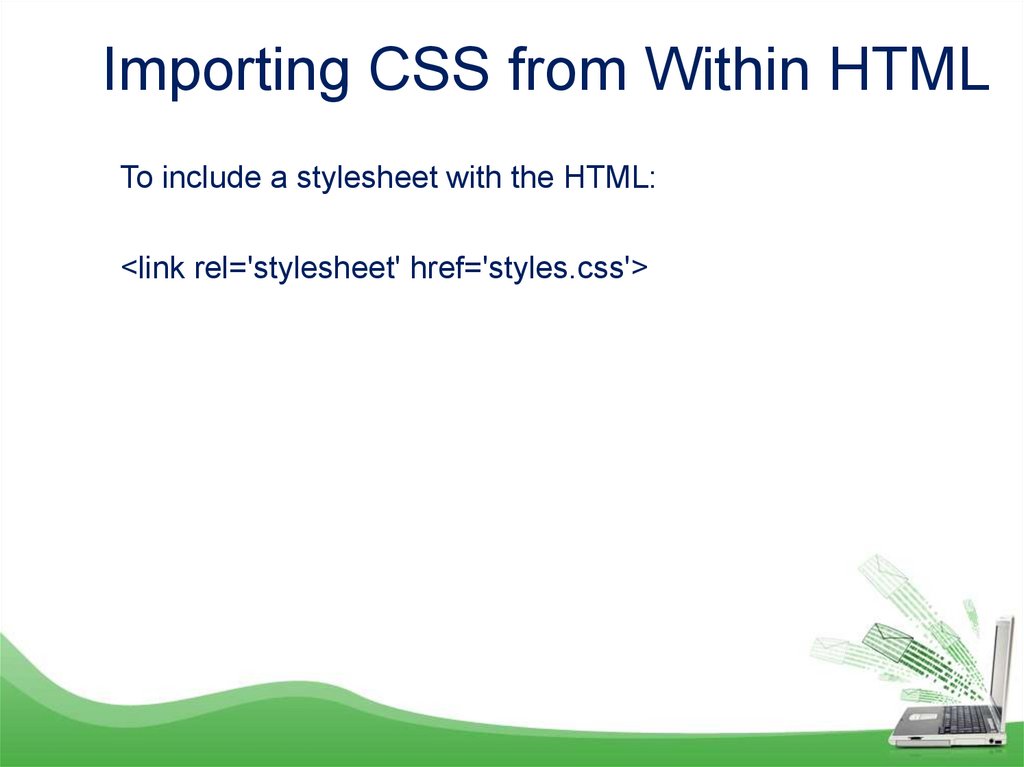
Importing CSS from Within HTMLTo include a stylesheet with the HTML:
<link rel='stylesheet' href='styles.css'>
9.
Embedded Style SettingsSetting individual styles for the current page on a case-bycase basis by inserting style declarations directly within
HTML, like this:
<div style='font-style:italic; color:blue;'>Hello there</div>
But this should be reserved only for the most exceptional
circumstances, as it breaks the separation of content and
presentation.
10.
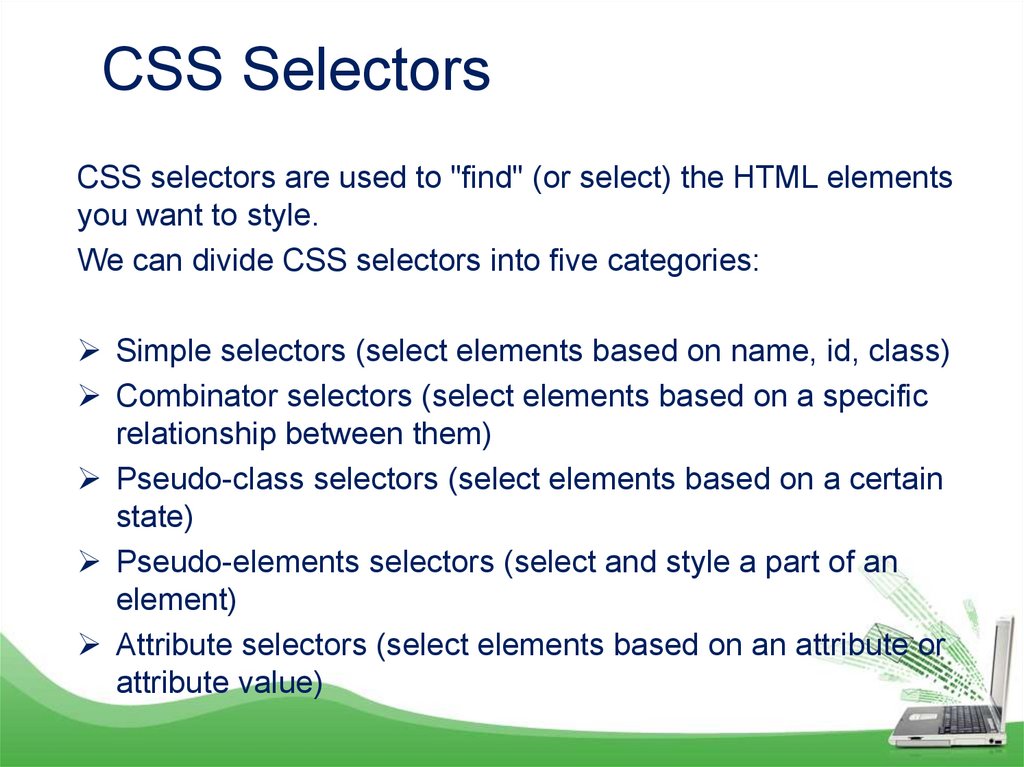
CSS SelectorsCSS selectors are used to "find" (or select) the HTML elements
you want to style.
We can divide CSS selectors into five categories:
Simple selectors (select elements based on name, id, class)
Combinator selectors (select elements based on a specific
relationship between them)
Pseudo-class selectors (select elements based on a certain
state)
Pseudo-elements selectors (select and style a part of an
element)
Attribute selectors (select elements based on an attribute or
attribute value)
11.
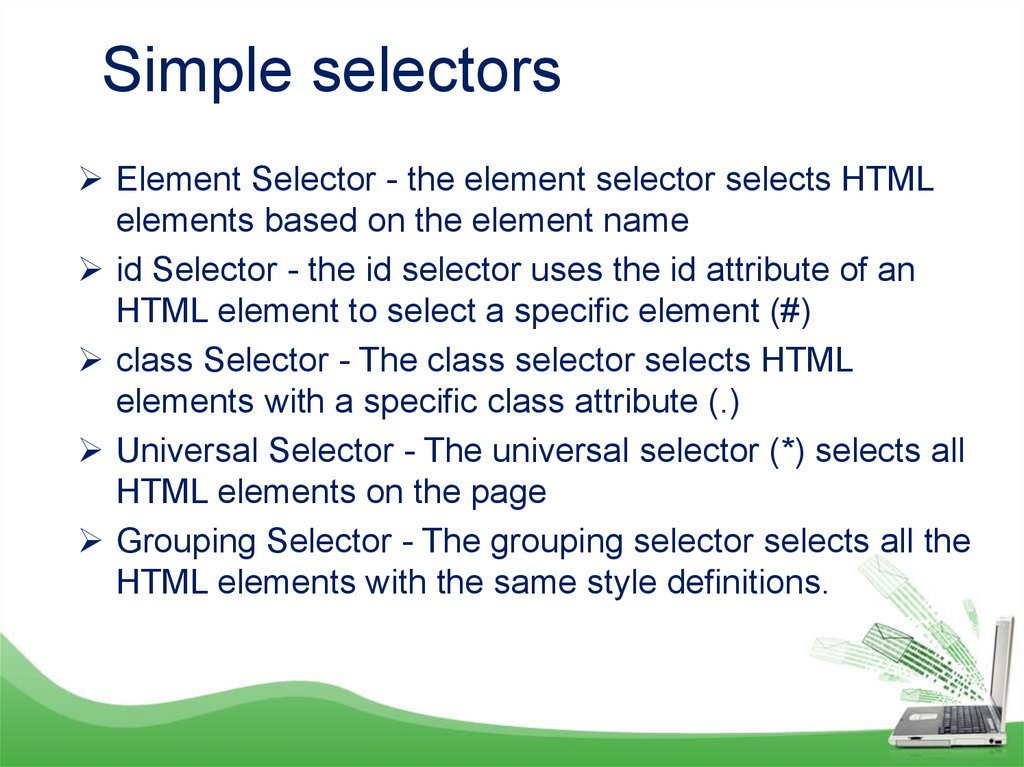
Simple selectorsElement Selector - the element selector selects HTML
elements based on the element name
id Selector - the id selector uses the id attribute of an
HTML element to select a specific element (#)
class Selector - The class selector selects HTML
elements with a specific class attribute (.)
Universal Selector - The universal selector (*) selects all
HTML elements on the page
Grouping Selector - The grouping selector selects all the
HTML elements with the same style definitions.
12.
Using IDsA better solution for setting the style of an element is to
assign an ID to it in the HTML, like this:
<div id='welcome'>Hello there</div>
#welcome { font-style:italic; color:blue; }
Note the use of the # symbol, which specifies that only the ID
with the name welcome should be styled with this statement.
13.
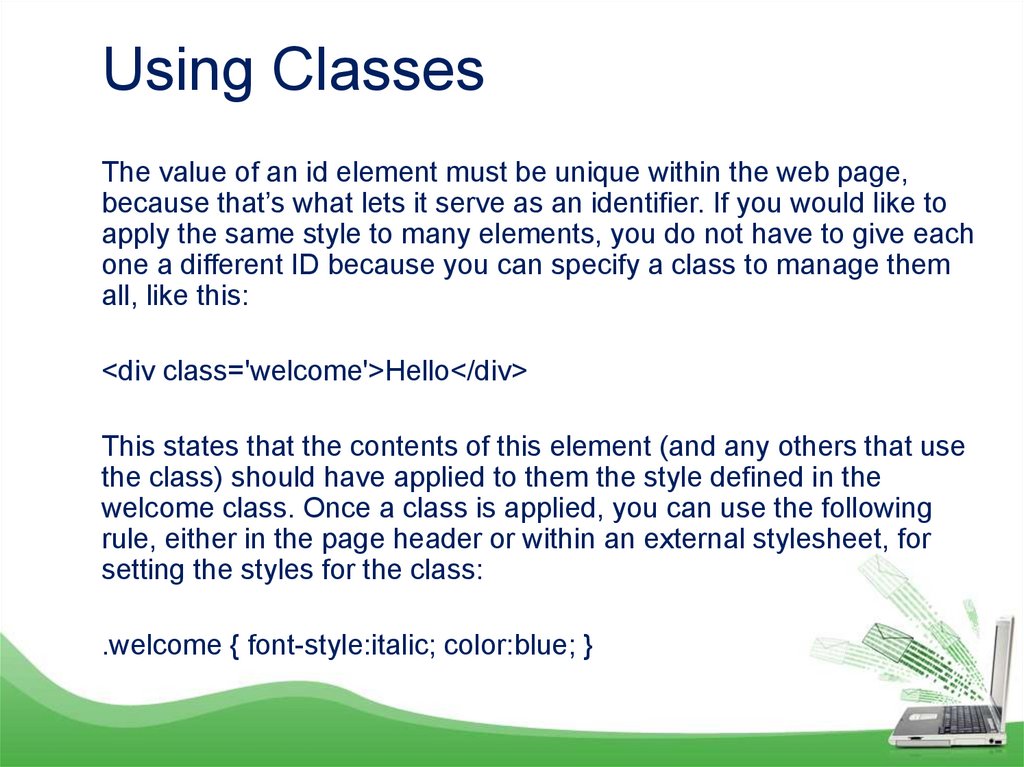
Using ClassesThe value of an id element must be unique within the web page,
because that’s what lets it serve as an identifier. If you would like to
apply the same style to many elements, you do not have to give each
one a different ID because you can specify a class to manage them
all, like this:
<div class='welcome'>Hello</div>
This states that the contents of this element (and any others that use
the class) should have applied to them the style defined in the
welcome class. Once a class is applied, you can use the following
rule, either in the page header or within an external stylesheet, for
setting the styles for the class:
.welcome { font-style:italic; color:blue; }
14.
CSS CombinatorsA combinator is something that explains the relationship
between the selectors
A CSS selector can contain more than one simple selector.
Between the simple selectors, we can include a combinator.
descendant selector (space)
child selector (>)
adjacent sibling selector (+)
general sibling selector (~)
15.
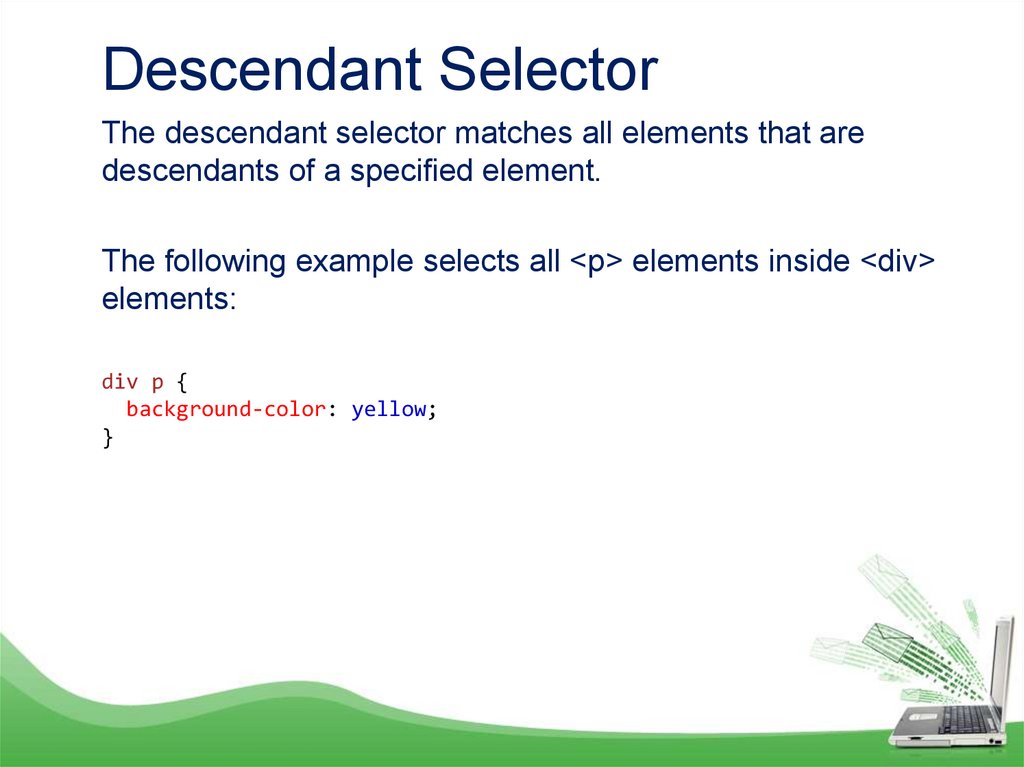
Descendant SelectorThe descendant selector matches all elements that are
descendants of a specified element.
The following example selects all <p> elements inside <div>
elements:
div p {
background-color: yellow;
}
16.
Child Selector (>)The child selector selects all elements that are the children of a
specified element.
The following example selects all <p> elements that are children
of a <div> element:
div > p {
background-color: yellow;
}
17.
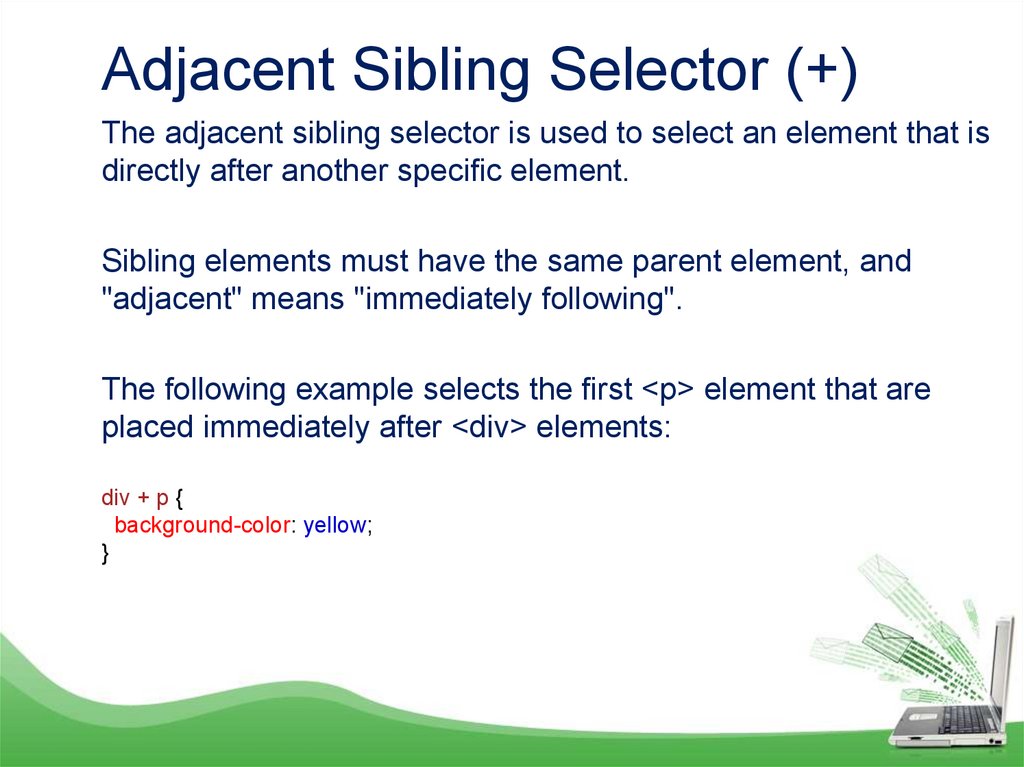
Adjacent Sibling Selector (+)The adjacent sibling selector is used to select an element that is
directly after another specific element.
Sibling elements must have the same parent element, and
"adjacent" means "immediately following".
The following example selects the first <p> element that are
placed immediately after <div> elements:
div + p {
background-color: yellow;
}
18.
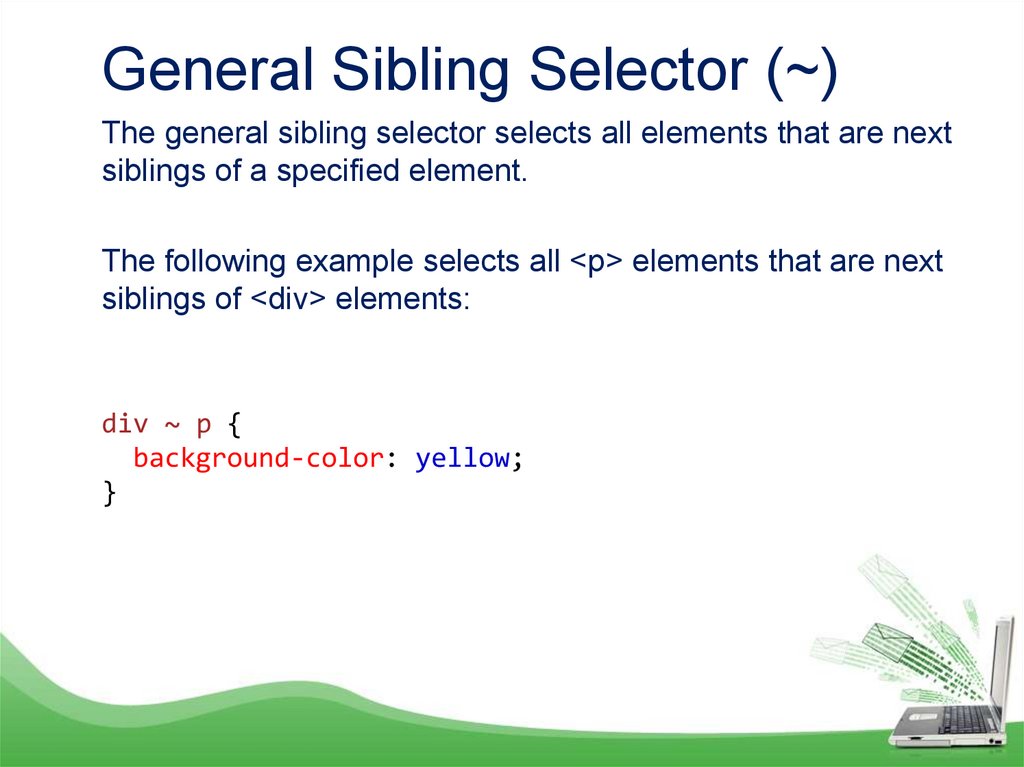
General Sibling Selector (~)The general sibling selector selects all elements that are next
siblings of a specified element.
The following example selects all <p> elements that are next
siblings of <div> elements:
div ~ p {
background-color: yellow;
}
19.
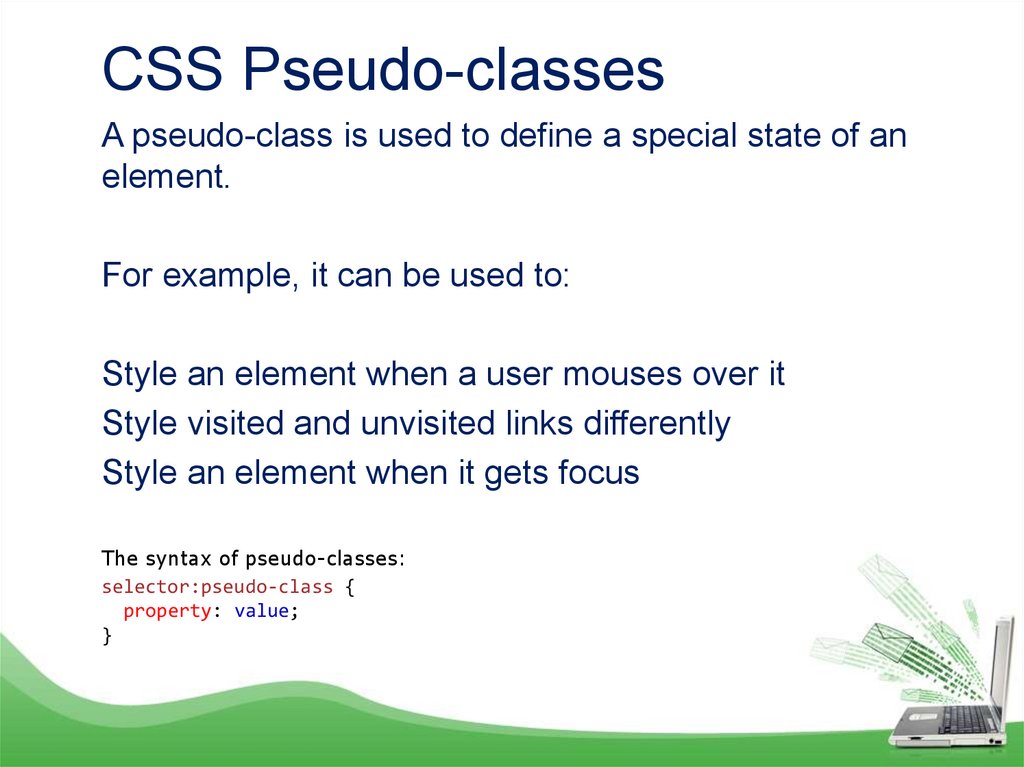
CSS Pseudo-classesA pseudo-class is used to define a special state of an
element.
For example, it can be used to:
Style an element when a user mouses over it
Style visited and unvisited links differently
Style an element when it gets focus
The syntax of pseudo-classes:
selector:pseudo-class {
property: value;
}
20.
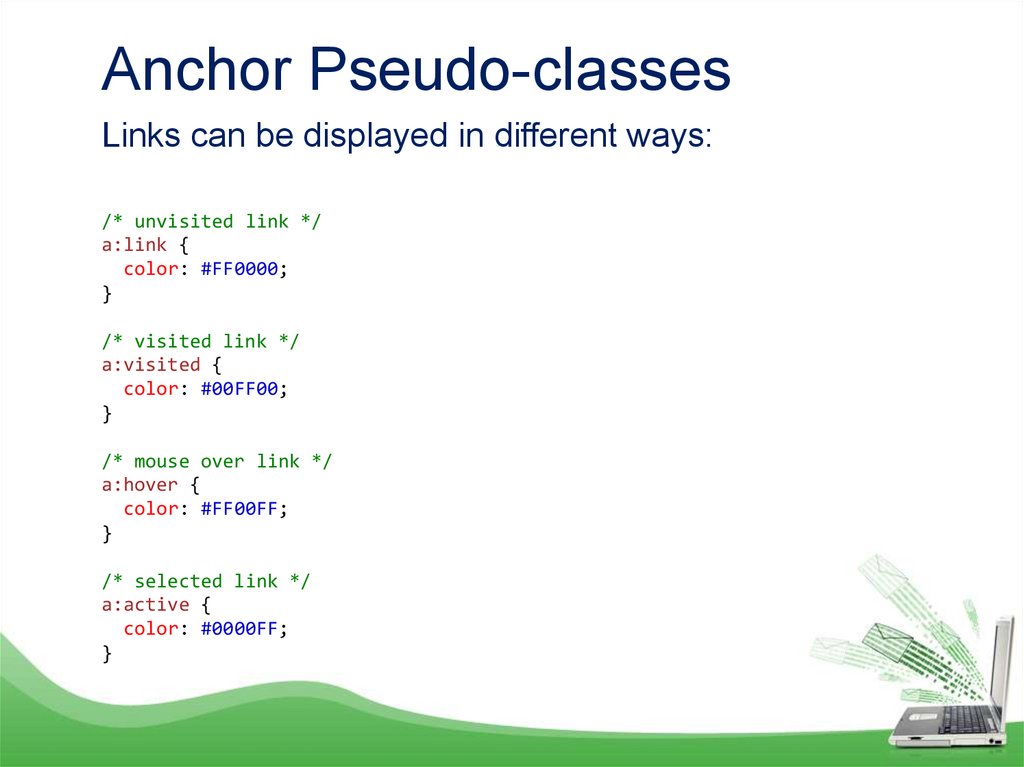
Anchor Pseudo-classesLinks can be displayed in different ways:
/* unvisited link */
a:link {
color: #FF0000;
}
/* visited link */
a:visited {
color: #00FF00;
}
/* mouse over link */
a:hover {
color: #FF00FF;
}
/* selected link */
a:active {
color: #0000FF;
}
21.
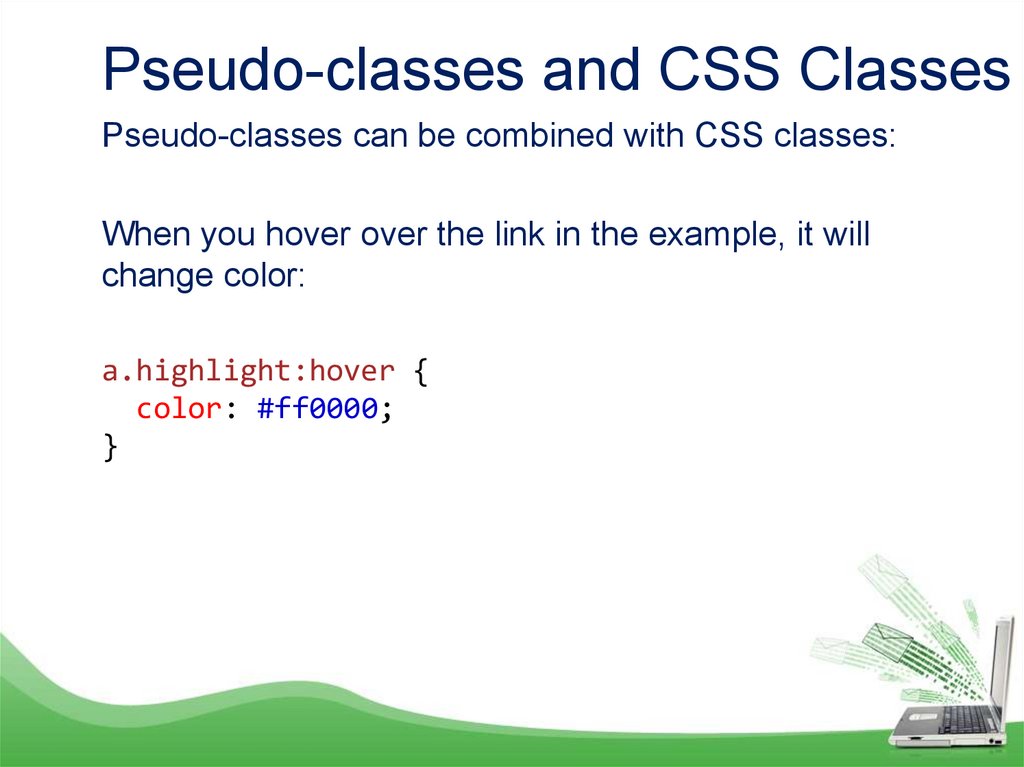
Pseudo-classes and CSS ClassesPseudo-classes can be combined with CSS classes:
When you hover over the link in the example, it will
change color:
a.highlight:hover {
color: #ff0000;
}
22.
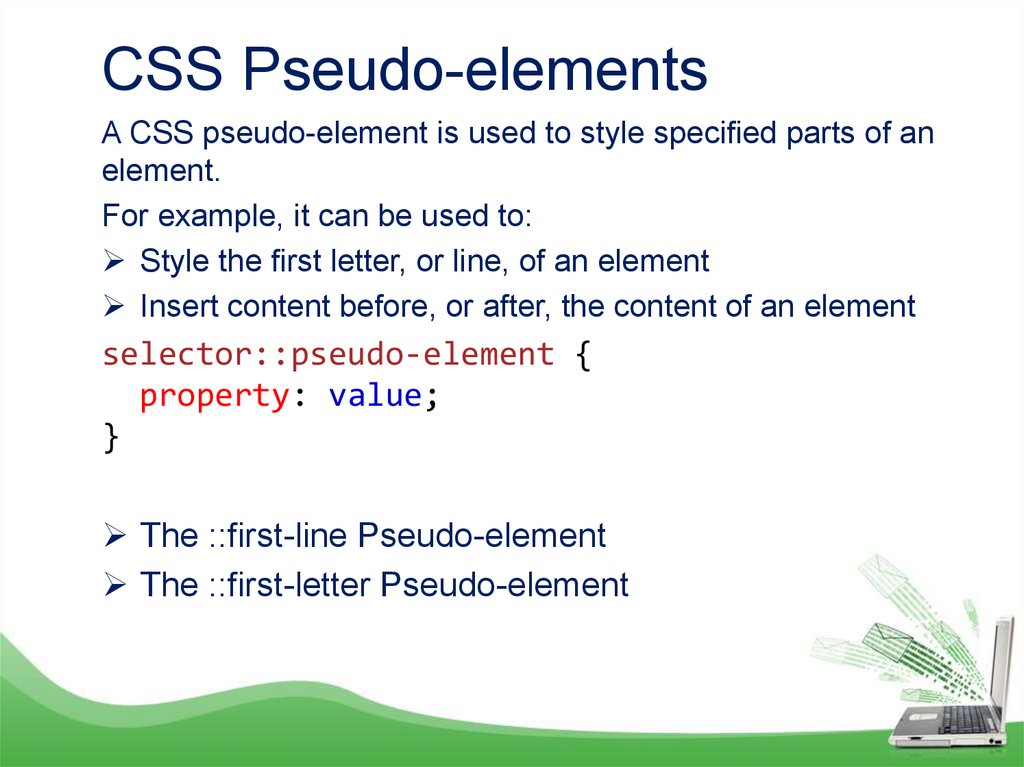
CSS Pseudo-elementsA CSS pseudo-element is used to style specified parts of an
element.
For example, it can be used to:
Style the first letter, or line, of an element
Insert content before, or after, the content of an element
selector::pseudo-element {
property: value;
}
The ::first-line Pseudo-element
The ::first-letter Pseudo-element
23.
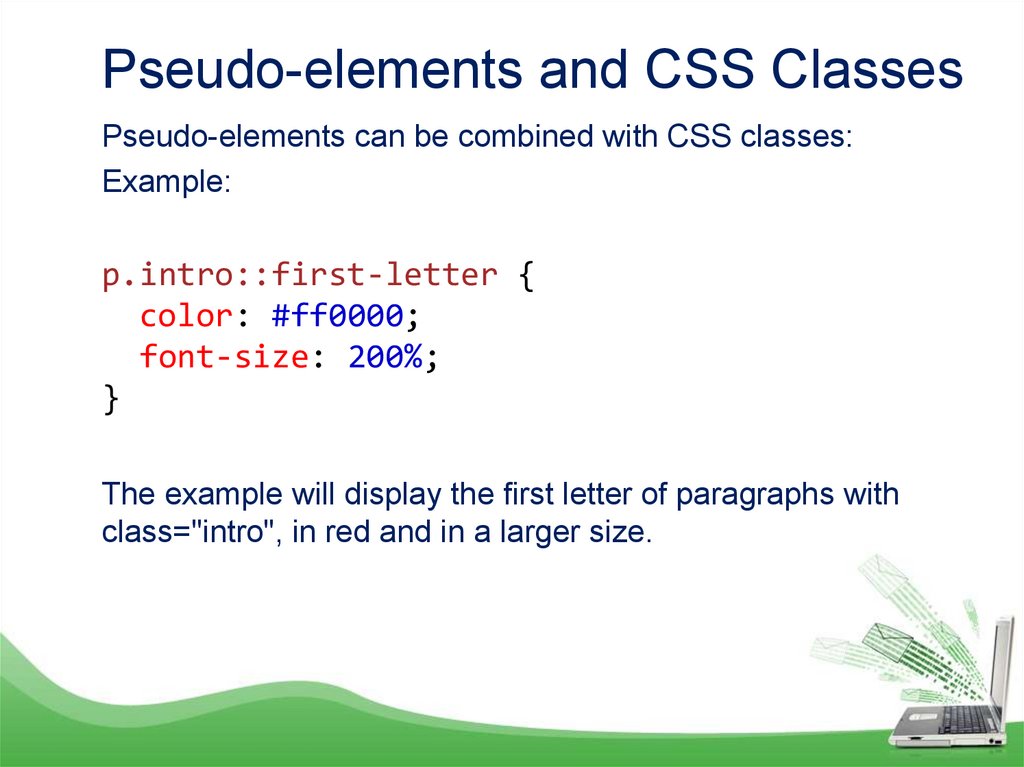
Pseudo-elements and CSS ClassesPseudo-elements can be combined with CSS classes:
Example:
p.intro::first-letter {
color: #ff0000;
font-size: 200%;
}
The example will display the first letter of paragraphs with
class="intro", in red and in a larger size.
24.
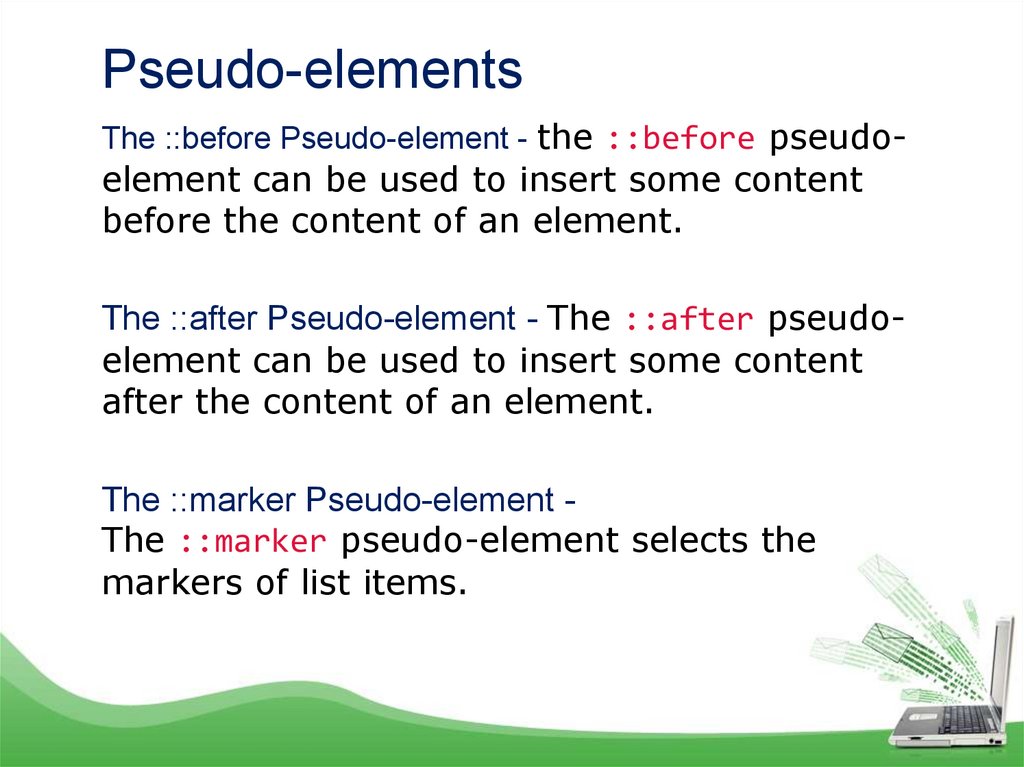
Pseudo-elementsThe ::before Pseudo-element - the ::before pseudo-
element can be used to insert some content
before the content of an element.
The ::after Pseudo-element - The ::after pseudoelement can be used to insert some content
after the content of an element.
The ::marker Pseudo-element The ::marker pseudo-element selects the
markers of list items.
25.
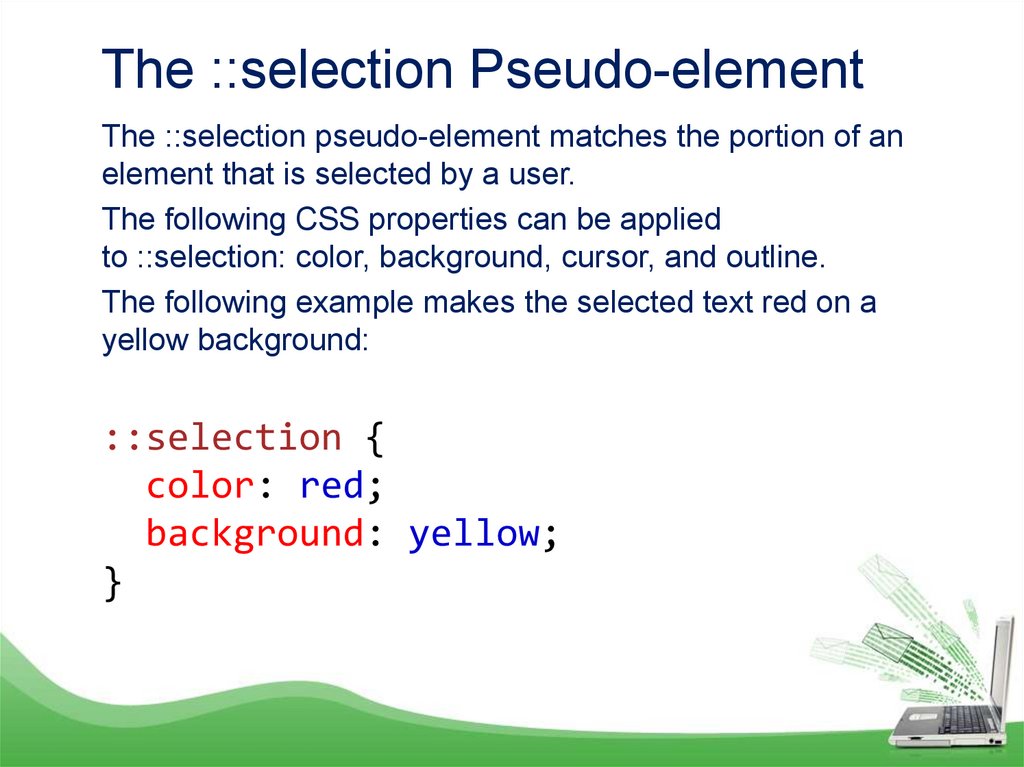
The ::selection Pseudo-elementThe ::selection pseudo-element matches the portion of an
element that is selected by a user.
The following CSS properties can be applied
to ::selection: color, background, cursor, and outline.
The following example makes the selected text red on a
yellow background:
::selection {
color: red;
background: yellow;
}
26.
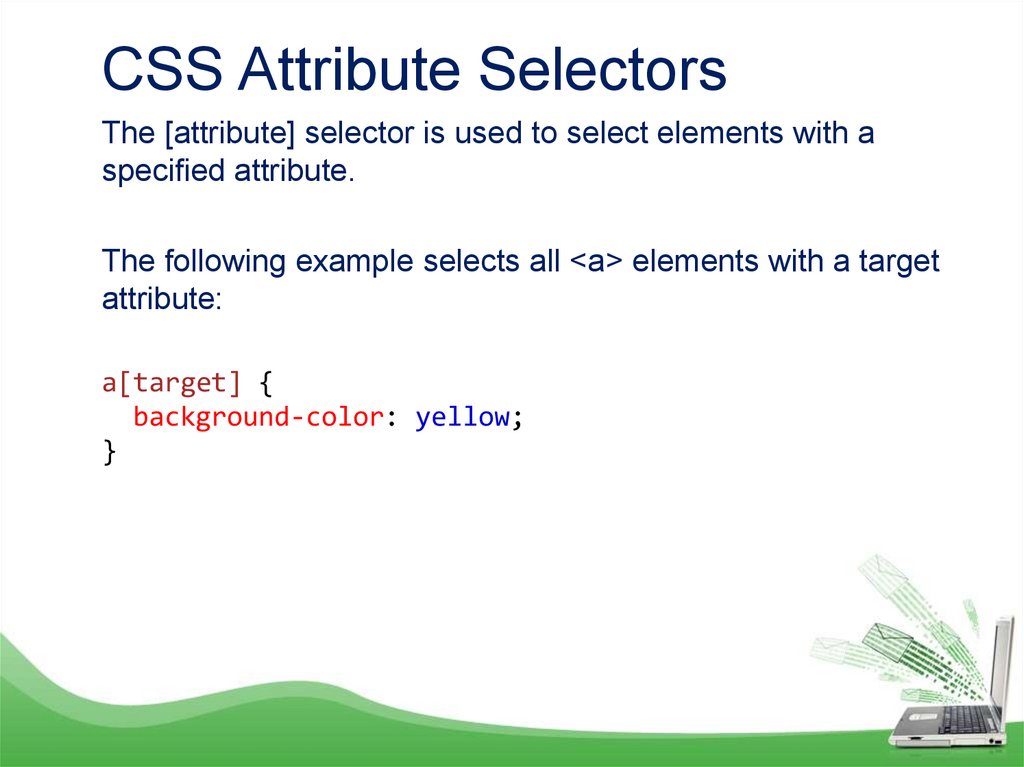
CSS Attribute SelectorsThe [attribute] selector is used to select elements with a
specified attribute.
The following example selects all <a> elements with a target
attribute:
a[target] {
background-color: yellow;
}
27.
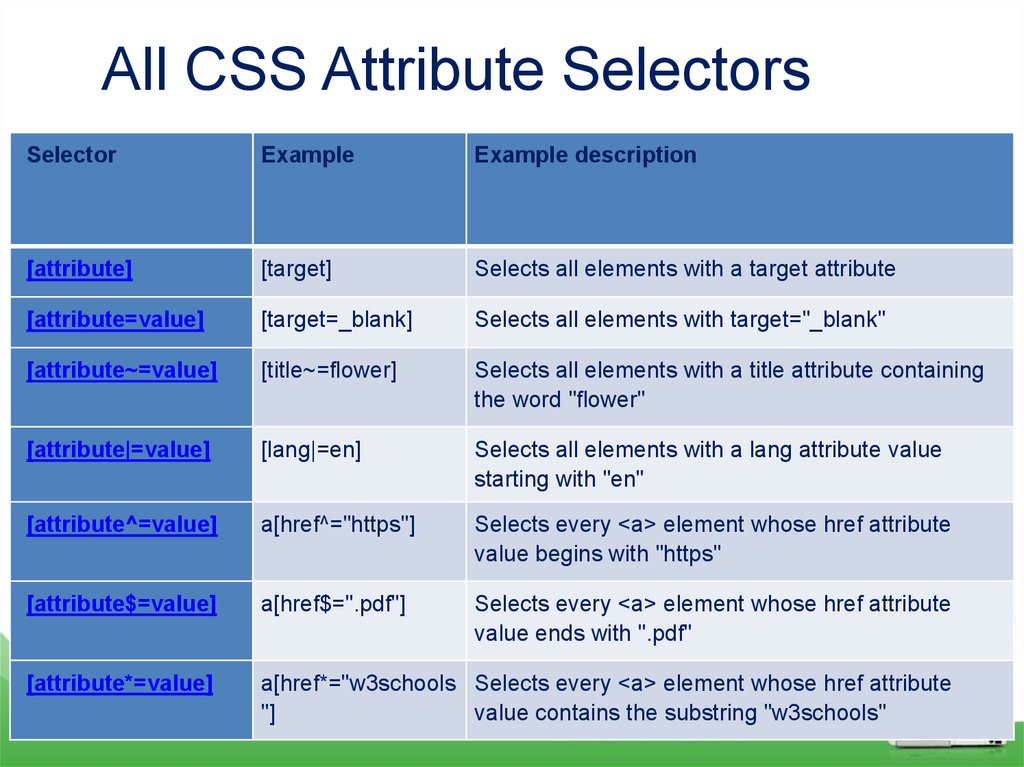
All CSS Attribute SelectorsSelector
Example
Example description
[attribute]
[target]
Selects all elements with a target attribute
[attribute=value]
[target=_blank]
Selects all elements with target="_blank"
[attribute~=value]
[title~=flower]
Selects all elements with a title attribute containing
the word "flower"
[attribute|=value]
[lang|=en]
Selects all elements with a lang attribute value
starting with "en"
[attribute^=value]
a[href^="https"]
Selects every <a> element whose href attribute
value begins with "https"
[attribute$=value]
a[href$=".pdf"]
Selects every <a> element whose href attribute
value ends with ".pdf"
[attribute*=value]
a[href*="w3schools Selects every <a> element whose href attribute
"]
value contains the substring "w3schools"
28.
Selectors-
-
CSS selectors cheatsheet /
https://appletree.or.kr/quick_reference_cards/CSS/CSS%20selectors%20ch
eatsheet.pdf / access date 06.02.2021
https://www.mysterycodesociety.com/assets/images/pdf/CSS_reference.pdf
/ access date 06.02.2021
CSS Selector Referencehttps://www.w3schools.com/cssref/css_selectors.asp / access date
06.02.2021
29.
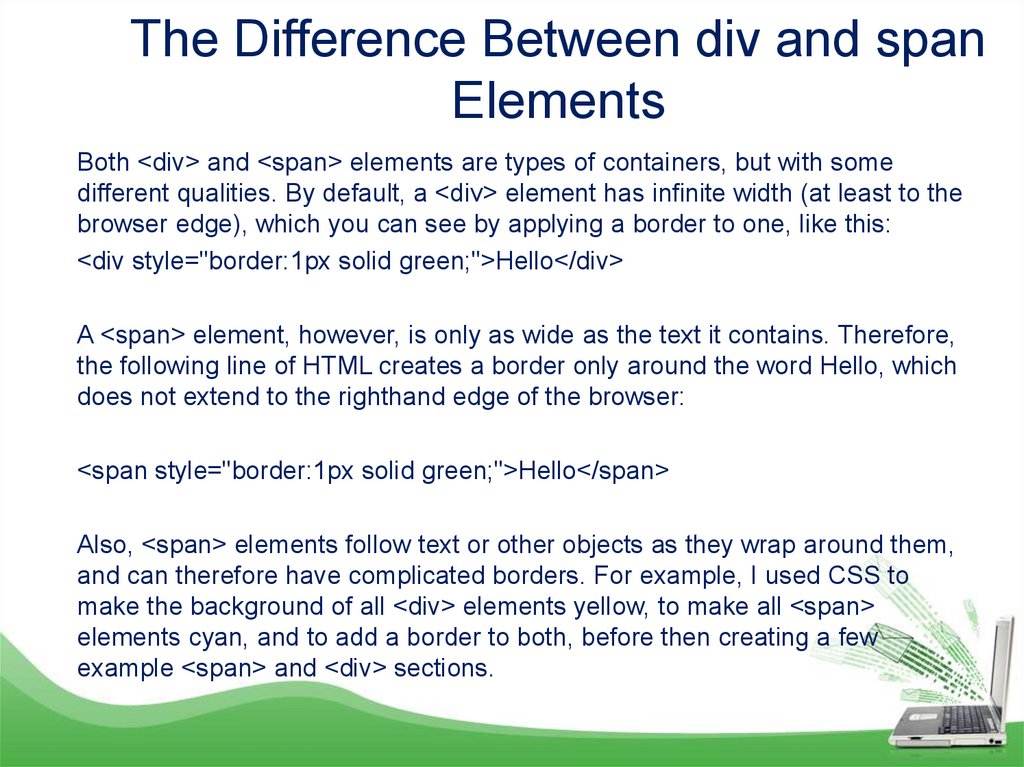
The Difference Between div and spanElements
Both <div> and <span> elements are types of containers, but with some
different qualities. By default, a <div> element has infinite width (at least to the
browser edge), which you can see by applying a border to one, like this:
<div style="border:1px solid green;">Hello</div>
A <span> element, however, is only as wide as the text it contains. Therefore,
the following line of HTML creates a border only around the word Hello, which
does not extend to the righthand edge of the browser:
<span style="border:1px solid green;">Hello</span>
Also, <span> elements follow text or other objects as they wrap around them,
and can therefore have complicated borders. For example, I used CSS to
make the background of all <div> elements yellow, to make all <span>
elements cyan, and to add a border to both, before then creating a few
example <span> and <div> sections.
30.
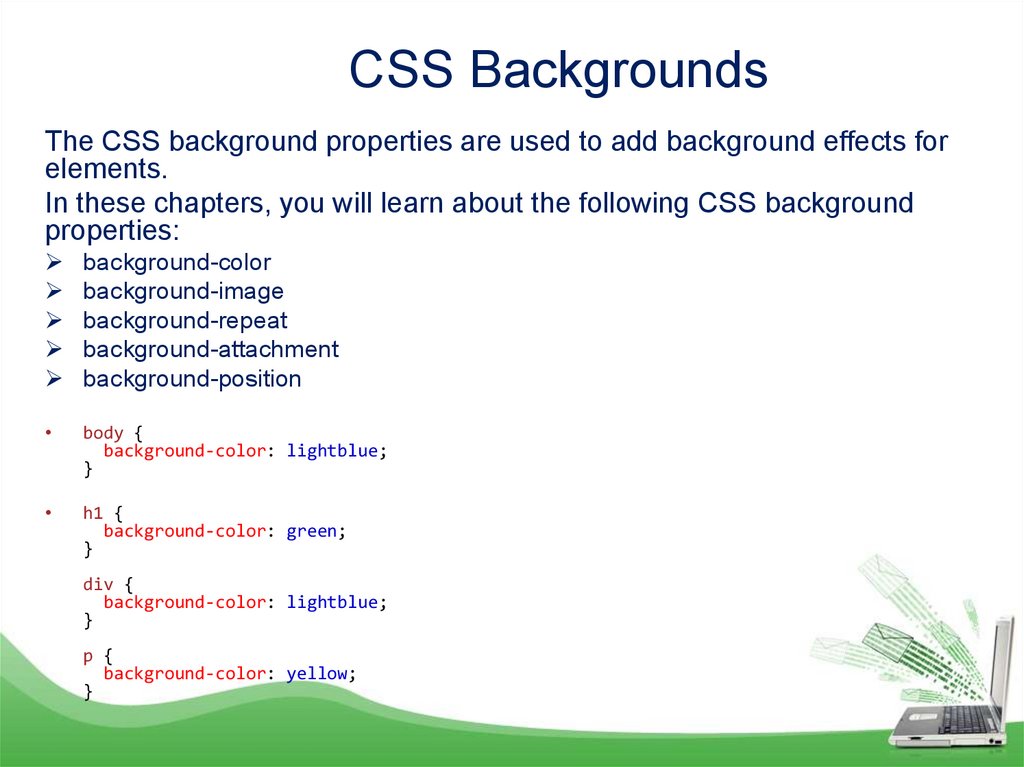
CSS BackgroundsThe CSS background properties are used to add background effects for
elements.
In these chapters, you will learn about the following CSS background
properties:
background-color
background-image
background-repeat
background-attachment
background-position
body {
background-color: lightblue;
}
h1 {
background-color: green;
}
div {
background-color: lightblue;
}
p {
background-color: yellow;
}
31.
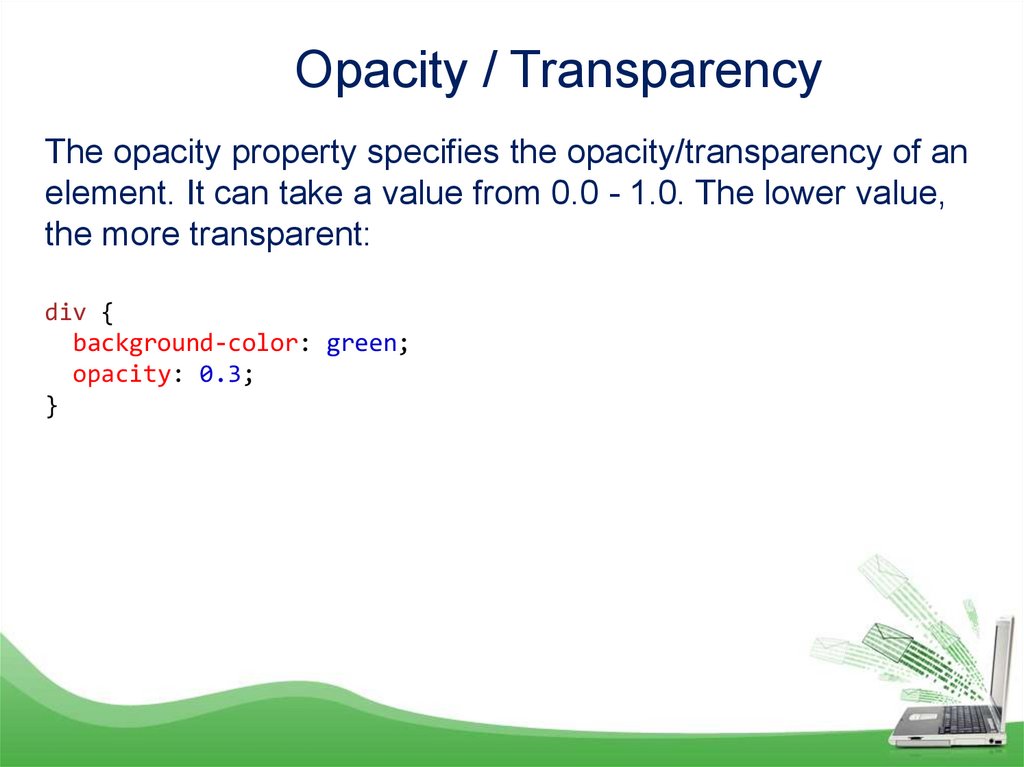
Opacity / TransparencyThe opacity property specifies the opacity/transparency of an
element. It can take a value from 0.0 - 1.0. The lower value,
the more transparent:
div {
background-color: green;
opacity: 0.3;
}
32.
CSS Background ImageThe background-image property specifies an image to use as
the background of an element.
By default, the image is repeated so it covers the entire
element.
body {
background-image: url("paper.gif");
}
33.
CSS Background ImageThe background-image property specifies an image to use as
the background of an element.
By default, the image is repeated so it covers the entire
element.
body {
background-image: url("paper.gif");
}
The background image can also be set for specific elements,
like the <p> element:
p {
background-image: url("paper.gif");
}
34.
CSS Background RepeatBy default, the background-image property repeats an image both
horizontally and vertically.
If the image is repeated only horizontally (background-repeat:
repeat-x;), we need write next code:
body {
background-image: url("paper.gif");
background-repeat: repeat-x;
}
Showing the background image only once is also specified by
the background-repeat property:
background-repeat: no-repeat;
35.
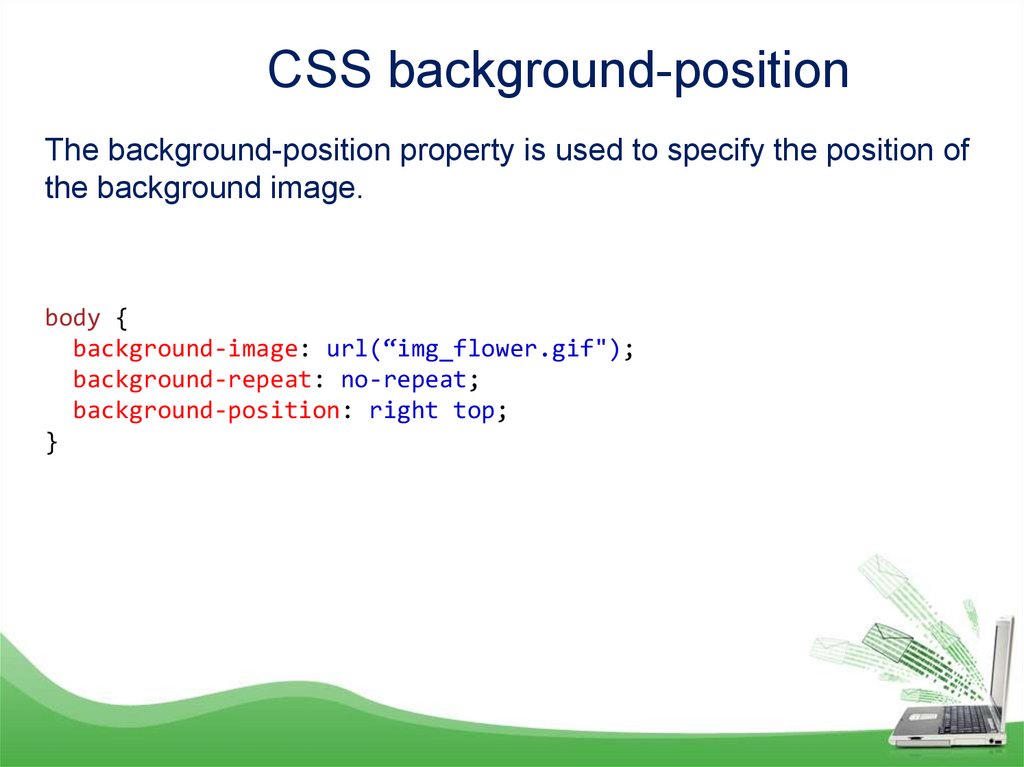
CSS background-positionThe background-position property is used to specify the position of
the background image.
body {
background-image: url(“img_flower.gif");
background-repeat: no-repeat;
background-position: right top;
}
36.
CSS Background AttachmentThe background-attachment property specifies whether the
background image should scroll or be fixed (will not scroll with the
rest of the page):
body {
background-image: url("img_flower.gif");
background-repeat: no-repeat;
background-position: right top;
margin-right: 200px;
background-attachment: fixed;
}
37.
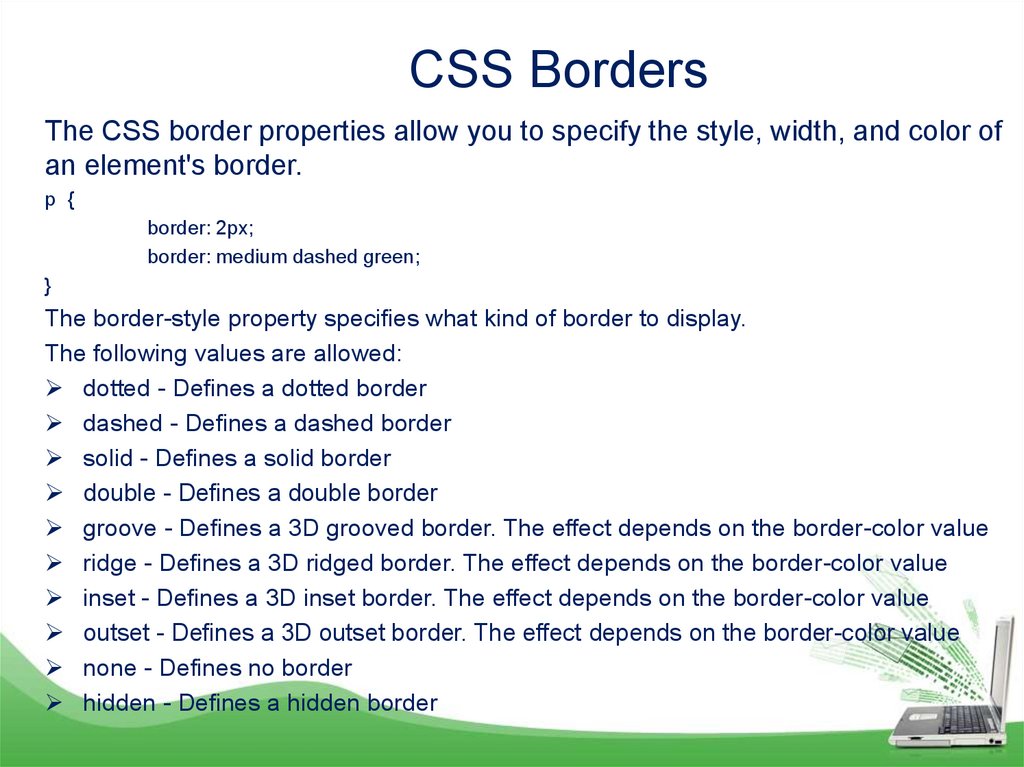
CSS BordersThe CSS border properties allow you to specify the style, width, and color of
an element's border.
p {
border: 2px;
border: medium dashed green;
}
The border-style property specifies what kind of border to display.
The following values are allowed:
dotted - Defines a dotted border
dashed - Defines a dashed border
solid - Defines a solid border
double - Defines a double border
groove - Defines a 3D grooved border. The effect depends on the border-color value
ridge - Defines a 3D ridged border. The effect depends on the border-color value
inset - Defines a 3D inset border. The effect depends on the border-color value
outset - Defines a 3D outset border. The effect depends on the border-color value
none - Defines no border
hidden - Defines a hidden border
38.
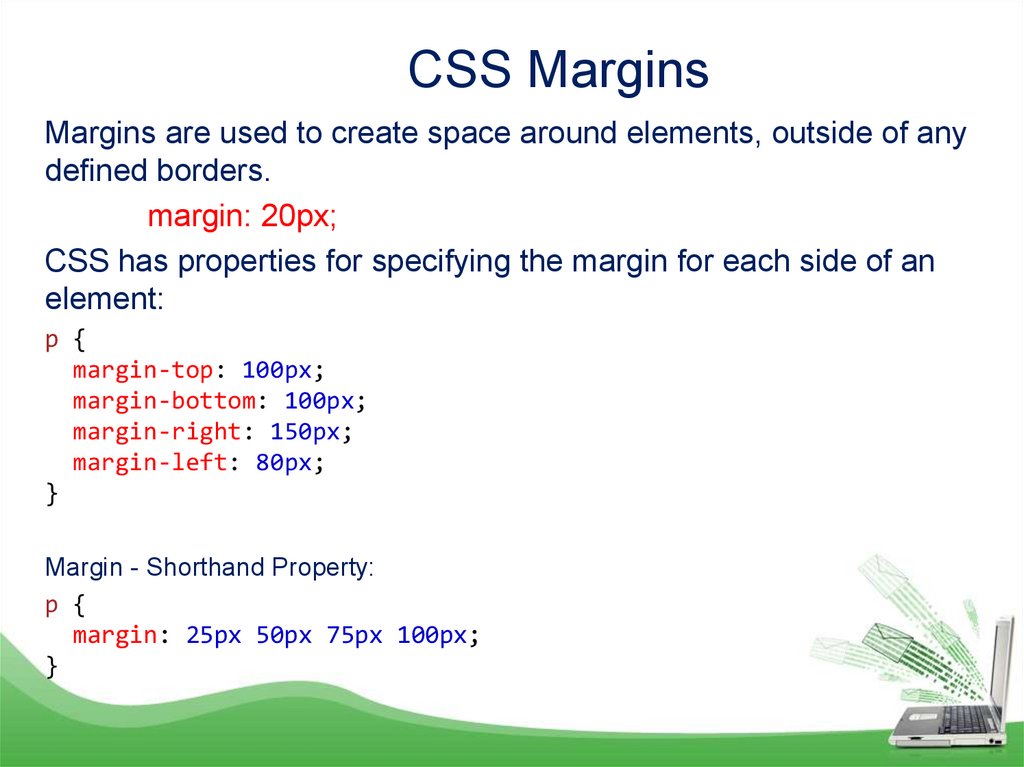
CSS MarginsMargins are used to create space around elements, outside of any
defined borders.
margin: 20px;
CSS has properties for specifying the margin for each side of an
element:
p {
margin-top: 100px;
margin-bottom: 100px;
margin-right: 150px;
margin-left: 80px;
}
Margin - Shorthand Property:
p {
margin: 25px 50px 75px 100px;
}
39.
CSS PaddingPadding is used to create space around an element's content, inside of any
defined borders.
div {
padding: 70px;
border: 1px solid #4CAF50;
}
Individual Sides:
div {
padding-top: 50px;
padding-right: 30px;
padding-bottom: 50px;
padding-left: 80px;
}
Shorthand Property
div {
padding: 25px 50px 75px 100px;
}
40.
CSS Box ModelIn CSS, the term "box model" is used when talking about design and layout.
The CSS box model is essentially a box that wraps around every HTML element. It
consists of: margins, borders, padding, and the actual content. The image below
illustrates the box model:
41.
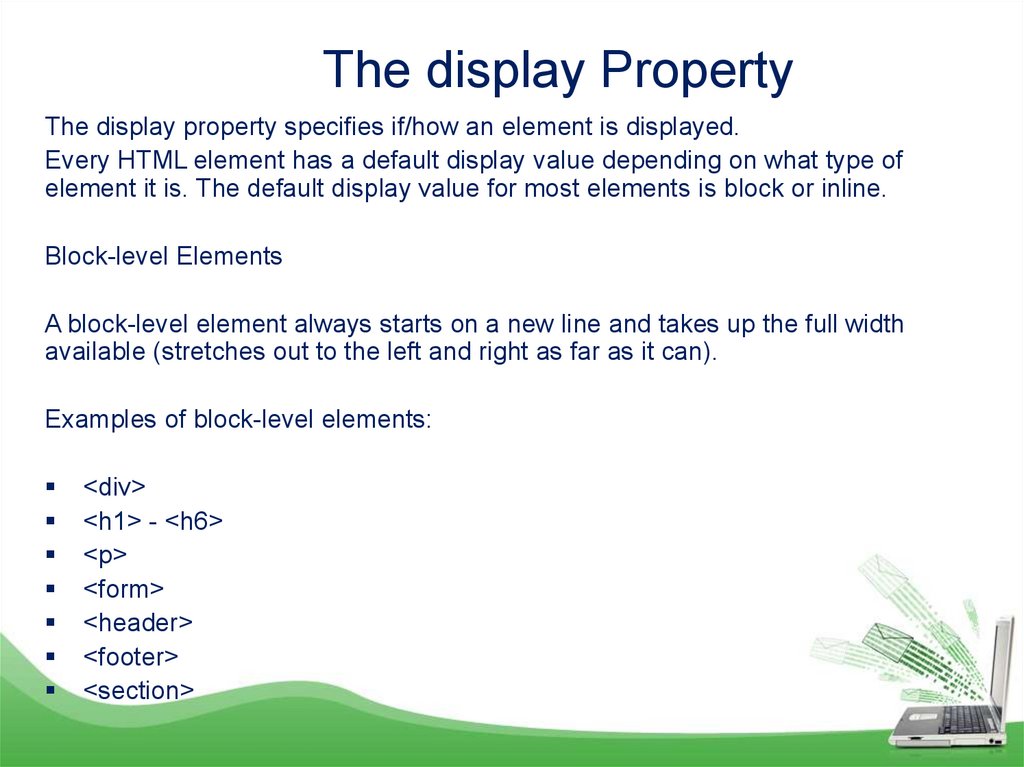
The display PropertyThe display property specifies if/how an element is displayed.
Every HTML element has a default display value depending on what type of
element it is. The default display value for most elements is block or inline.
Block-level Elements
A block-level element always starts on a new line and takes up the full width
available (stretches out to the left and right as far as it can).
Examples of block-level elements:
<div>
<h1> - <h6>
<p>
<form>
<header>
<footer>
<section>
42.
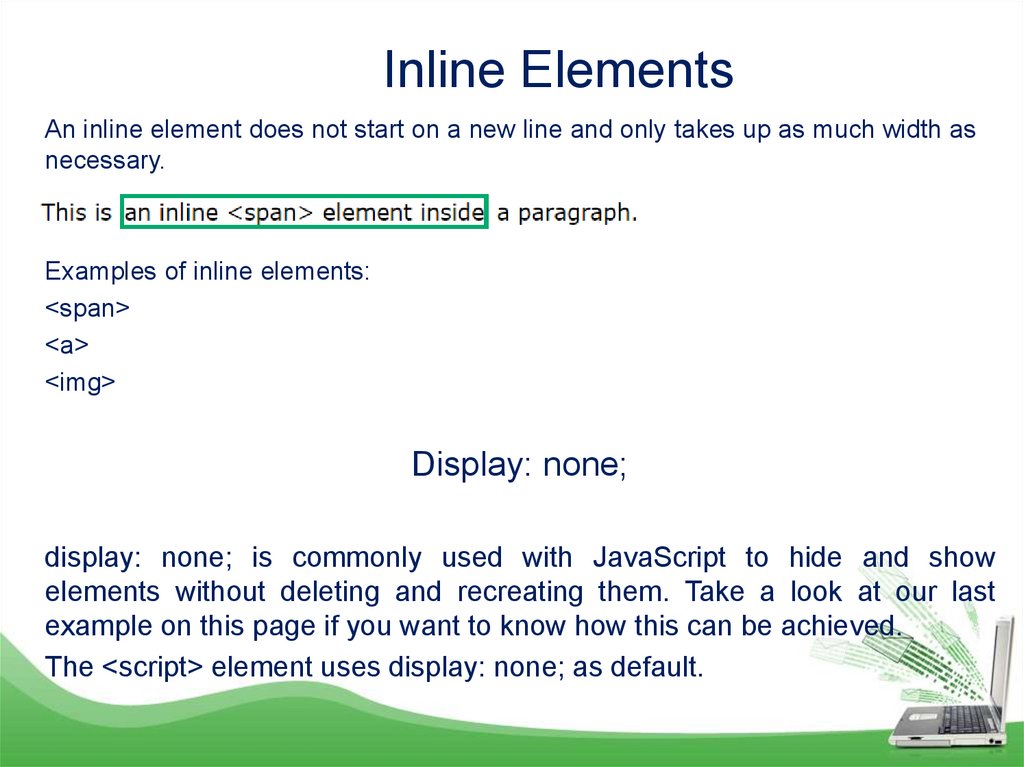
Inline ElementsAn inline element does not start on a new line and only takes up as much width as
necessary.
Examples of inline elements:
<span>
<a>
<img>
Display: none;
display: none; is commonly used with JavaScript to hide and show
elements without deleting and recreating them. Take a look at our last
example on this page if you want to know how this can be achieved.
The <script> element uses display: none; as default.
43.
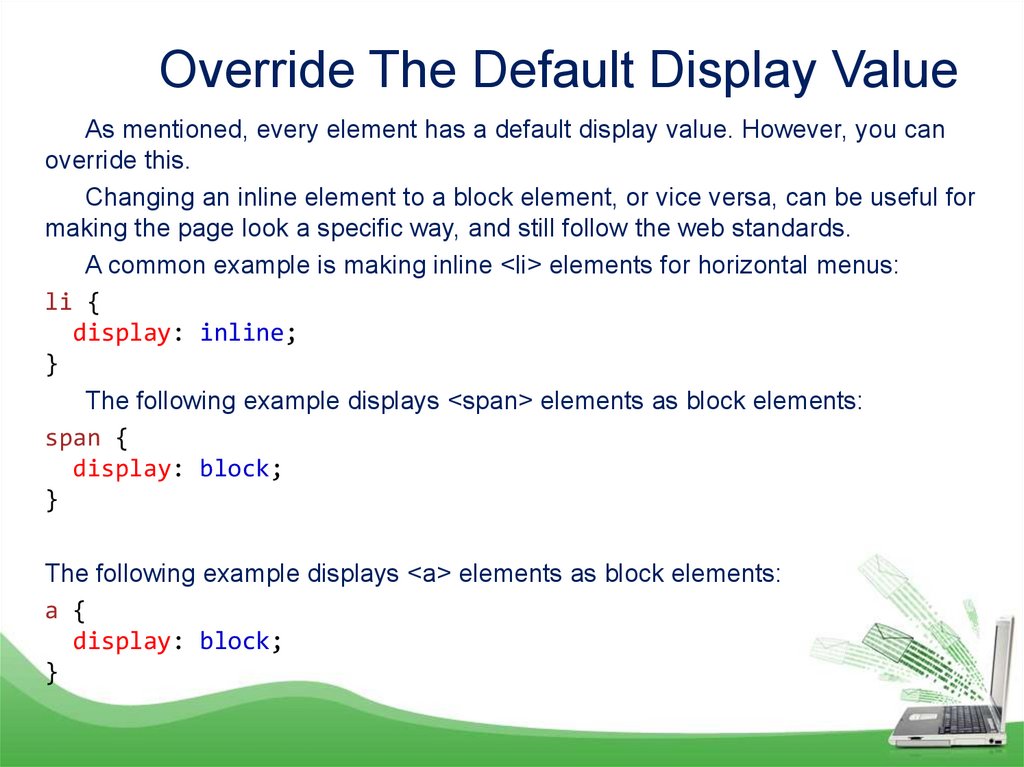
Override The Default Display ValueAs mentioned, every element has a default display value. However, you can
override this.
Changing an inline element to a block element, or vice versa, can be useful for
making the page look a specific way, and still follow the web standards.
A common example is making inline <li> elements for horizontal menus:
li {
display: inline;
}
The following example displays <span> elements as block elements:
span {
display: block;
}
The following example displays <a> elements as block elements:
a {
display: block;
}
44.
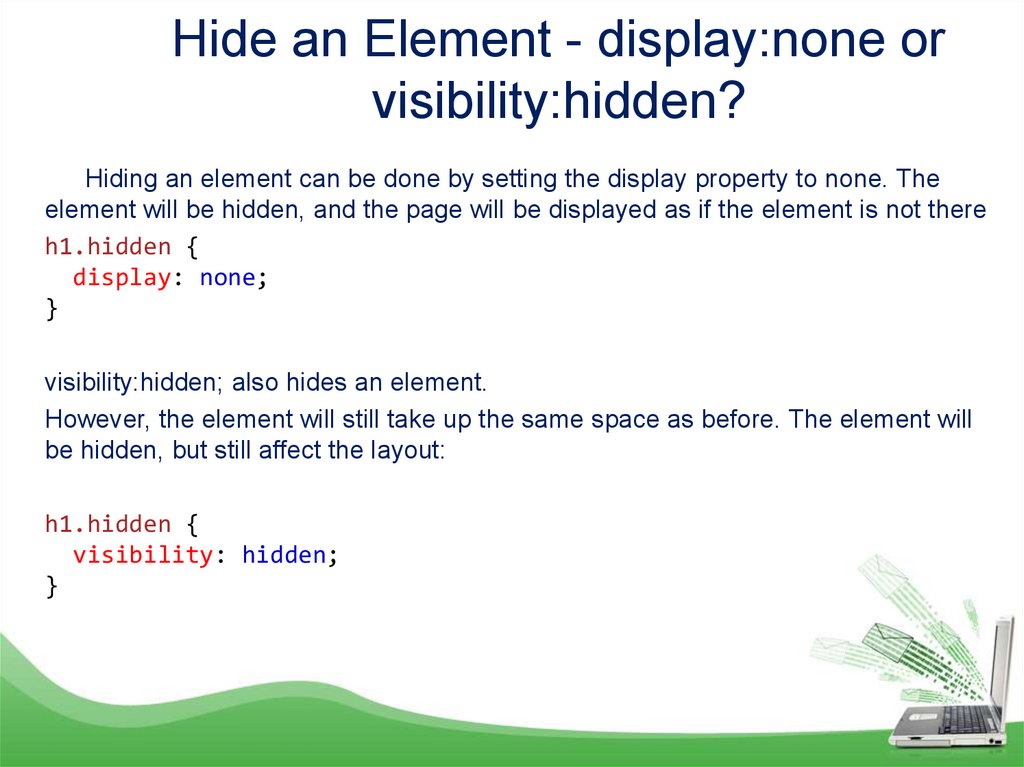
Hide an Element - display:none orvisibility:hidden?
Hiding an element can be done by setting the display property to none. The
element will be hidden, and the page will be displayed as if the element is not there
h1.hidden {
display: none;
}
visibility:hidden; also hides an element.
However, the element will still take up the same space as before. The element will
be hidden, but still affect the layout:
h1.hidden {
visibility: hidden;
}
45.
CSS Layout - The float PropertyThe CSS float property specifies how an element should float.
The float property is used for positioning and formatting content e.g. let
an image float left to the text in a container.
The float property can have one of the following values:
left - The element floats to the left of its container
right - The element floats to the right of its container
none - The element does not float (will be displayed just where it occurs
in the text). This is default
inherit - The element inherits the float value of its parent
46.
Thank you for your attention!47.
References- Learning PHP, MySQL & JavaScript with jQuery, CSS & HTML5 /
Robin Nixon, Published by O’Reilly Media, 2018
- CSS tutorial - https://www.w3schools.com/css/default.asp /
access date 06.02.2021
- CSS tutorial - https://www.tutorialspoint.com/css/index.htm /
access date 06.02.2021