Similar presentations:
How to draw the tolerance zones of transition fit (Seminar 2)
1. Seminar 2: How to draw the tolerance zones of transition fit
Standardization and measurementassurance of engineering production
2. Step 1: Example
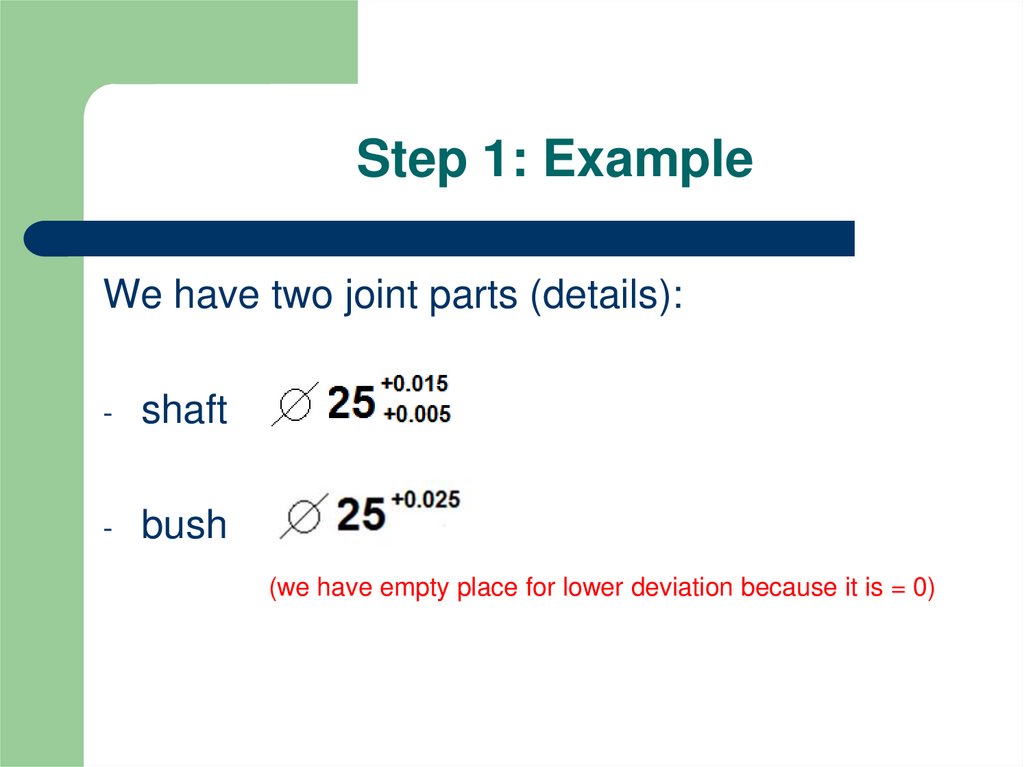
We have two joint parts (details):-
shaft
-
bush
(we have empty place for lower deviation because it is = 0)
3. Step 2: Calculation of shaft dimensions
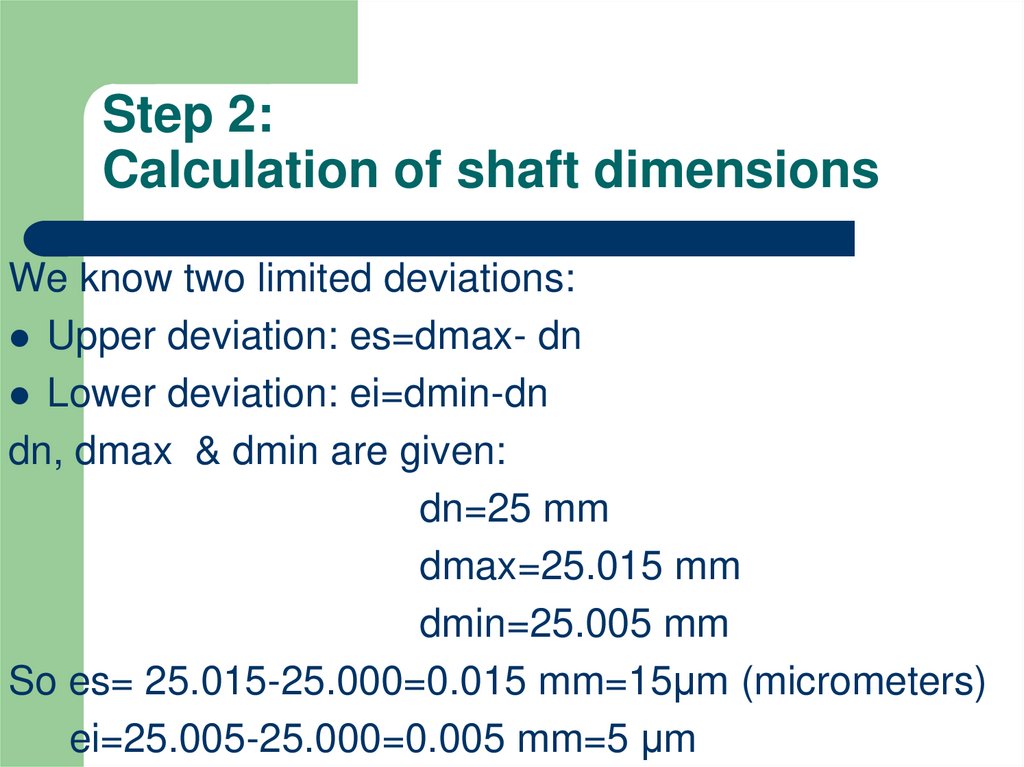
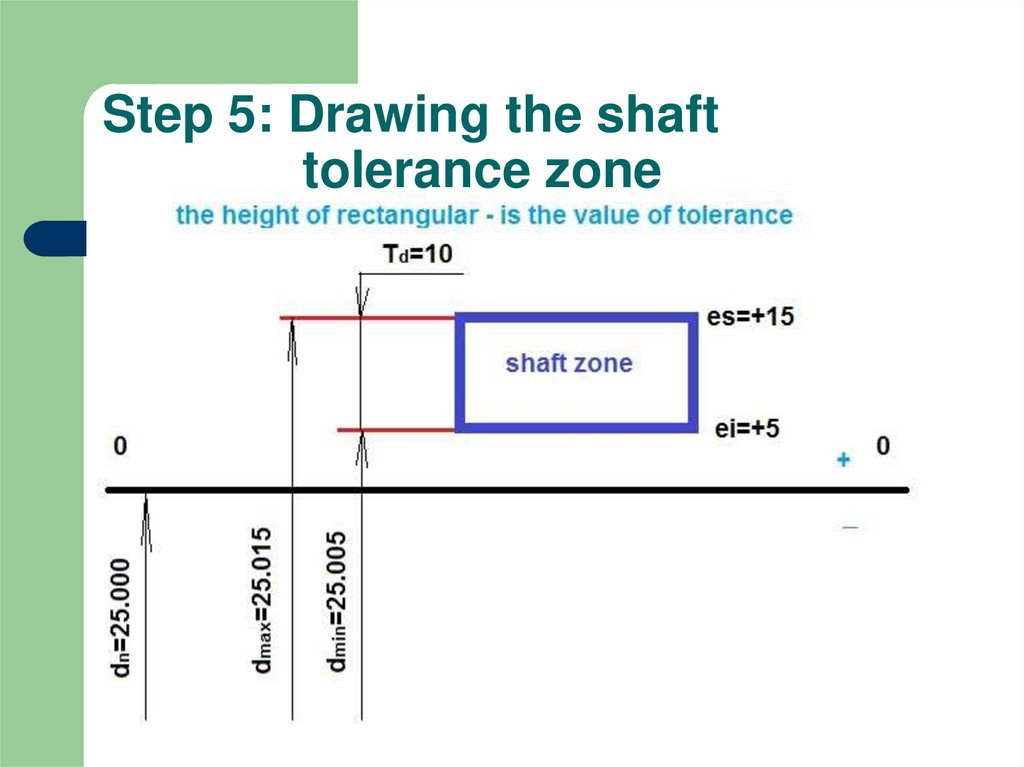
We know two limited deviations:Upper deviation: es=dmax- dn
Lower deviation: ei=dmin-dn
dn, dmax & dmin are given:
dn=25 mm
dmax=25.015 mm
dmin=25.005 mm
So es= 25.015-25.000=0.015 mm=15μm (micrometers)
ei=25.005-25.000=0.005 mm=5 μm
4. Step 3: Calculation of bush dimensions
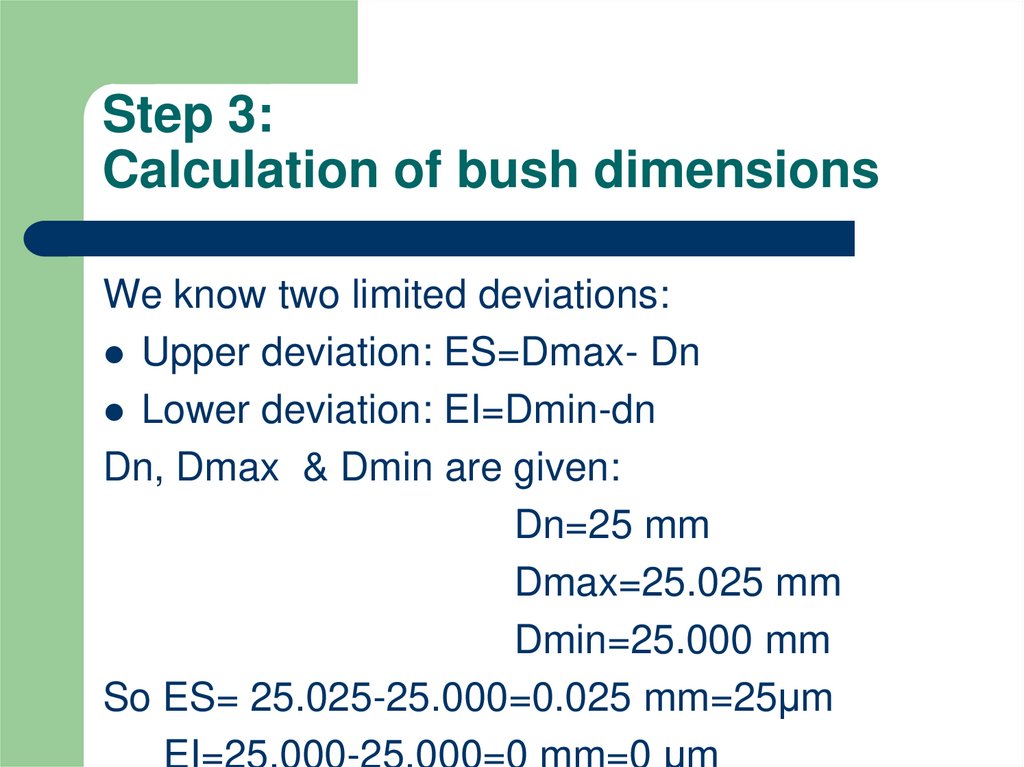
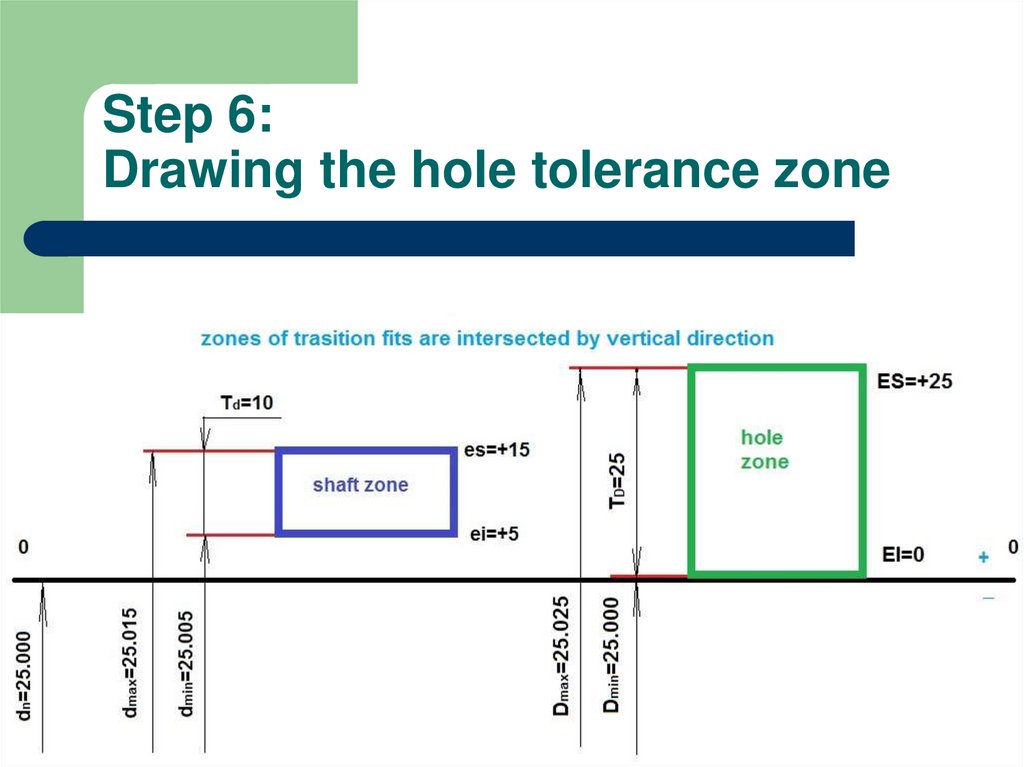
We know two limited deviations:Upper deviation: ES=Dmax- Dn
Lower deviation: EI=Dmin-dn
Dn, Dmax & Dmin are given:
Dn=25 mm
Dmax=25.025 mm
Dmin=25.000 mm
So ES= 25.025-25.000=0.025 mm=25μm
EI=25.000-25.000=0 mm=0 μm
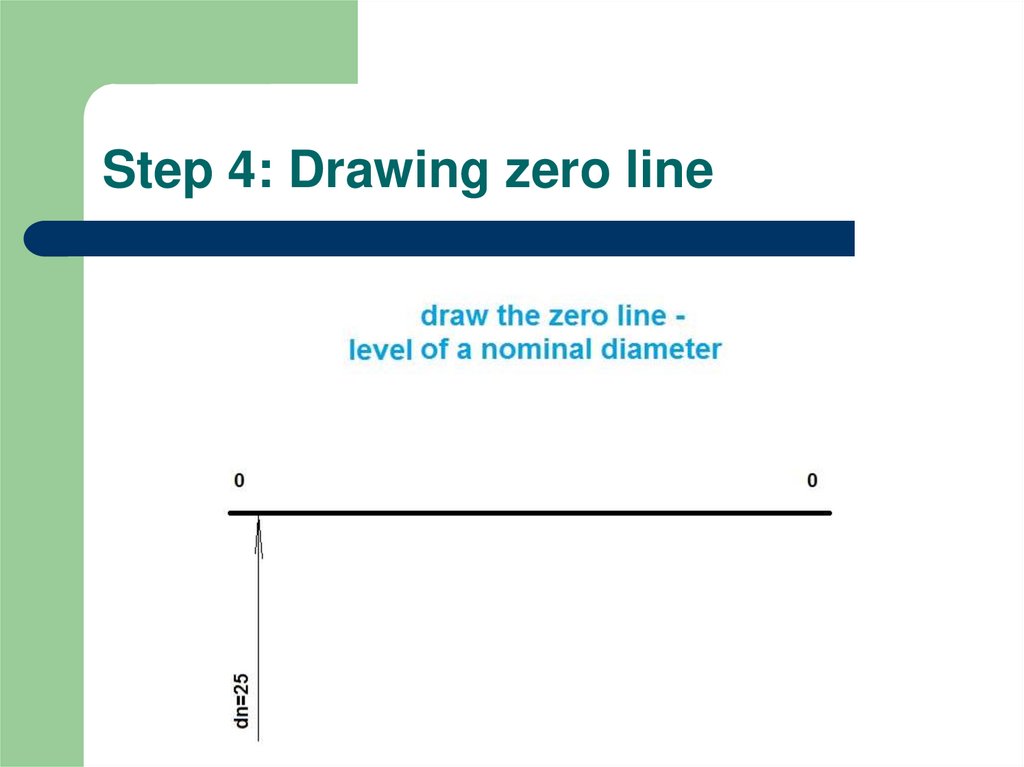
5. Step 4: Drawing zero line
6. Step 5: Drawing the shaft tolerance zone
7. Step 6: Drawing the hole tolerance zone
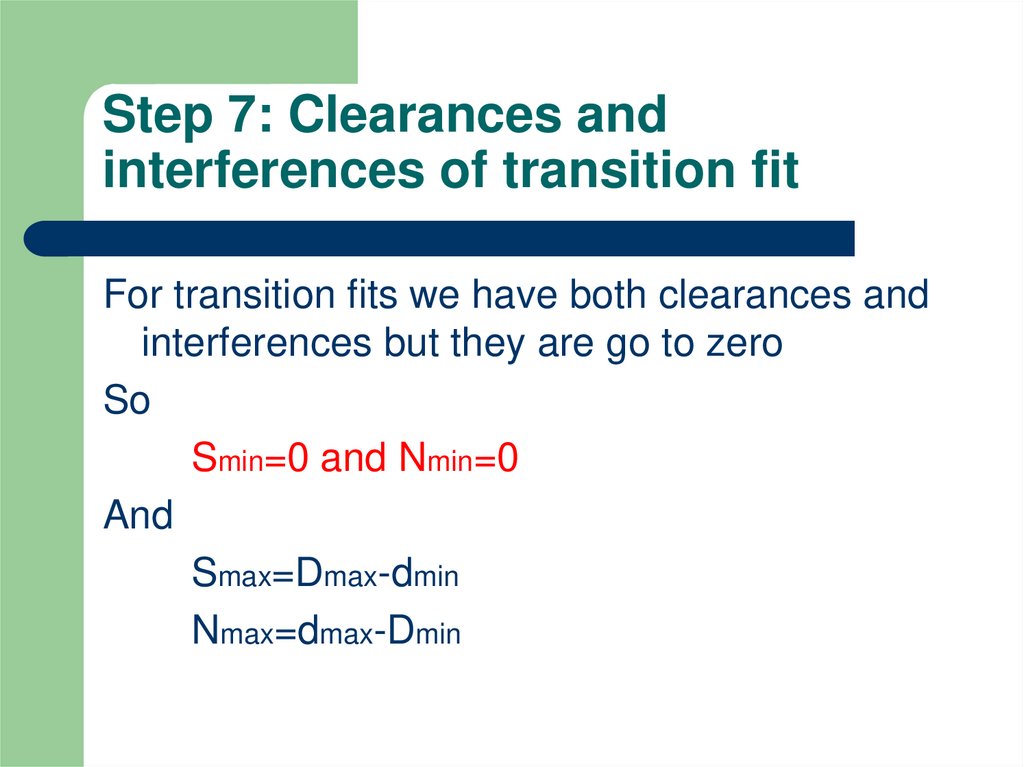
8. Step 7: Clearances and interferences of transition fit
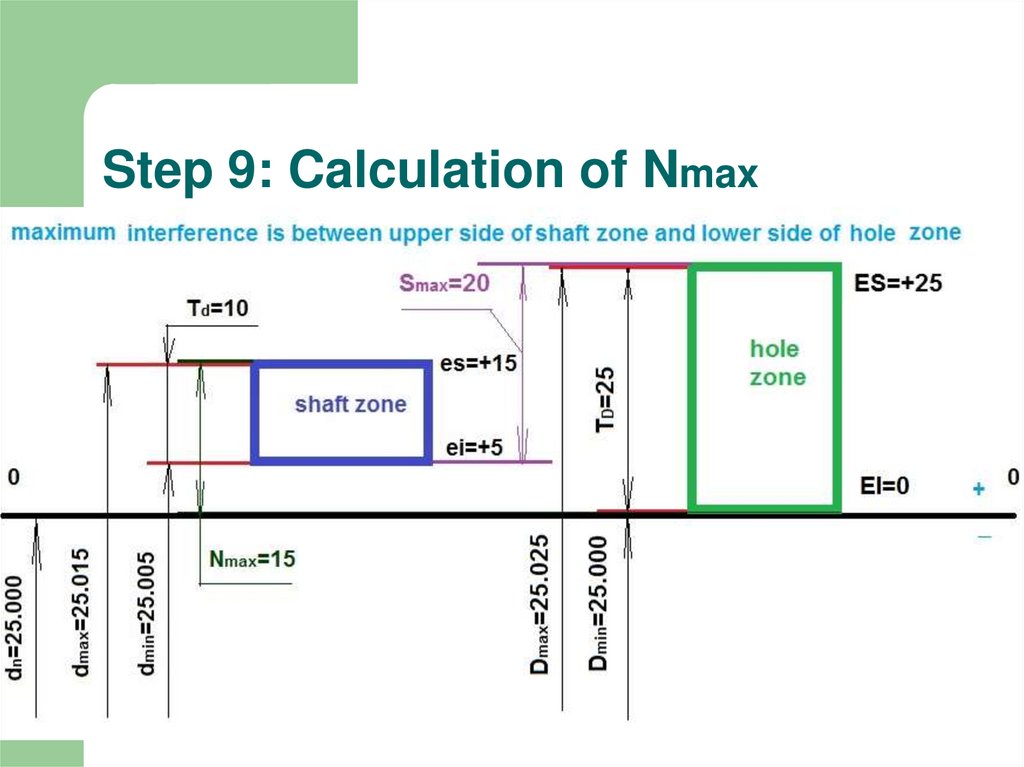
For transition fits we have both clearances andinterferences but they are go to zero
So
Smin=0 and Nmin=0
And
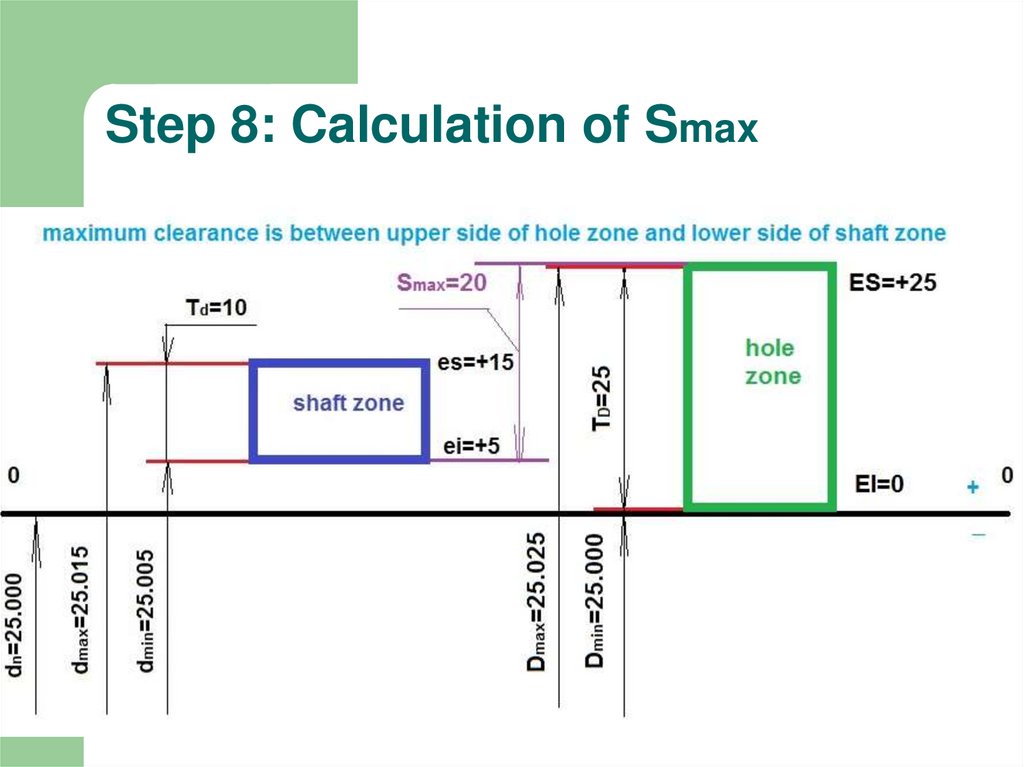
Smax=Dmax-dmin
Nmax=dmax-Dmin
9. Step 8: Calculation of Smax
10. Step 9: Calculation of Nmax
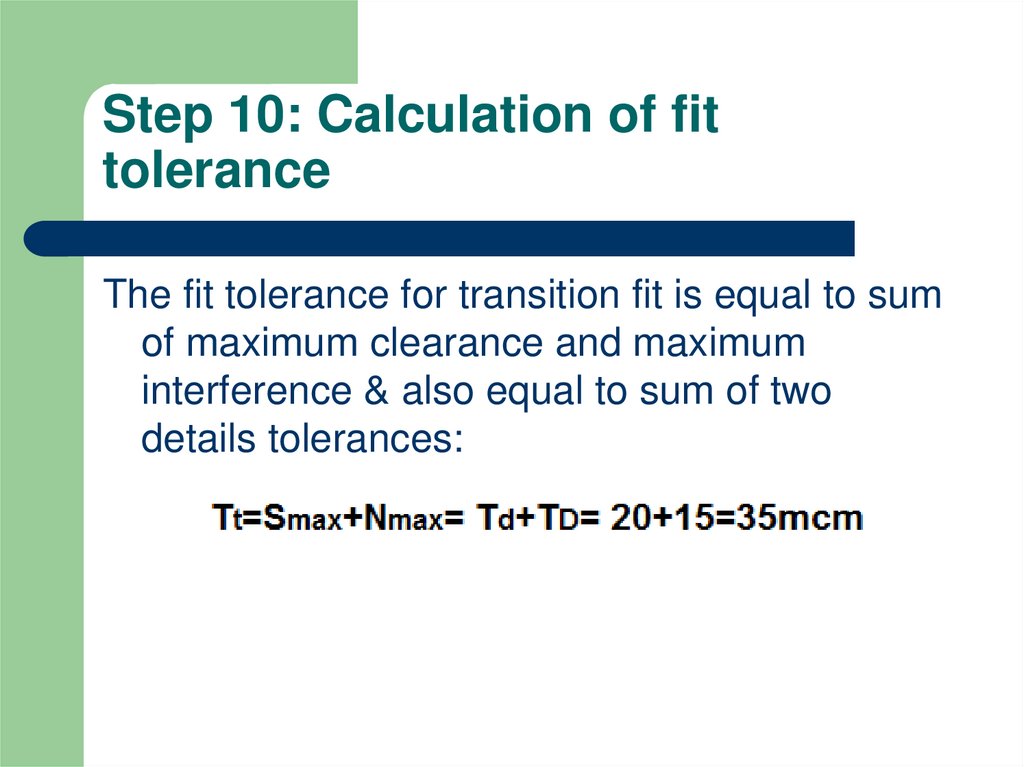
11. Step 10: Calculation of fit tolerance
The fit tolerance for transition fit is equal to sumof maximum clearance and maximum
interference & also equal to sum of two
details tolerances:
