Similar presentations:
How to draw the tolerance zone by nominal and limited dimensions (Seminar 1)
1. Seminar 1: How to draw the tolerance zone by nominal and limited dimensions
Standardization and measurementassurance of engineering production
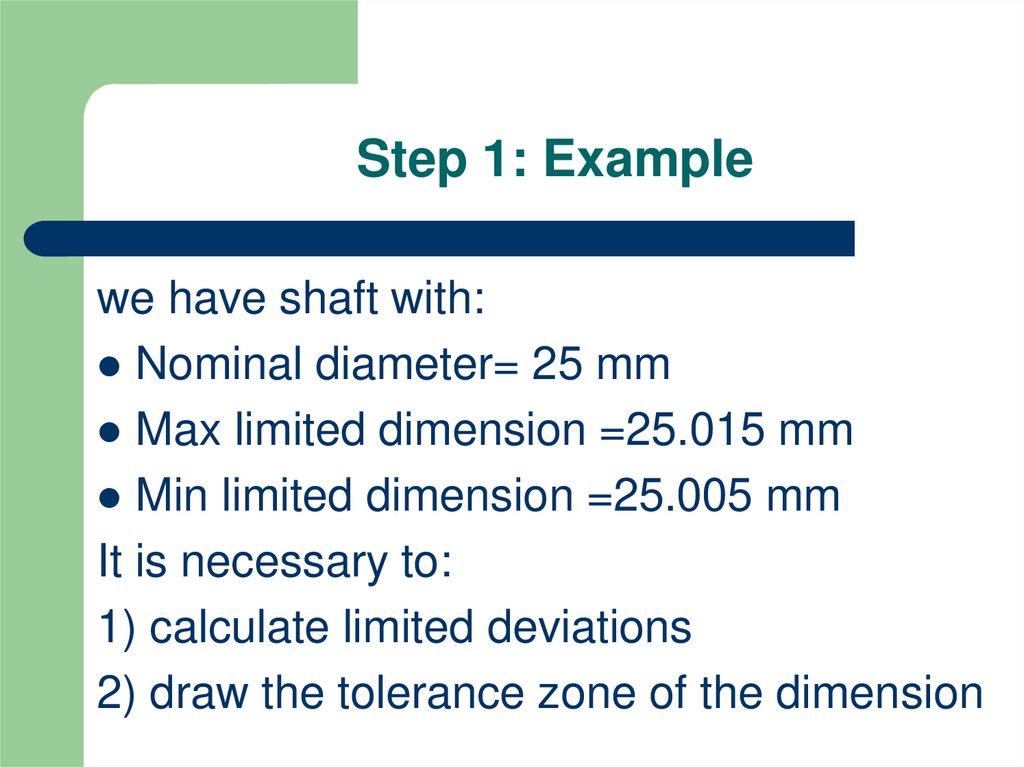
2. Step 1: Example
we have shaft with:Nominal diameter= 25 mm
Max limited dimension =25.015 mm
Min limited dimension =25.005 mm
It is necessary to:
1) calculate limited deviations
2) draw the tolerance zone of the dimension
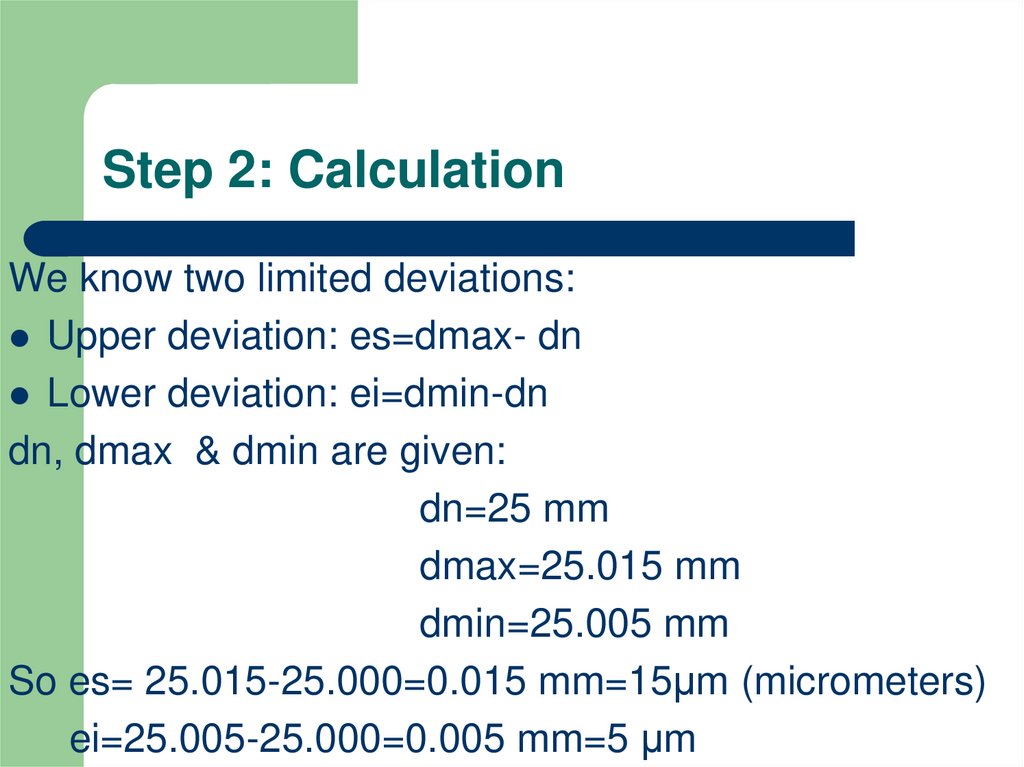
3. Step 2: Calculation
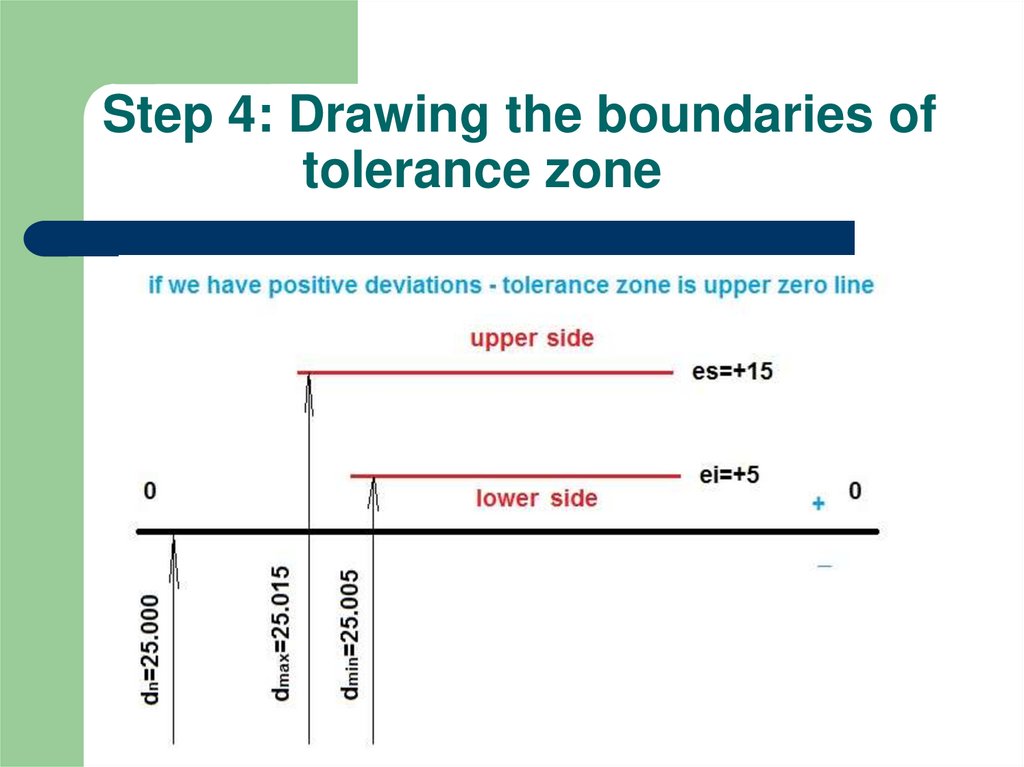
We know two limited deviations:Upper deviation: es=dmax- dn
Lower deviation: ei=dmin-dn
dn, dmax & dmin are given:
dn=25 mm
dmax=25.015 mm
dmin=25.005 mm
So es= 25.015-25.000=0.015 mm=15μm (micrometers)
ei=25.005-25.000=0.005 mm=5 μm
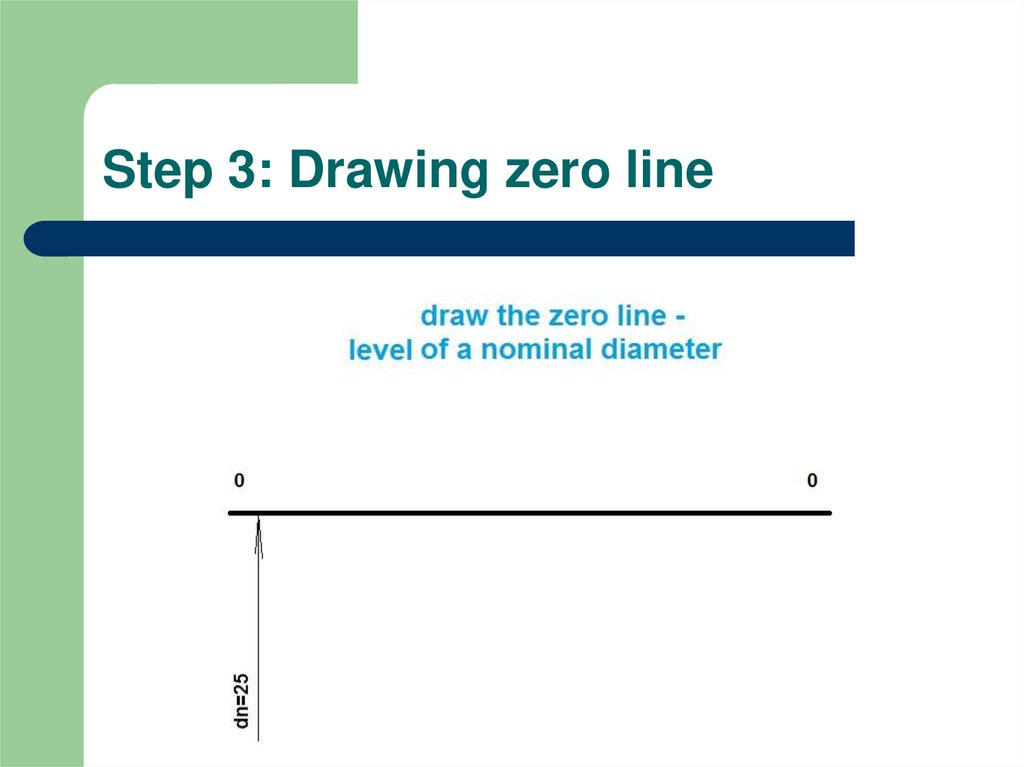
4. Step 3: Drawing zero line
5. Step 4: Drawing the boundaries of tolerance zone
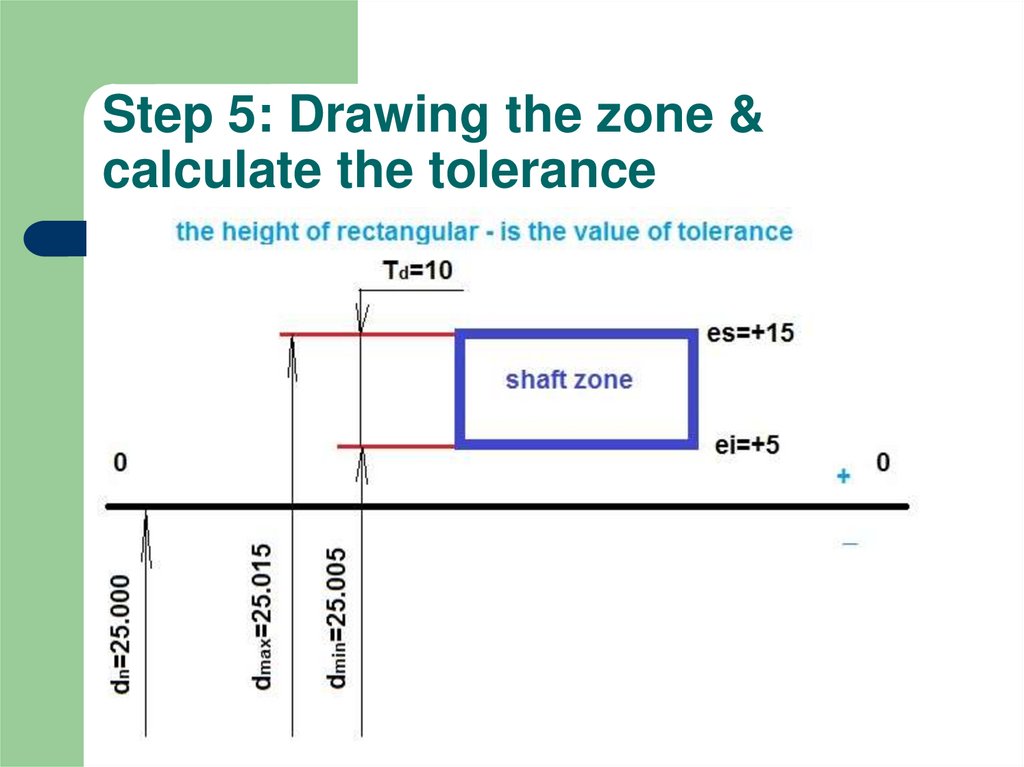
6. Step 5: Drawing the zone & calculate the tolerance
Step 5: Drawing the zone &calculate the tolerance
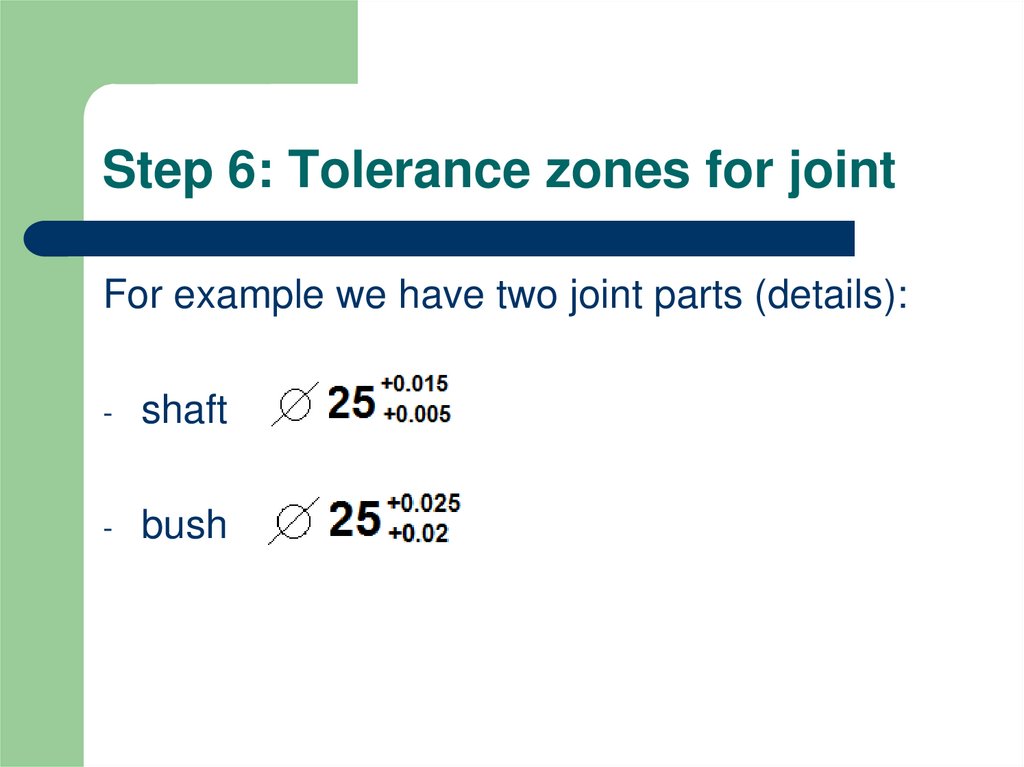
7. Step 6: Tolerance zones for joint
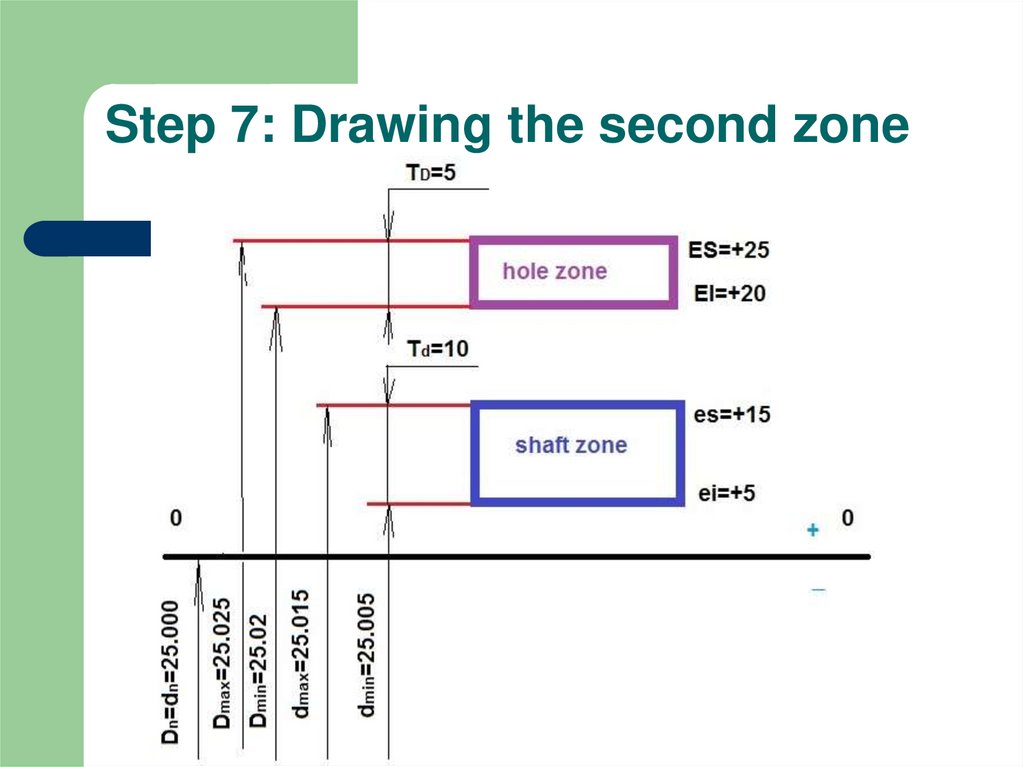
For example we have two joint parts (details):-
shaft
-
bush
8. Step 7: Drawing the second zone
9. Step 8: Defining of the fit type
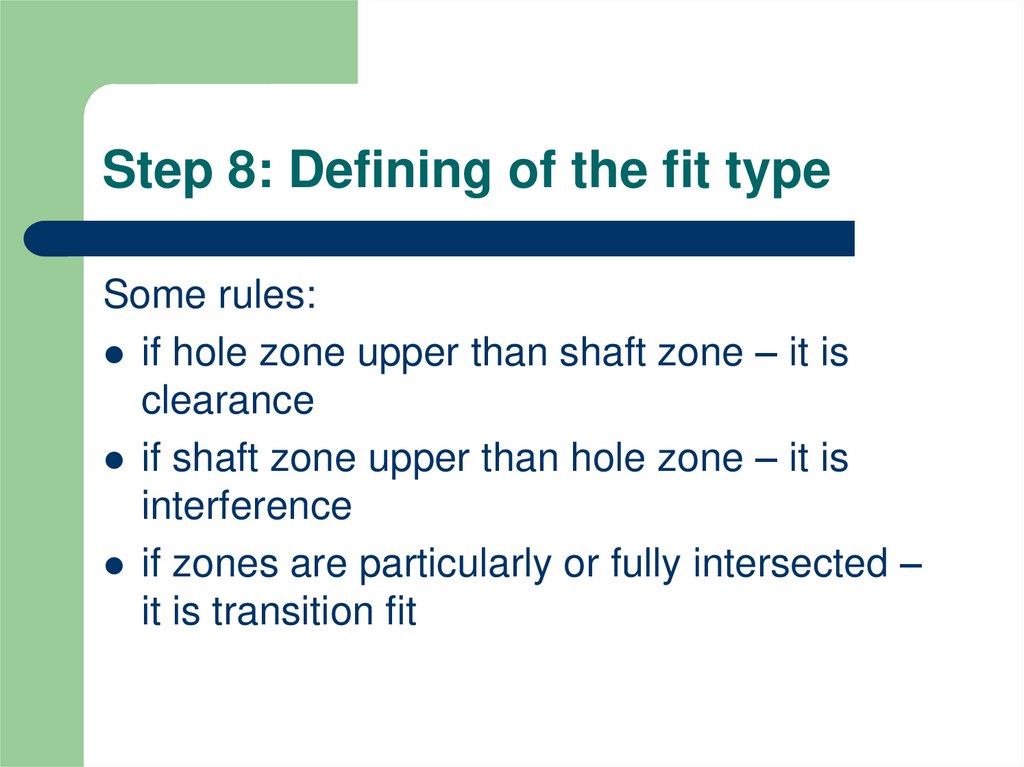
Some rules:if hole zone upper than shaft zone – it is
clearance
if shaft zone upper than hole zone – it is
interference
if zones are particularly or fully intersected –
it is transition fit
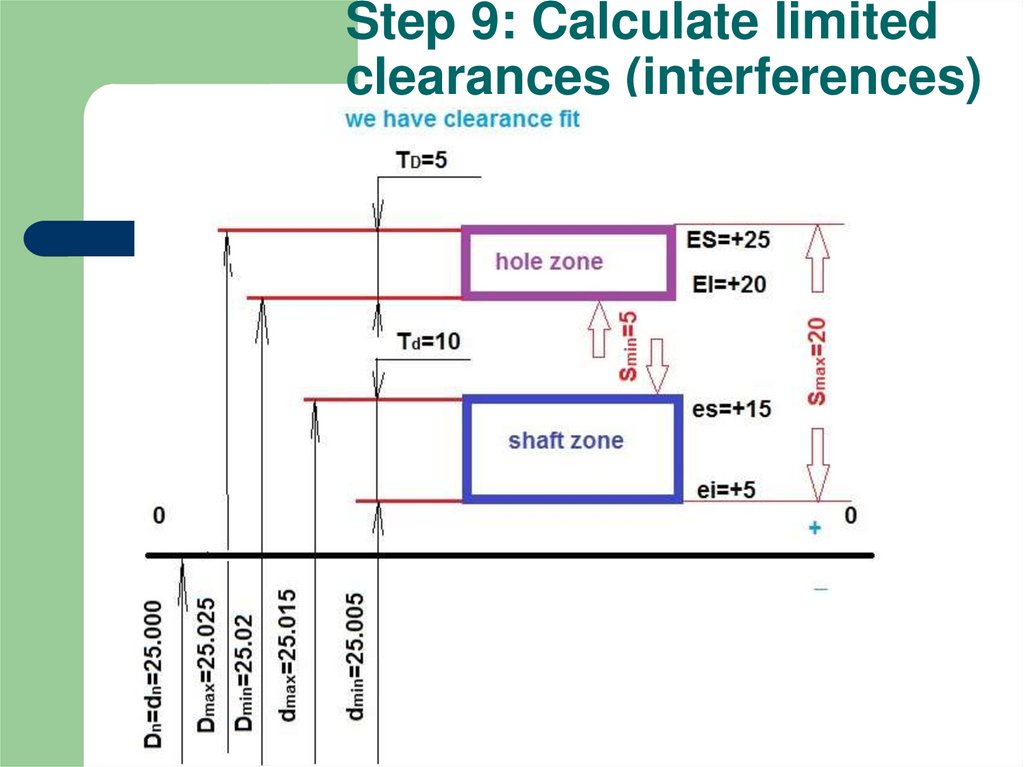
10. Step 9: Calculate limited clearances (interferences)
11. Step 10: Calculation of fit tolerance
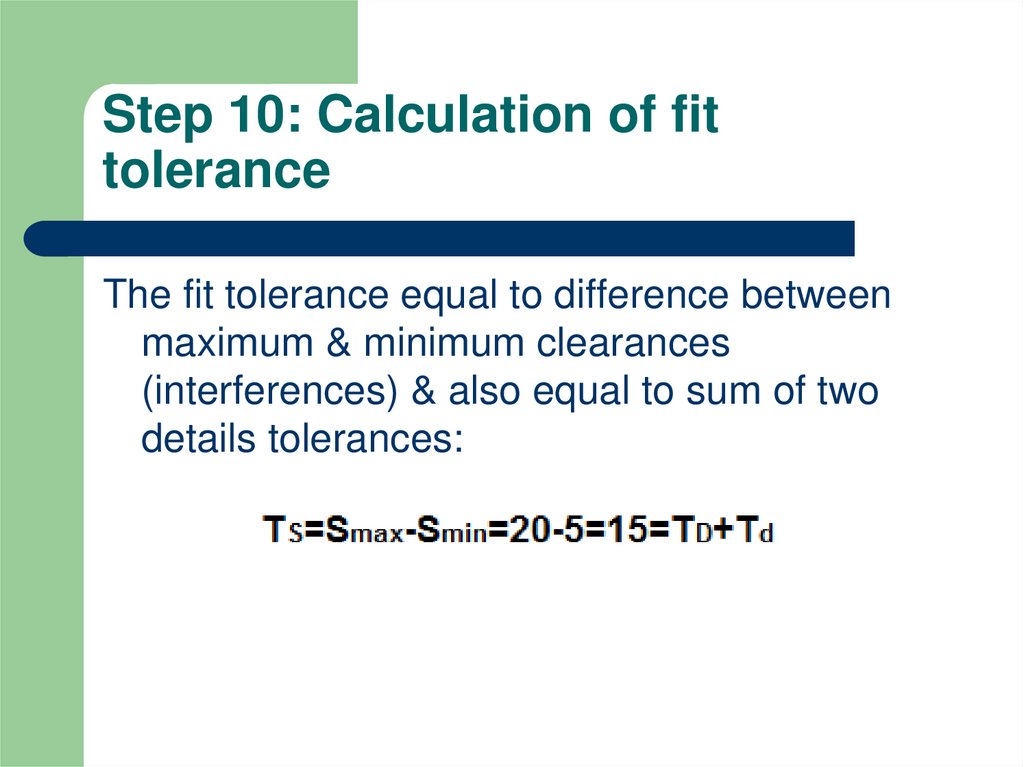
The fit tolerance equal to difference betweenmaximum & minimum clearances
(interferences) & also equal to sum of two
details tolerances:
