Similar presentations:
Quality management. Chapter 10
1.
CHAPTER 10:Quality
Management
2. Quality Control
• What does the term quality control mean?• Quality Control is an activity that evaluates quality
characteristics relative to a standard, and takes
corrective action when they do not meet
standards
• How is quality control accomplished?
• by monitoring and inspecting the product during
process (but not preventing bad quality from
happening)
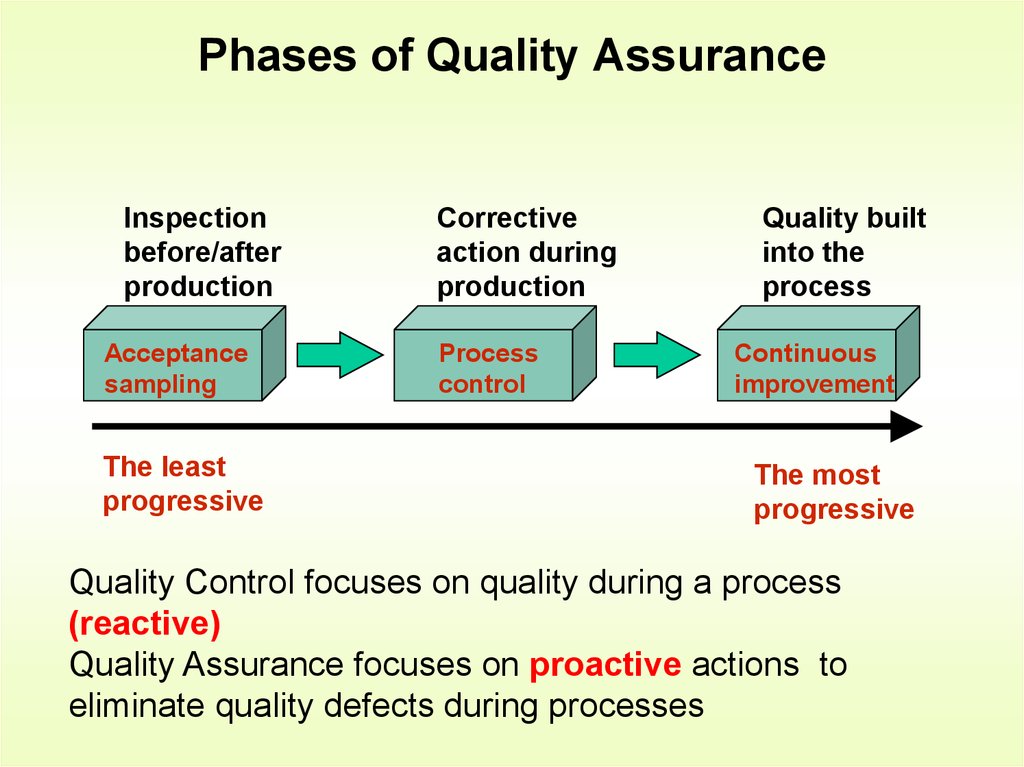
3. Phases of Quality Assurance
Inspectionbefore/after
production
Acceptance
sampling
The least
progressive
Corrective
action during
production
Process
control
Quality built
into the
process
Continuous
improvement
The most
progressive
Quality Control focuses on quality during a process
(reactive)
Quality Assurance focuses on proactive actions to
eliminate quality defects during processes
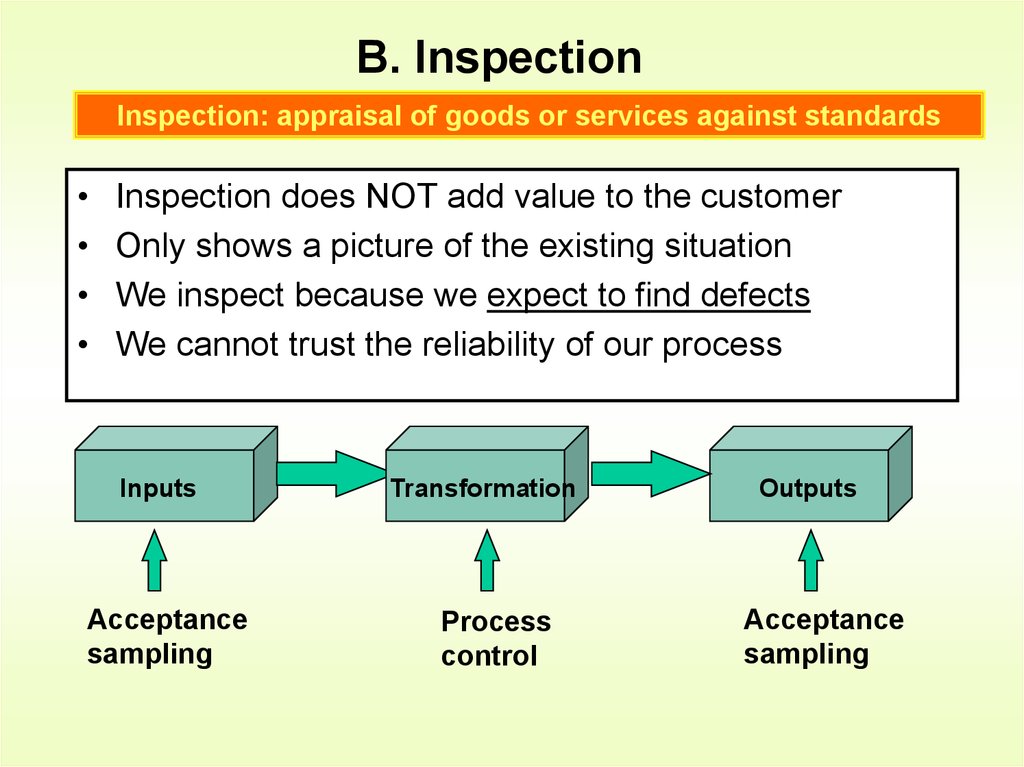
4. B. Inspection
Inspection: appraisal of goods or services against standardsInspection does NOT add value to the customer
Only shows a picture of the existing situation
We inspect because we expect to find defects
We cannot trust the reliability of our process
Inputs
Acceptance
sampling
Transformation
Process
control
Outputs
Acceptance
sampling
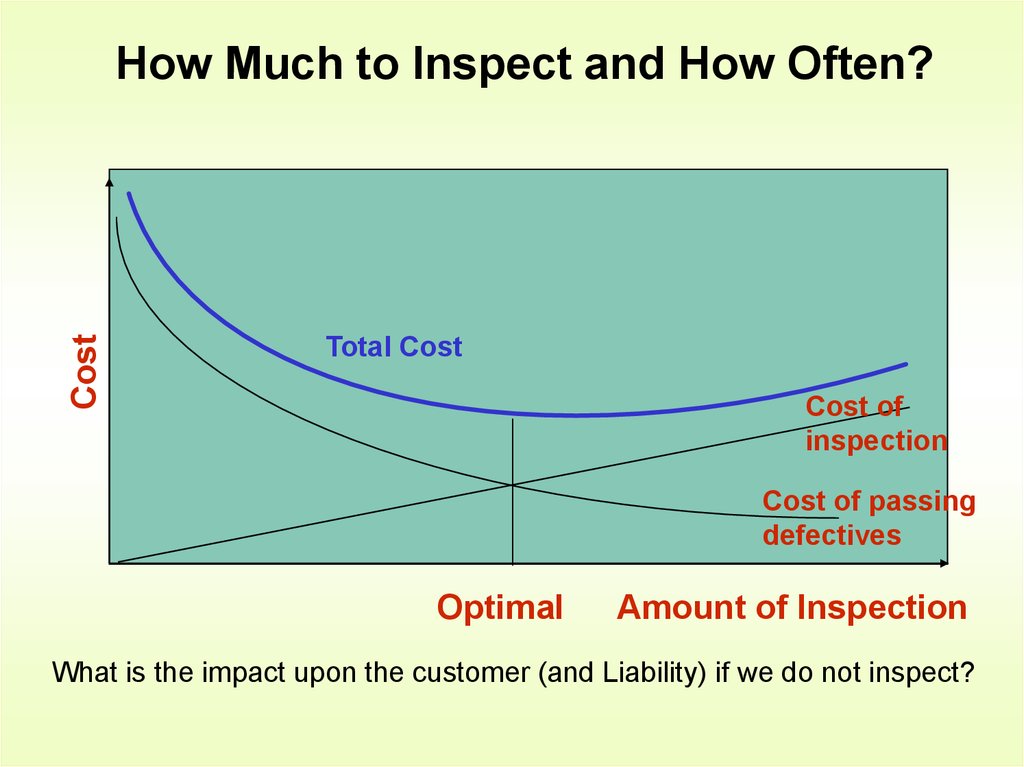
5. How Much to Inspect and How Often?
CostHow Much to Inspect and How Often?
Total Cost
Cost of
inspection
Cost of passing
defectives
Optimal
Amount of Inspection
What is the impact upon the customer (and Liability) if we do not inspect?
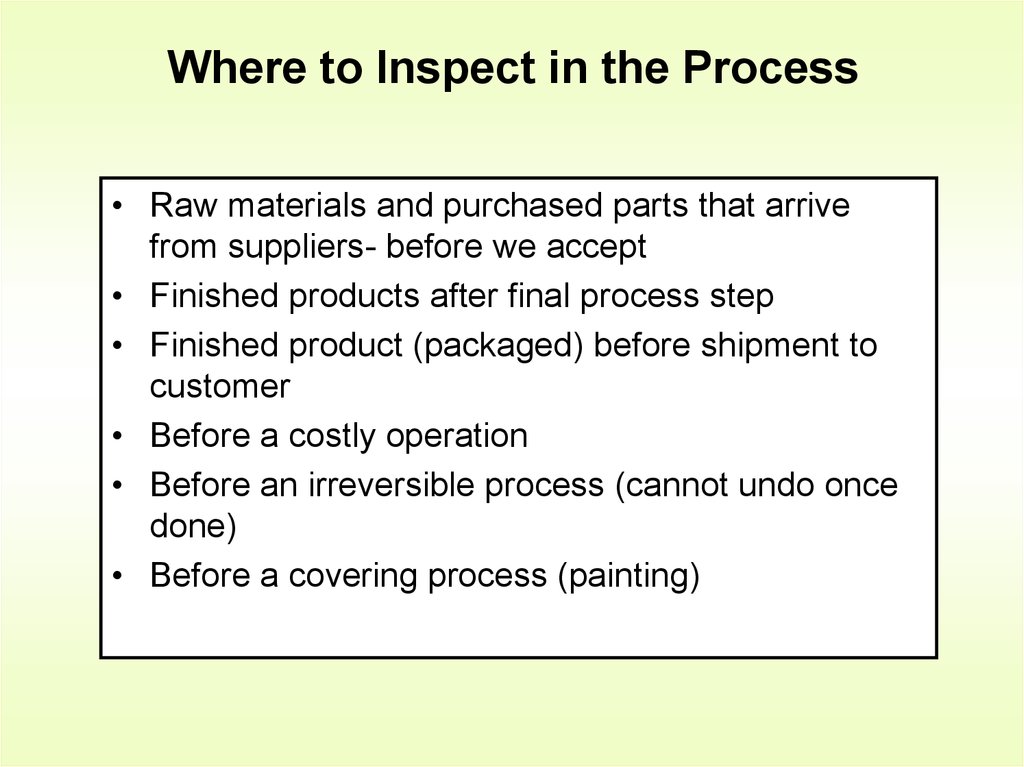
6. Where to Inspect in the Process
• Raw materials and purchased parts that arrivefrom suppliers- before we accept
• Finished products after final process step
• Finished product (packaged) before shipment to
customer
• Before a costly operation
• Before an irreversible process (cannot undo once
done)
• Before a covering process (painting)
7. Examples of Inspection Points
Type ofbusiness
Inspection
points
Characteristics
Fast Food
Server
Eating Area
Kitchen
Appearance, friendliness
Cleanliness
Cleanliness, purity of food, food
storage, health regulations,
availability of ingredients, hygiene
Supermarket
Cashiers
Aisles, stockrooms
Shelf stock
Accuracy, courtesy, waiting time
Uncluttered layout
Ample supply, rotation of
perishables, appearance
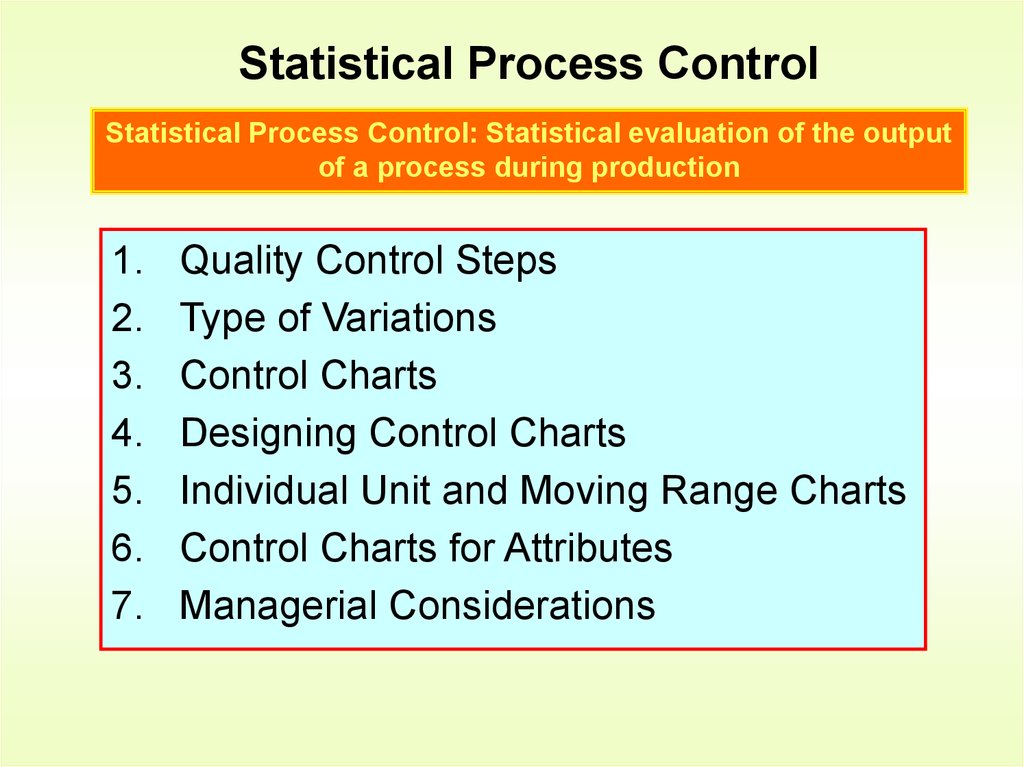
8. Statistical Process Control
Statistical Process Control: Statistical evaluation of the outputof a process during production
1.
2.
3.
4.
5.
6.
7.
Quality Control Steps
Type of Variations
Control Charts
Designing Control Charts
Individual Unit and Moving Range Charts
Control Charts for Attributes
Managerial Considerations
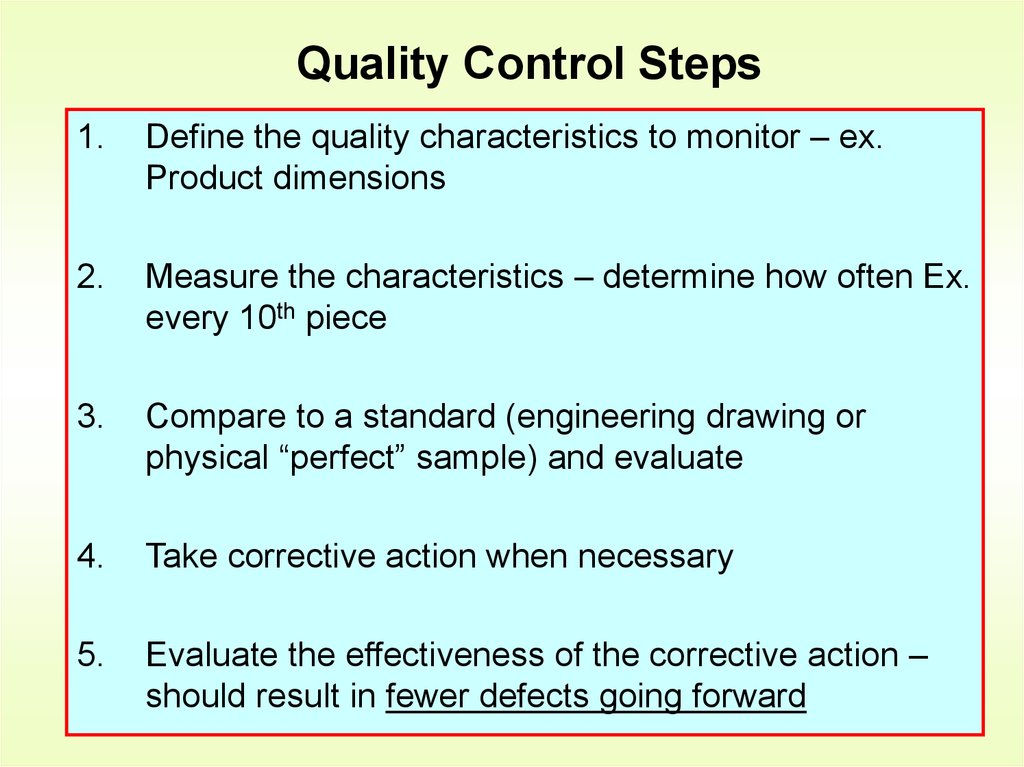
9. Quality Control Steps
1.Define the quality characteristics to monitor – ex.
Product dimensions
2.
Measure the characteristics – determine how often Ex.
every 10th piece
3.
Compare to a standard (engineering drawing or
physical “perfect” sample) and evaluate
4.
Take corrective action when necessary
5.
Evaluate the effectiveness of the corrective action –
should result in fewer defects going forward
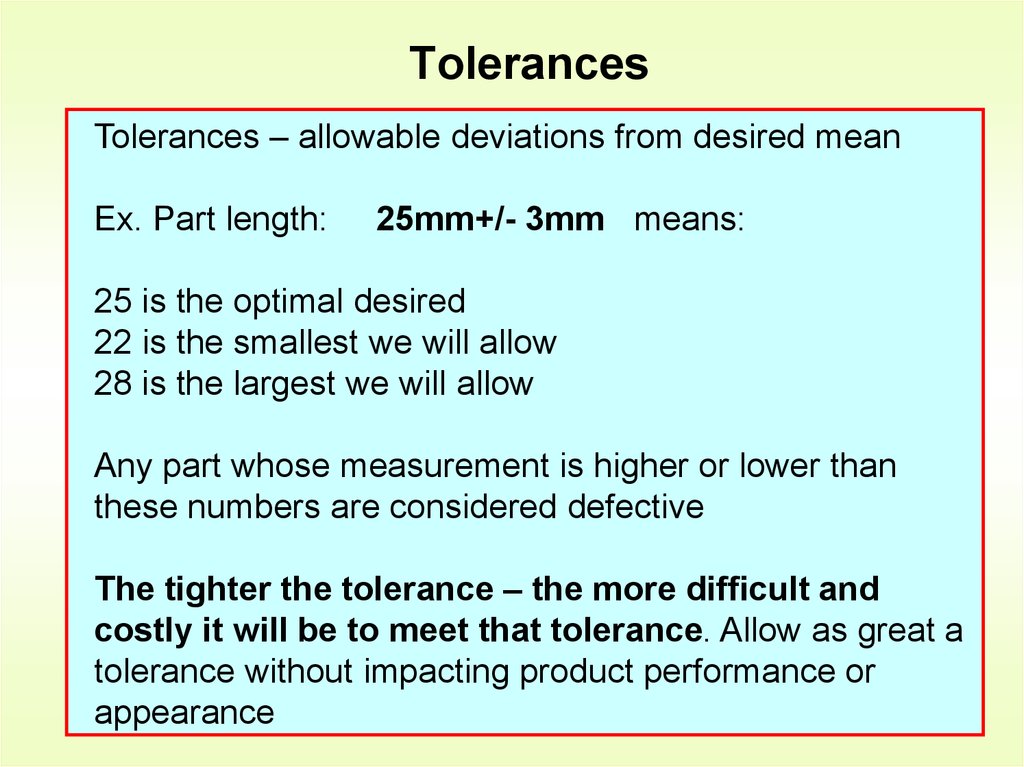
10. Tolerances
Tolerances – allowable deviations from desired meanEx. Part length:
25mm+/- 3mm means:
25 is the optimal desired
22 is the smallest we will allow
28 is the largest we will allow
Any part whose measurement is higher or lower than
these numbers are considered defective
The tighter the tolerance – the more difficult and
costly it will be to meet that tolerance. Allow as great a
tolerance without impacting product performance or
appearance
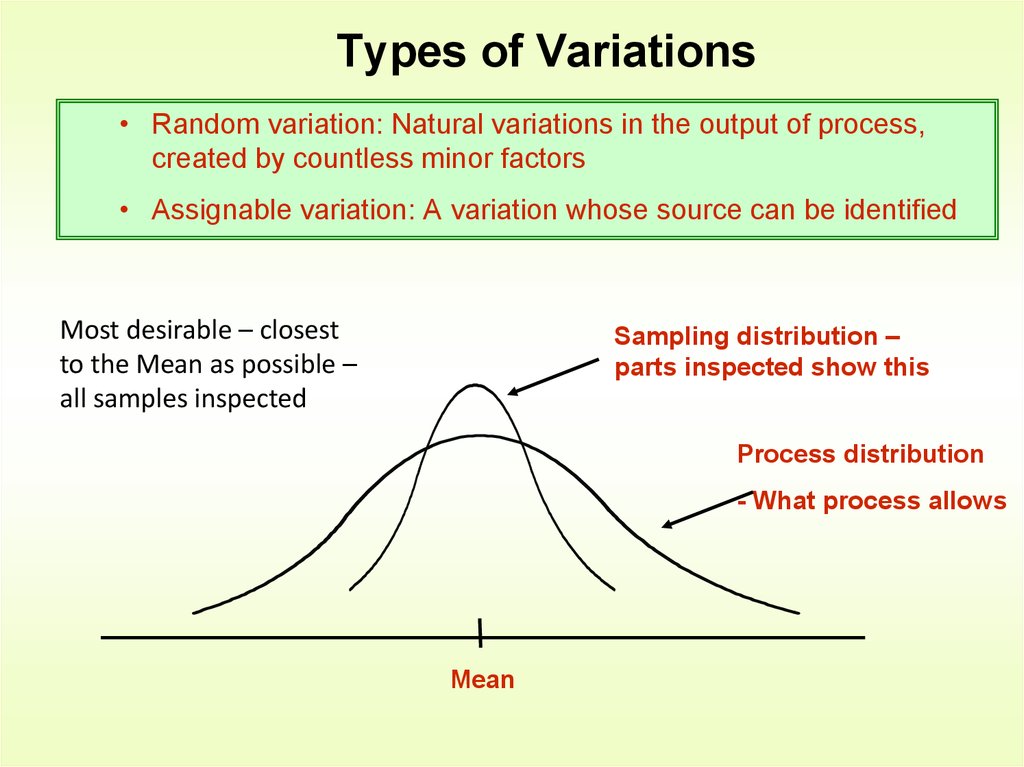
11. Types of Variations
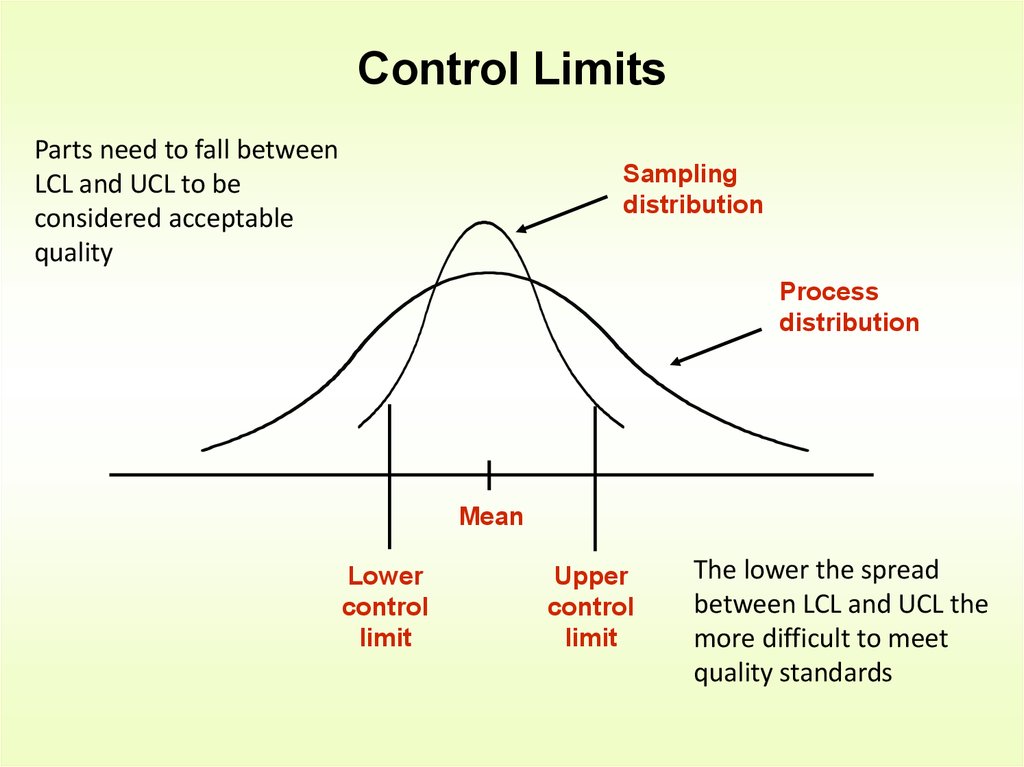
• Random variation: Natural variations in the output of process,created by countless minor factors
• Assignable variation: A variation whose source can be identified
Most desirable – closest
to the Mean as possible –
all samples inspected
Sampling distribution –
parts inspected show this
Process distribution
- What process allows
Mean
12. Control Limits
Parts need to fall betweenLCL and UCL to be
considered acceptable
quality
Sampling
distribution
Process
distribution
Mean
Lower
control
limit
Upper
control
limit
The lower the spread
between LCL and UCL the
more difficult to meet
quality standards
13. Capability Analysis
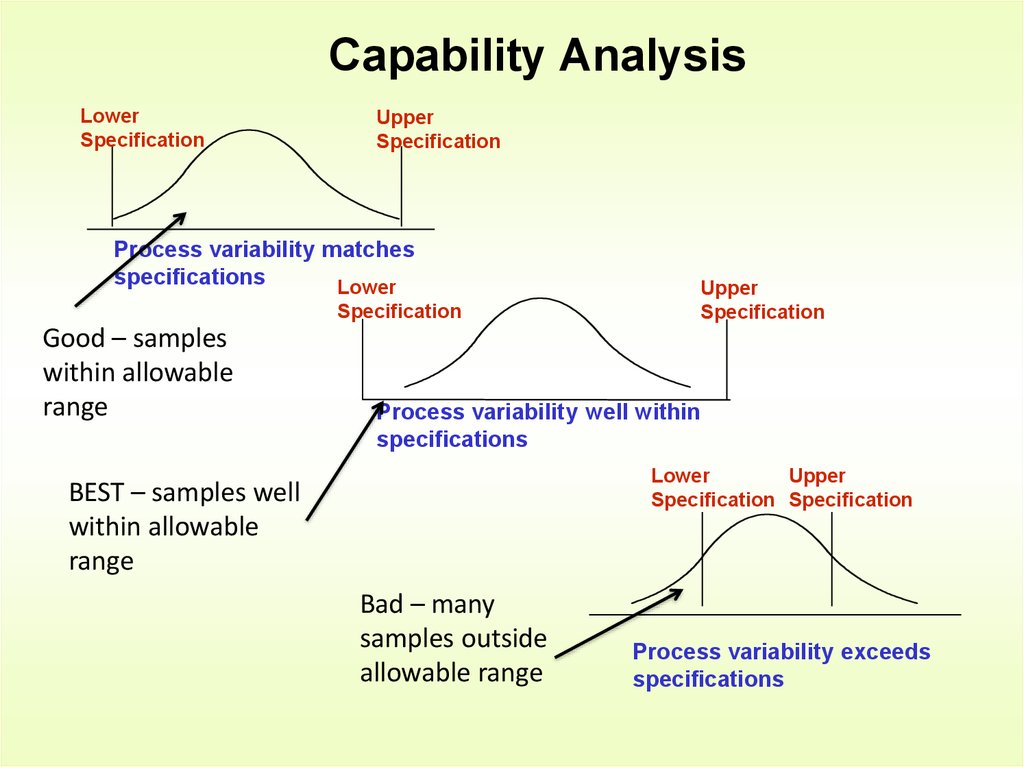
LowerSpecification
Upper
Specification
Process variability matches
specifications
Lower
Specification
Good – samples
within allowable
range
Upper
Specification
Process variability well within
specifications
Lower
Upper
Specification Specification
BEST – samples well
within allowable
range
Bad – many
samples outside
allowable range
Process variability exceeds
specifications
14.
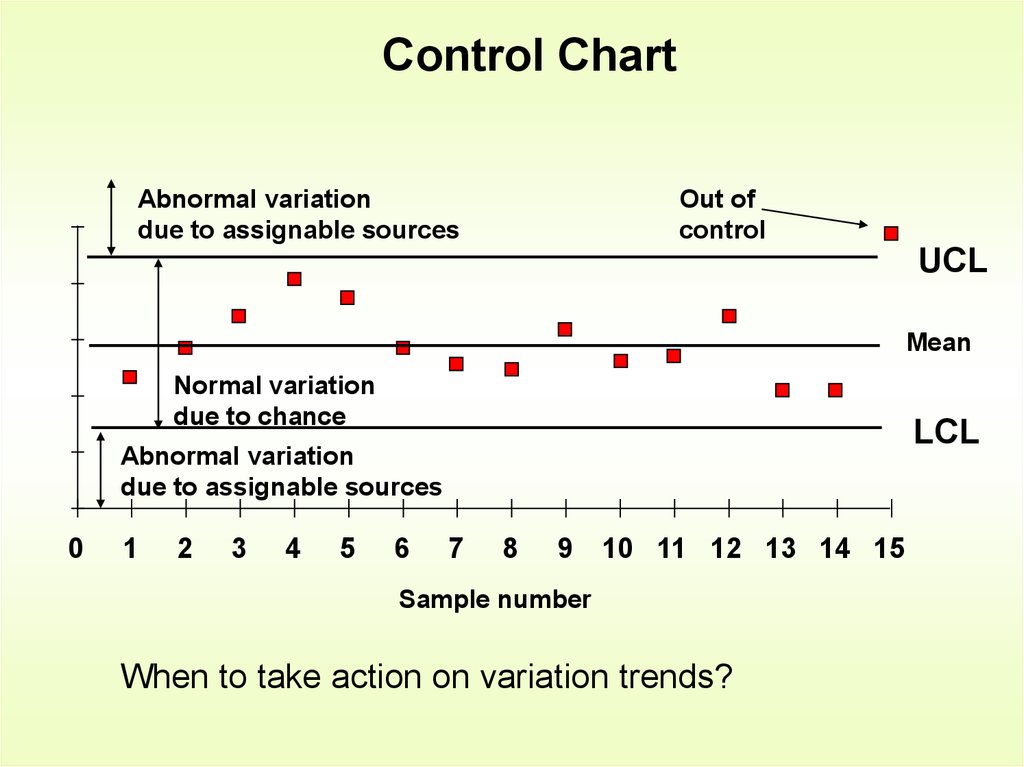
Control Charts• Control Chart: A time ordered plot of sample
statistics, used to distinguish between random
and non random variability
• Control Limits: The dividing lines (upper and
lower limits) from the desired mean of the
sampling distribution
• Every x piece the operator measures and record
on the Control Chart. Chart is kept beside the
machine, visible to anyone
15. Control Chart
Abnormal variationdue to assignable sources
Out of
control
UCL
Mean
Normal variation
due to chance
LCL
Abnormal variation
due to assignable sources
0
1
2
3
4
5
6
7
8
9
10 11 12 13 14 15
Sample number
When to take action on variation trends?
16. Designing Control Charts
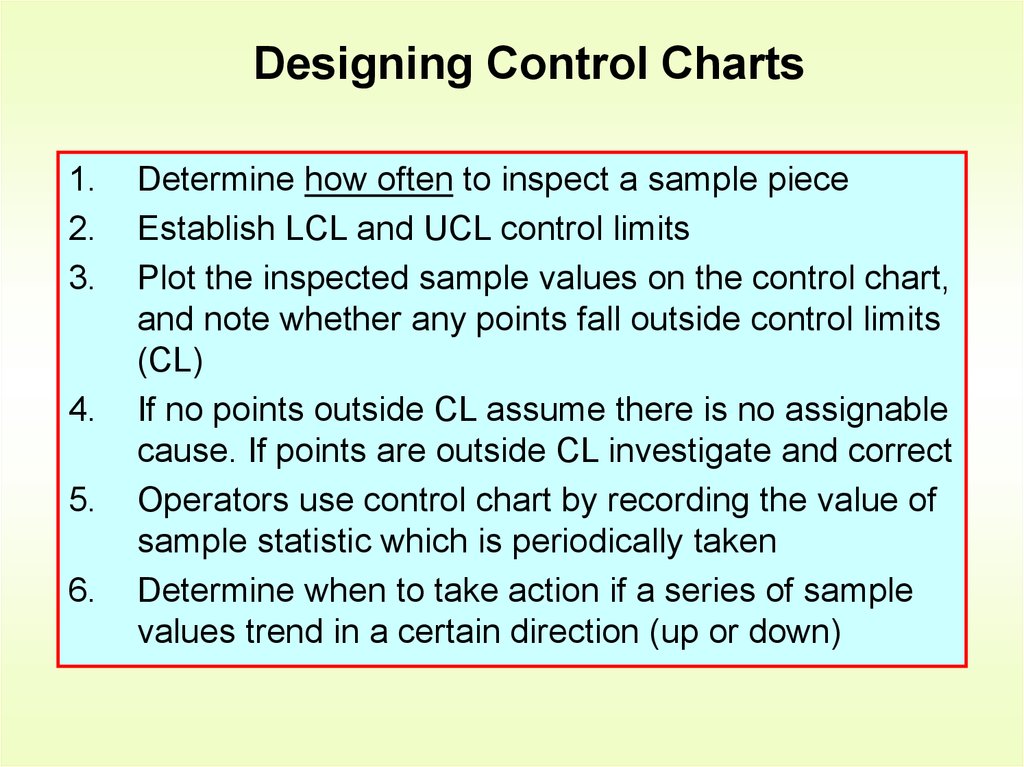
1.2.
3.
4.
5.
6.
Determine how often to inspect a sample piece
Establish LCL and UCL control limits
Plot the inspected sample values on the control chart,
and note whether any points fall outside control limits
(CL)
If no points outside CL assume there is no assignable
cause. If points are outside CL investigate and correct
Operators use control chart by recording the value of
sample statistic which is periodically taken
Determine when to take action if a series of sample
values trend in a certain direction (up or down)
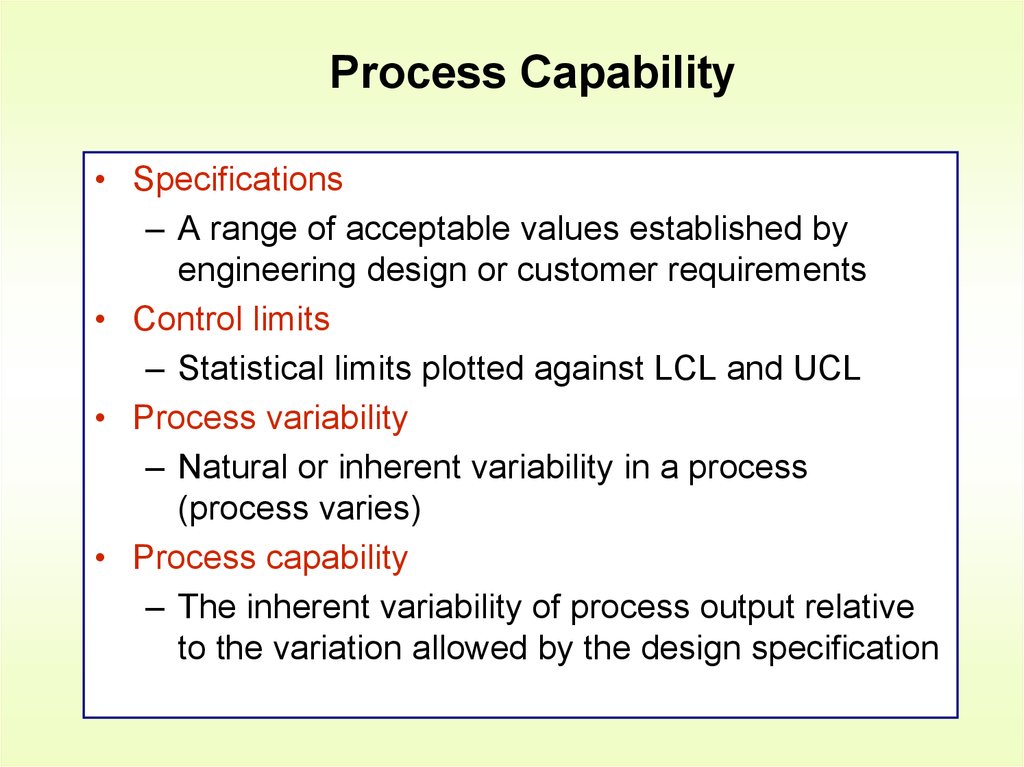
17. Process Capability
• Specifications– A range of acceptable values established by
engineering design or customer requirements
• Control limits
– Statistical limits plotted against LCL and UCL
• Process variability
– Natural or inherent variability in a process
(process varies)
• Process capability
– The inherent variability of process output relative
to the variation allowed by the design specification
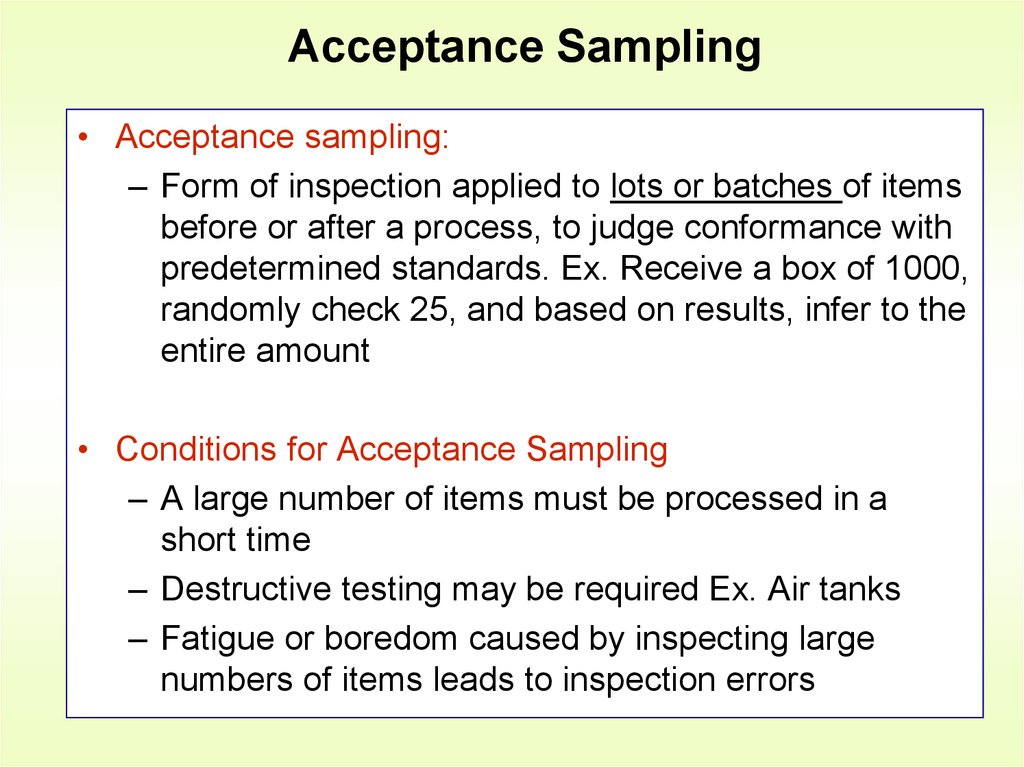
18. Acceptance Sampling
• Acceptance sampling:– Form of inspection applied to lots or batches of items
before or after a process, to judge conformance with
predetermined standards. Ex. Receive a box of 1000,
randomly check 25, and based on results, infer to the
entire amount
• Conditions for Acceptance Sampling
– A large number of items must be processed in a
short time
– Destructive testing may be required Ex. Air tanks
– Fatigue or boredom caused by inspecting large
numbers of items leads to inspection errors
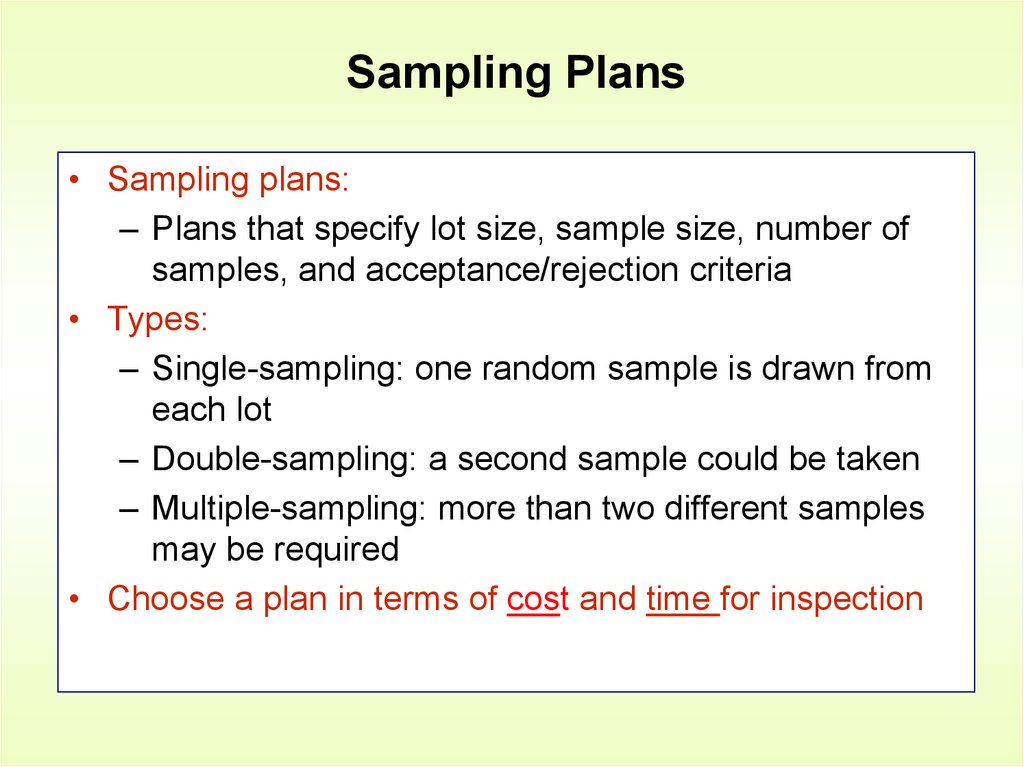
19. Sampling Plans
• Sampling plans:– Plans that specify lot size, sample size, number of
samples, and acceptance/rejection criteria
• Types:
– Single-sampling: one random sample is drawn from
each lot
– Double-sampling: a second sample could be taken
– Multiple-sampling: more than two different samples
may be required
• Choose a plan in terms of cost and time for inspection
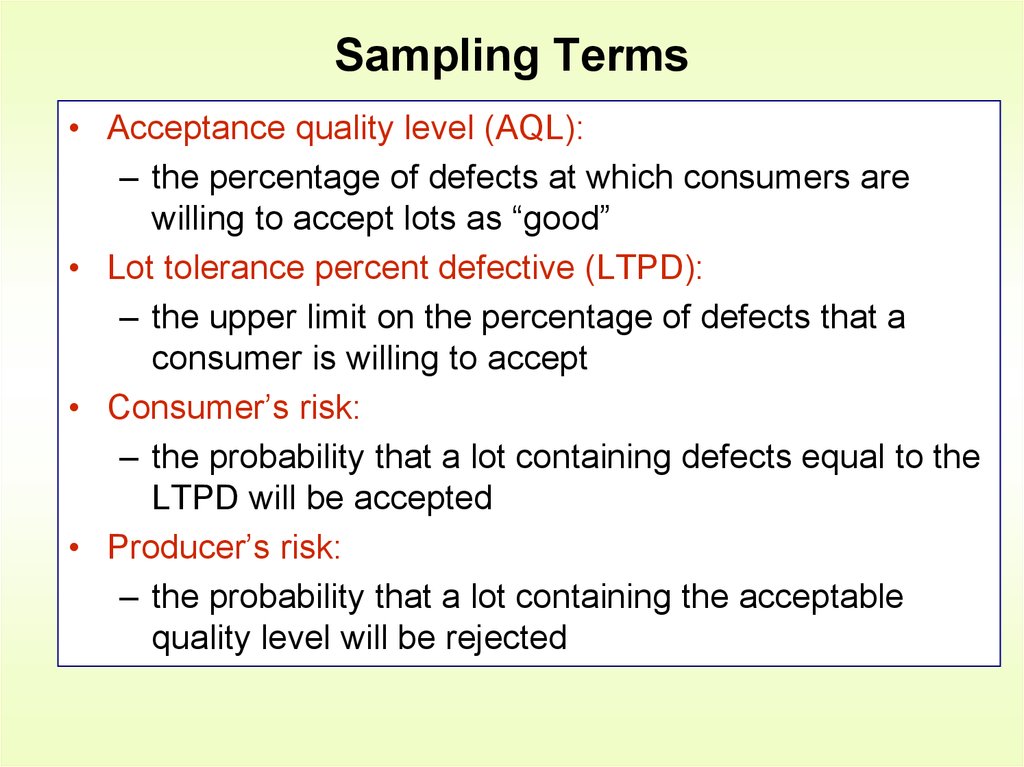
20. Sampling Terms
• Acceptance quality level (AQL):– the percentage of defects at which consumers are
willing to accept lots as “good”
• Lot tolerance percent defective (LTPD):
– the upper limit on the percentage of defects that a
consumer is willing to accept
• Consumer’s risk:
– the probability that a lot containing defects equal to the
LTPD will be accepted
• Producer’s risk:
– the probability that a lot containing the acceptable
quality level will be rejected




 management


