


 software
Similar presentations:


")

Accounting applications on introduction computer to Microsoft Excel
1.
AccountingApplications
on
Introduction
Computer
to Microsoft
1
Excel
2.
2Introduction to Spreadsheets
Microsoft
Excel 2010 is the spreadsheet program
in Microsoft Office 2010.
A
spreadsheet is a grid of rows and columns in
which you enter text, numbers, and the results of
calculations.
The
no. of columns in MS Excel 2010 is 16384
whereas the no. of rows is 1,048,576.
In
2
Excel, a computerized spreadsheet is called a
worksheet. The file used to store worksheets is
called a workbook.
3.
3Introduction to
Spreadsheets, cont’d
The
primary purpose of a spreadsheet is to solve
problems involving numbers. The advantage of
using a computer spreadsheet is that you can
complete complex and repetitious calculations
quickly and accurately.
A
worksheet consists of columns and rows that
intersect to form cells. Each cell is identified by a
cell reference, which combines the letter of the
column and the number of the row.
3
4.
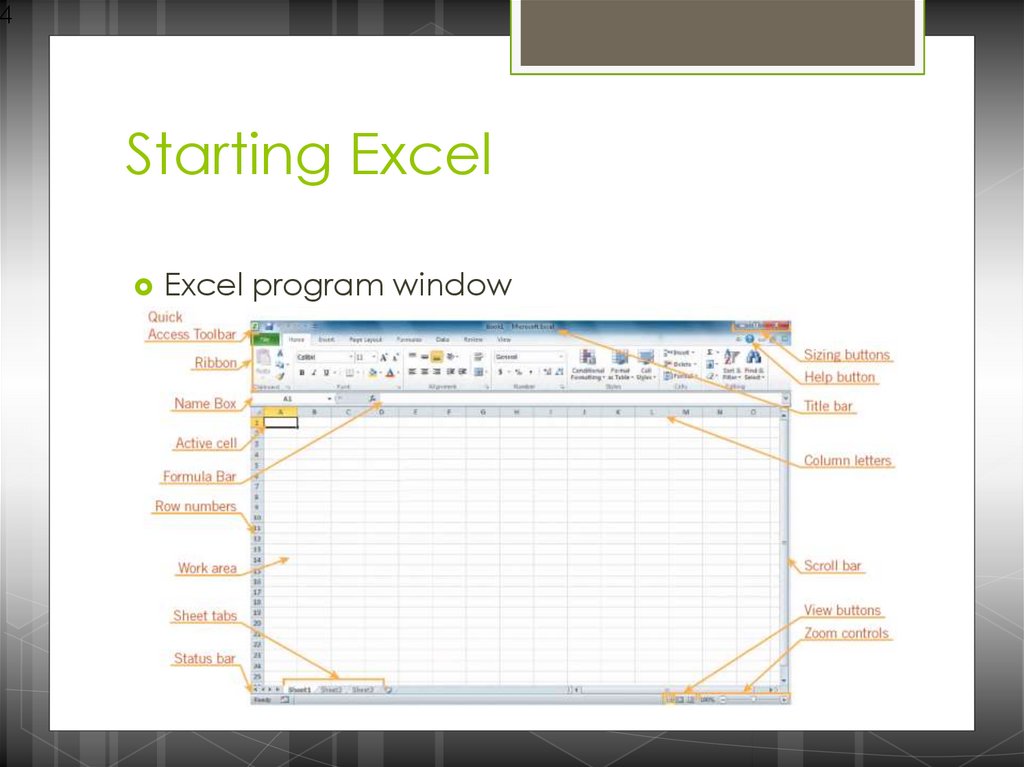
4Starting Excel
Excel program window
5.
5Saving a Workbook
5
The Save command saves an existing
workbook, using its current name and
save location.
The Save As command lets you save a
workbook with a new name or to a new
location.
6.
6Moving the Active Cell in a
Worksheet
6
The easiest way to change the active cell in
a worksheet is to move the pointer to the
cell you want to make active and click.
You can display different parts of the
worksheet by using the mouse to drag the
scroll box in the scroll bar to another
position.
You can also move the active cell to
different parts of the worksheet using the
keyboard or the Go To command.
7.
7Moving the Active Cell in a
Worksheet (continued)
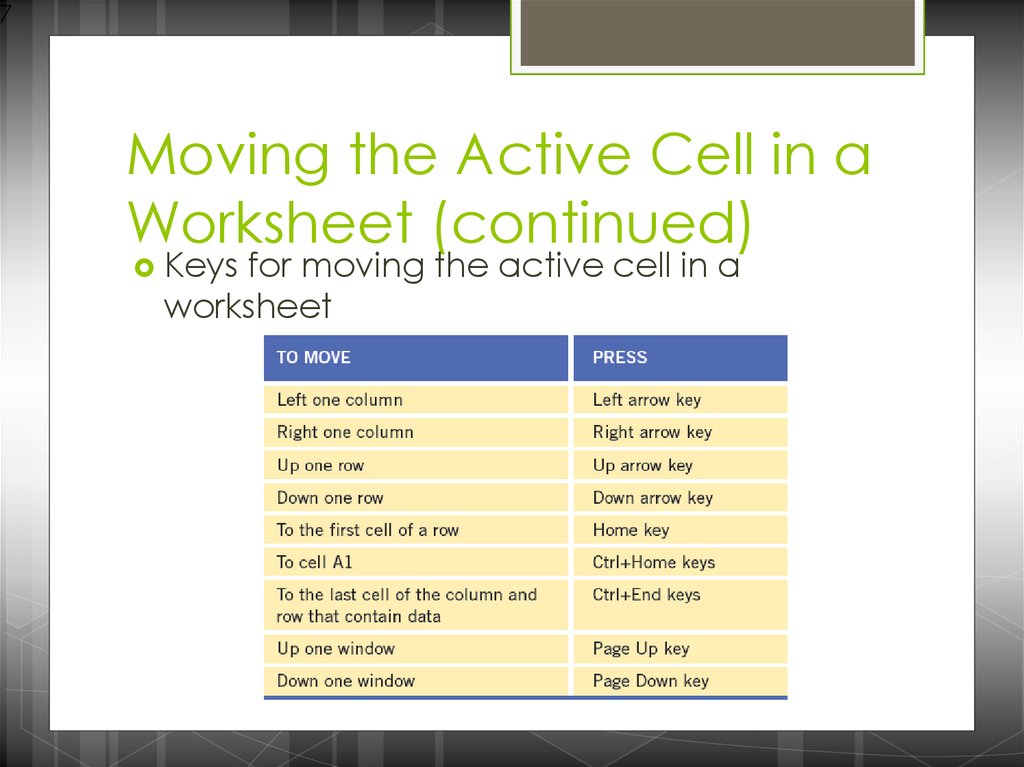
Keys
for moving the active cell in a
worksheet
8.
8Selecting a Group of Cells
A
group of selected cells is called a
range. The range is identified by its range
reference, for example, A3:C5.
In
an adjacent range, all cells touch each
other and form a rectangle.
To select an adjacent range, click the cell
in a corner of the range, drag the pointer to
the cell in the opposite corner of the range,
and release the mouse button.
9.
9Selecting a Group of Cells
(continued)
A
nonadjacent range includes two or
more adjacent ranges and selected cells.
To select a nonadjacent range, select the
first adjacent range or cell, press the Ctrl
key as you select the other cells or ranges
you want to include, and then release the
Ctrl key and the mouse button.
10.
10
Entering Data in a Cell
Worksheet
cells can contain text,
numbers, or formulas.
Text is any combination of letters and
numbers and symbols.
Numbers are values, dates, or times.
Formulas are equations that calculate a
value.
You
enter data in the active cell.
11.
11Data Entry
The
simplest way to enter data is to click a
cell and type a value. This method works
very well when you’re entering a few
pieces of data, but it is less than ideal
when you’re entering long sequences or
series of values.
Example:
If
you want to create a worksheet
containing the sales revenues for the
companies branches in Qena, Luxor, and
Aswan for the first quarter in 2014. To
record theses numbers you need to
create a worksheet tracking each branch
12.
12Data Entry
Repeatedly entering the sequence January, February,
March, and so on can be handled by copying and
pasting the first occurrence of the sequence, but there’s
an easier way to do it: use AutoFill.
With AutoFill, you enter the first element in a recognized
series, click and hold the mouse button down on the fill
handle at the lower-right corner of the cell, and drag
the fill handle until the series extends far enough to
accommodate your data.
Using a similar tool, FillSeries, you can enter two values in
a series and use the fill handle to extend the series in
your worksheet. For example, if you want to create a
series starting at 2 and increasing by 2, you can put 2 in
the first cell and 4 in the second cell, select both cells,
and then use the fill handle to extend the series to your
desired end value.
13.
13Data Entry, cont’d
You do have some control over how Excel extends the values
in a series when you drag the fill handle. For example, if you
drag the fill handle up (or to the left), Excel extends the series to
include previous values. If you type January in a cell and then
drag that cell’s fill handle up (or to the left), Excel places
December in the first cell, November in the second cell, and so
on.
Another way to control how Excel extends a data series is by
holding down the Ctrl key while you drag the fill handle. For
example, if you select a cell that contains the value January
and then drag the fill handle down, Excel extends the series by
placing February in the next cell, March in the cell after that,
and so on. If you hold down the Ctrl key while you drag the fill
handle, however, Excel repeats the value January in each cell
you add to the series.
Other data entry techniques you’ll use in this section are
AutoComplete, which detects when a value you’re entering is
similar to previously entered values; and Ctrl+Enter, which you
can use to enter a value in multiple cells simultaneously.
14.
14Data Entry, cont’d
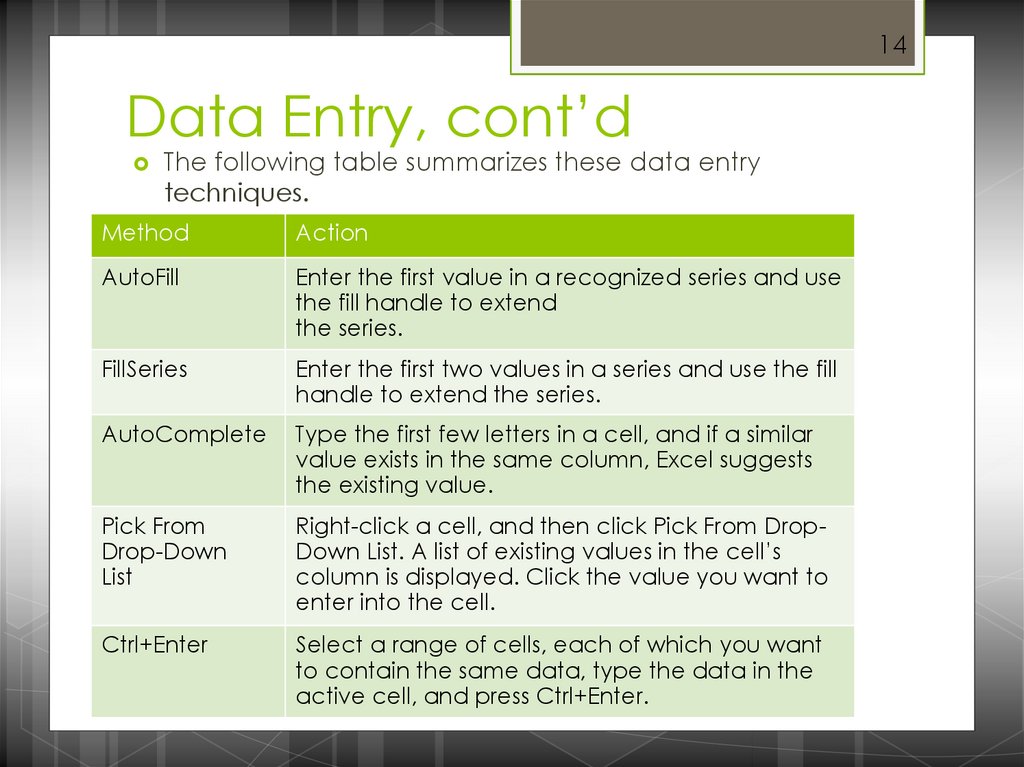
The following table summarizes these data entry
techniques.
Method
Action
AutoFill
Enter the first value in a recognized series and use
the fill handle to extend
the series.
FillSeries
Enter the first two values in a series and use the fill
handle to extend the series.
AutoComplete
Type the first few letters in a cell, and if a similar
value exists in the same column, Excel suggests
the existing value.
Pick From
Drop-Down
List
Right-click a cell, and then click Pick From DropDown List. A list of existing values in the cell’s
column is displayed. Click the value you want to
enter into the cell.
Ctrl+Enter
Select a range of cells, each of which you want
to contain the same data, type the data in the
active cell, and press Ctrl+Enter.
15.
15
Changing Data in a Cell
You
can edit, replace, or clear data.
You
can edit cell data in the Formula Bar or in
the cell. The contents of the active cell always
appear in the Formula Bar.
To
replace cell data, select the cell, type new
data, and press the Enter button on the Formula
Bar or the Enter key or the keyboard.
15
16.
16
Searching for Data
The
Find command locates data in a worksheet,
which is particularly helpful when a worksheet
contains a large amount of data. You can use
the Find command to locate words or parts of
words.
The
Replace command is an extension of the
Find command. Replacing data substitutes new
data for the data that the Find command
locates.
16
17.
17
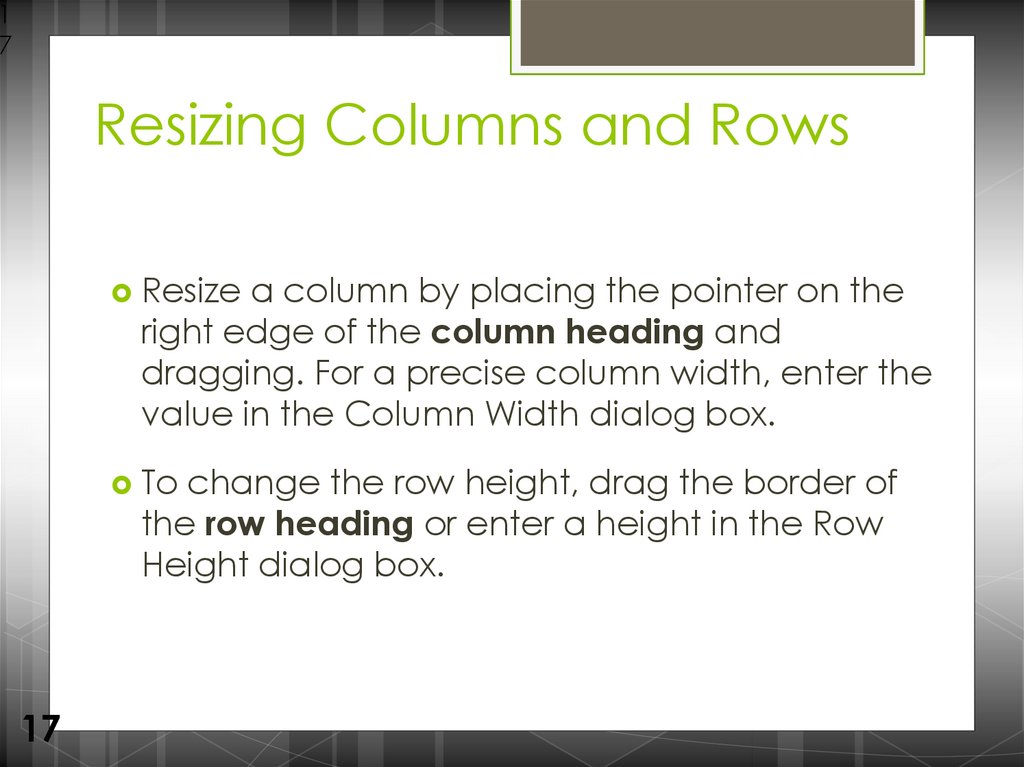
Resizing Columns and Rows
Resize
a column by placing the pointer on the
right edge of the column heading and
dragging. For a precise column width, enter the
value in the Column Width dialog box.
To
change the row height, drag the border of
the row heading or enter a height in the Row
Height dialog box.
17
18.
18
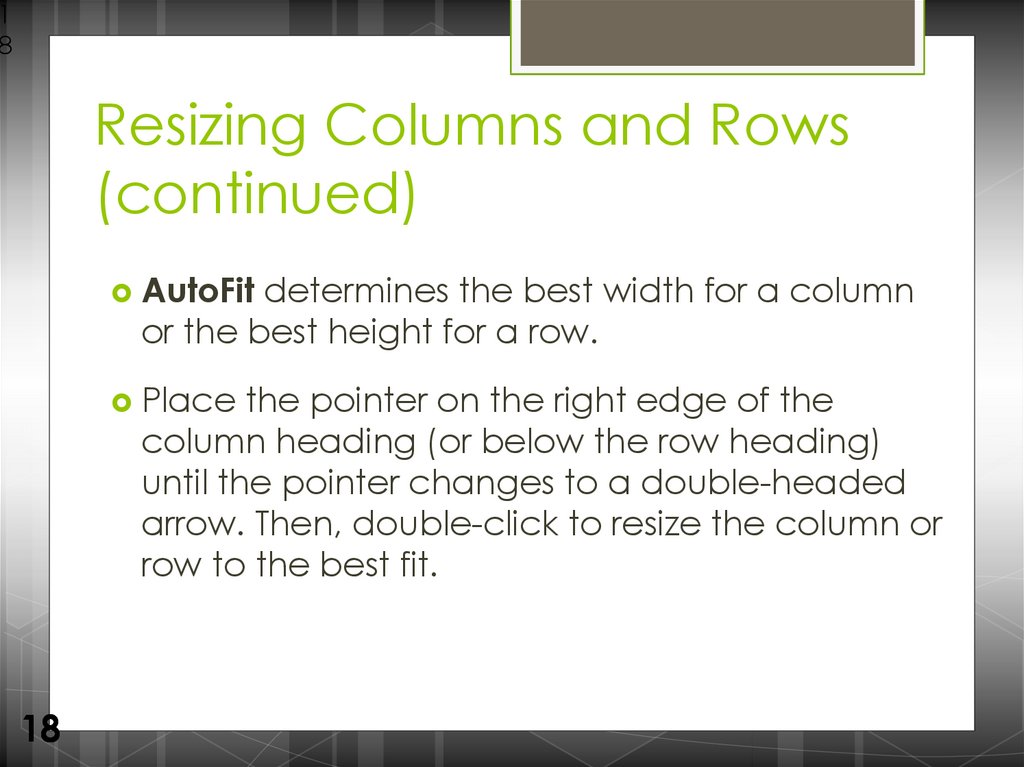
Resizing Columns and Rows
(continued)
AutoFit
determines the best width for a column
or the best height for a row.
Place
the pointer on the right edge of the
column heading (or below the row heading)
until the pointer changes to a double-headed
arrow. Then, double-click to resize the column or
row to the best fit.
18
19.
19
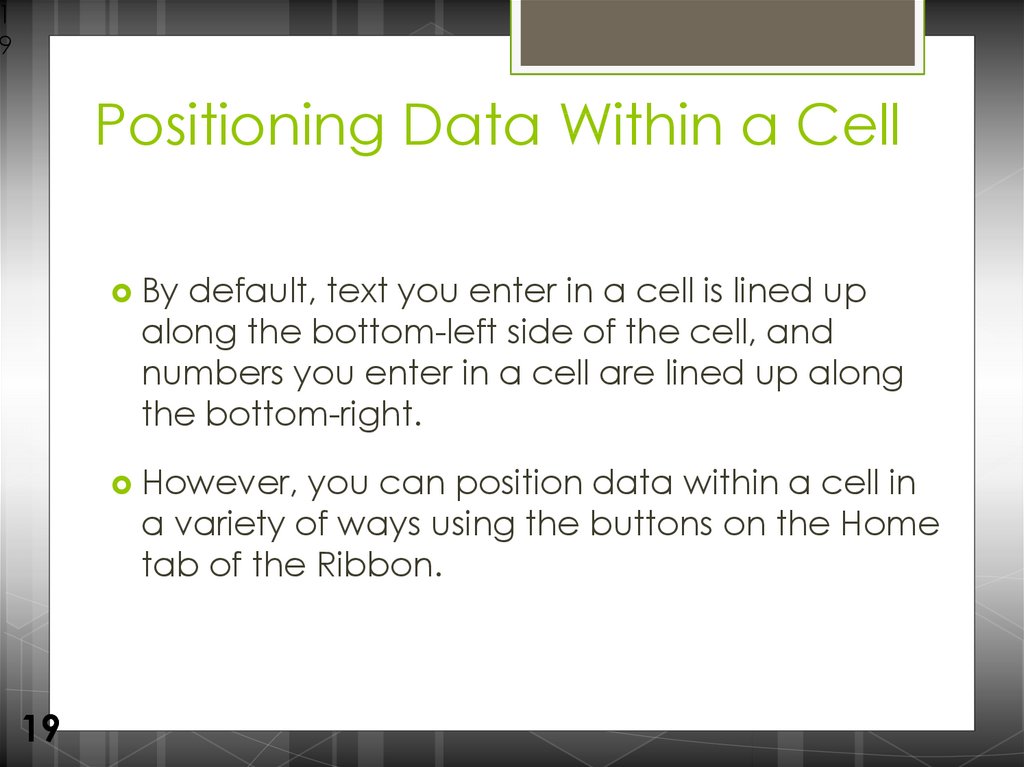
Positioning Data Within a Cell
By
default, text you enter in a cell is lined up
along the bottom-left side of the cell, and
numbers you enter in a cell are lined up along
the bottom-right.
However,
you can position data within a cell in
a variety of ways using the buttons on the Home
tab of the Ribbon.
19
20.
20
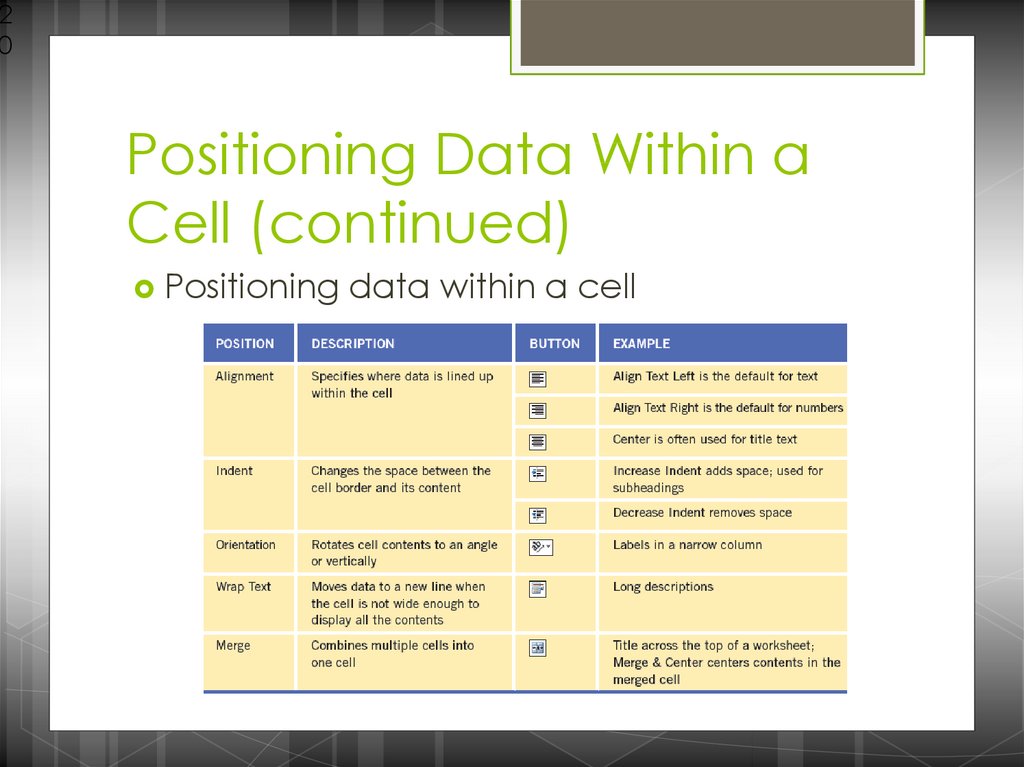
Positioning Data Within a
Cell (continued)
Positioning
data within a cell
21.
21
Positioning Data Within a
Cell (continued)
You
can align the contents of a cell horizontally
and vertically within the cell. To change the
alignment of a cell, select the cell and then
click an alignment button on the Home tab.
You
can also merge cells which combines them
into one cell.
Indent
data within cells by using the Increase
Indent and Decrease Indent buttons on the
Home tab.
21
22.
22
Inserting and Deleting Rows,
Columns, and Cells
To
insert a row, click the row heading to select
the row where you want the new row to
appear. Then, click the Insert button on the
Home tab.
To
insert a column, click the column heading to
select the column where you want the new
column to appear. Then, click the Insert button.
22
23.
23
Inserting and Deleting Rows,
Columns, and Cells (continued)
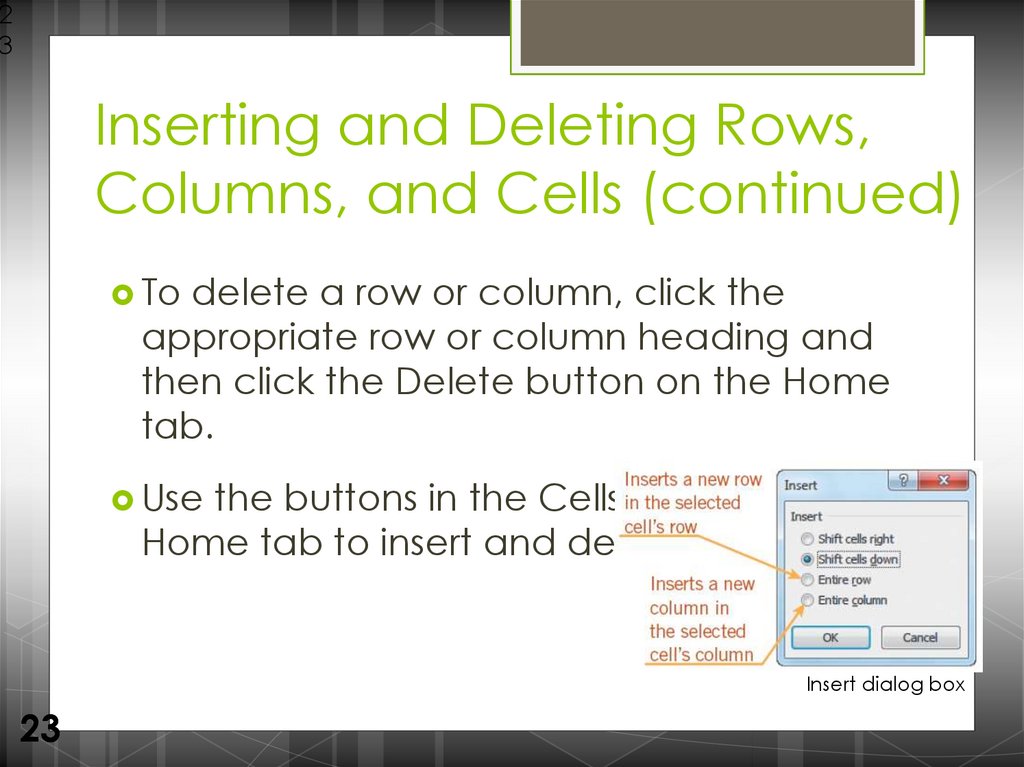
To
delete a row or column, click the
appropriate row or column heading and
then click the Delete button on the Home
tab.
Use
the buttons in the Cells group on the
Home tab to insert and delete cells.
Insert dialog box
23
24.
24
Freezing Panes in a
Worksheet
You
can view two parts of a worksheet at once
by freezing panes.
When
you freeze panes, you select which rows
and/or columns of the worksheet remain visible
on the screen as the rest of the worksheet scrolls.
24
25.
25
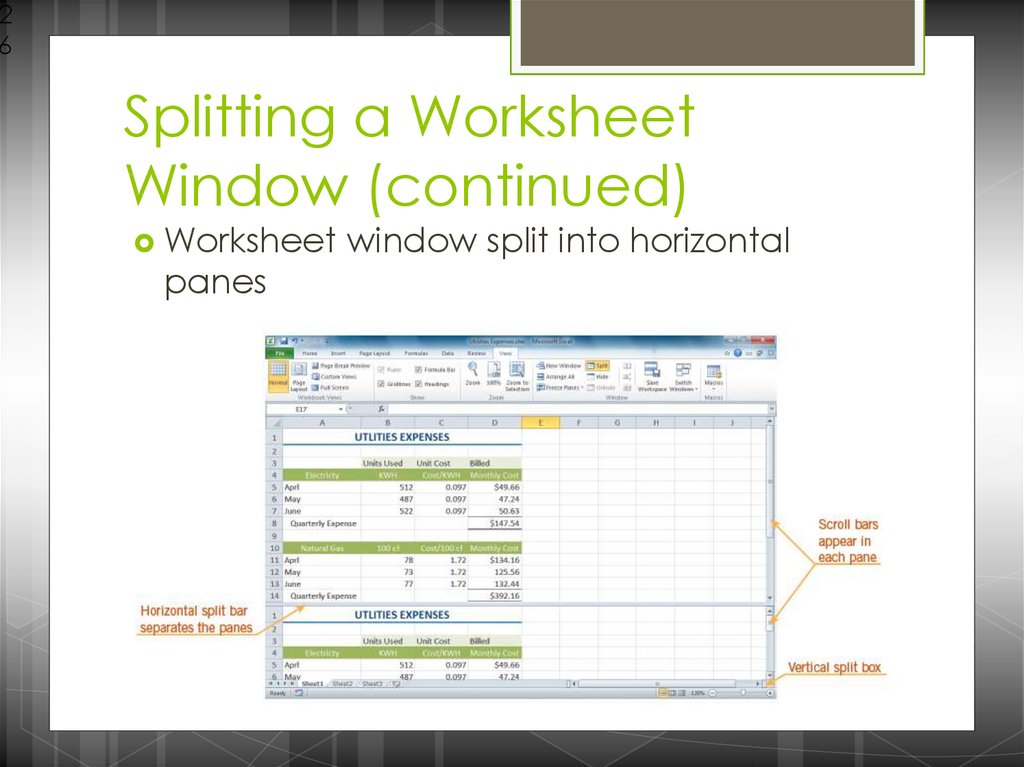
Splitting a Worksheet
Window
Splitting
divides the worksheet window into two
or four panes that you can scroll independently.
This
enables you to see different parts of a
worksheet at the same time.
25
26.
26
Splitting a Worksheet
Window (continued)
Worksheet
panes
window split into horizontal
27.
27
Preparing a Worksheet for
Printing
27
So far, you have worked in Normal view,
which is the best view for entering and
formatting data in a worksheet.
Page Layout view shows how the
worksheet will appear on paper, which is
helpful when you prepare a worksheet
for printing.
The margin is the blank space around the
top, bottom, left, and right sides of a
page.
28.
28
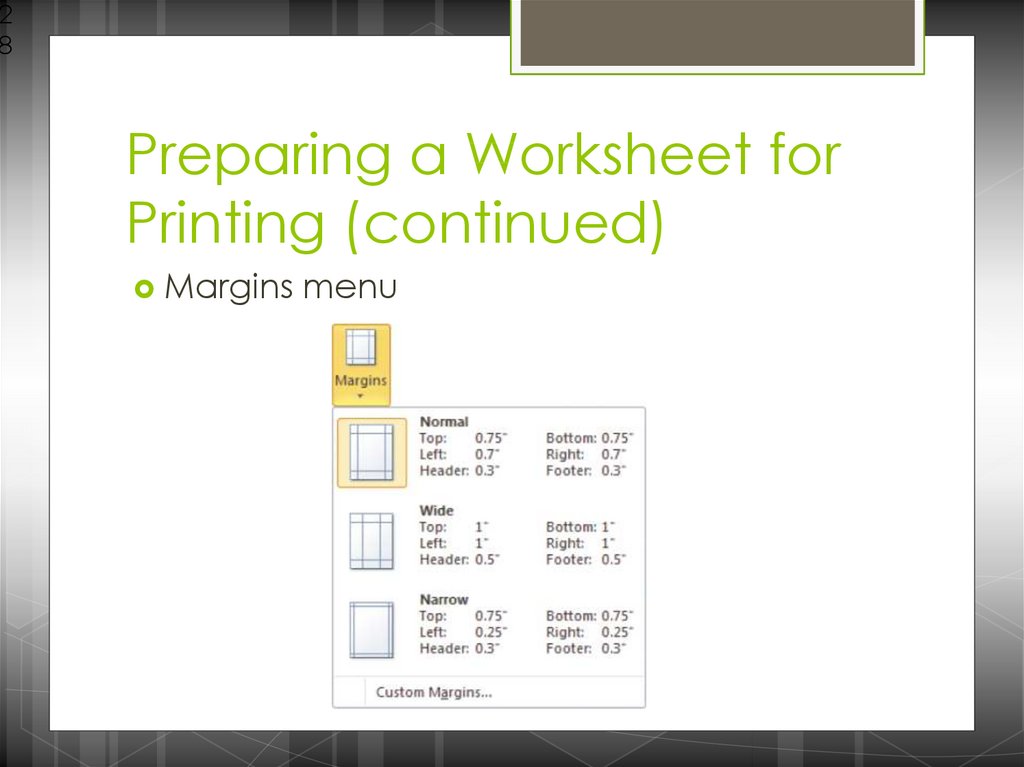
Preparing a Worksheet for
Printing (continued)
Margins
menu
29.
29
Preparing a Worksheet for
Printing (continued)
29
By default, Excel is set to print pages in
portrait orientation. Worksheets printed in
portrait orientation are longer than they
are wide. In contrast, worksheets printed
in landscape orientation are wider than
they are long.
The print area consists of the cells and
ranges designated for printing.
30.
30
Preparing a Worksheet for
Printing (continued)
30
Excel inserts an automatic page break
whenever it runs out of room on a page.
You can also insert a manual page break
to start a new page.
The simplest way to adjust page breaks is
in Page Break Preview. On the status bar,
click the Page Break Preview button to
switch to this view.
31.
31
Preparing a Worksheet for
Printing (continued)
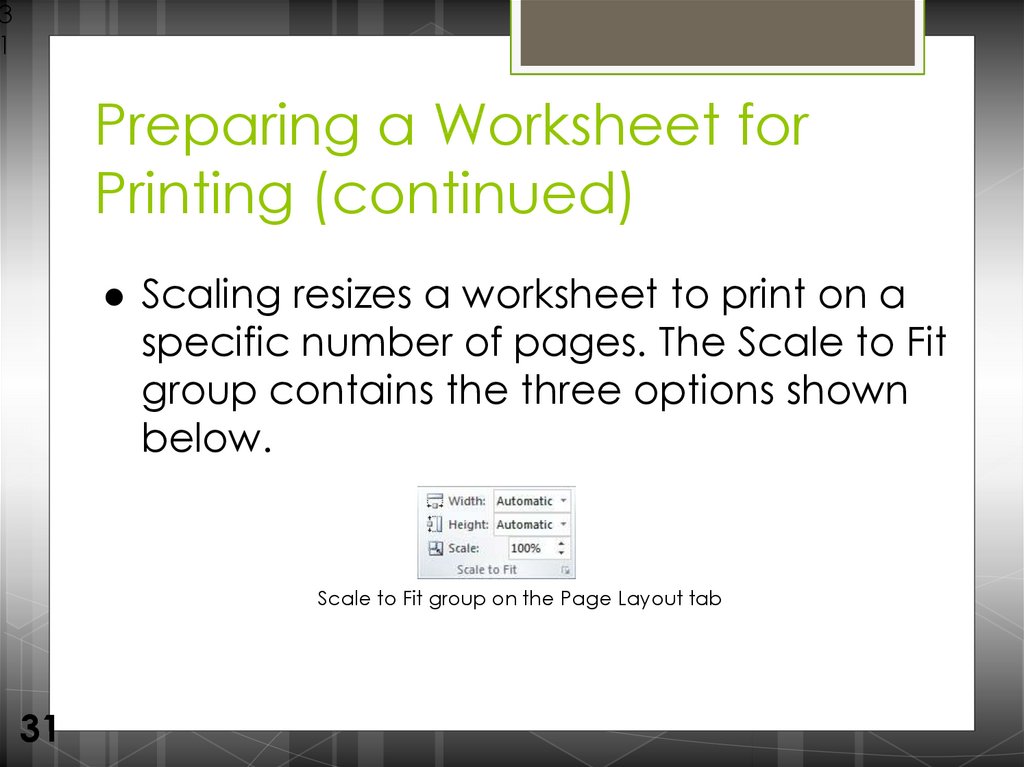
Scaling resizes a worksheet to print on a
specific number of pages. The Scale to Fit
group contains the three options shown
below.
Scale to Fit group on the Page Layout tab
31
32.
32
Preparing a Worksheet for
Printing (continued)
32
By default, gridlines, row numbers, and
column letters appear in the worksheet
but not on the printed page. You can
choose to show or hide gridlines and
headings in a worksheet or on the
printed page.
Print titles are designated rows and/or
columns in a worksheet that are printed
on each page.
33.
33
Comparing Relative, Absolute,
and Mixed Cell References
A
relative cell reference adjusts to its
new location when copied or moved
to another cell.
Absolute
cell references do not
change when copied or moved to a
new cell.
Cell
33
references that contain both
relative and absolute references are
34.
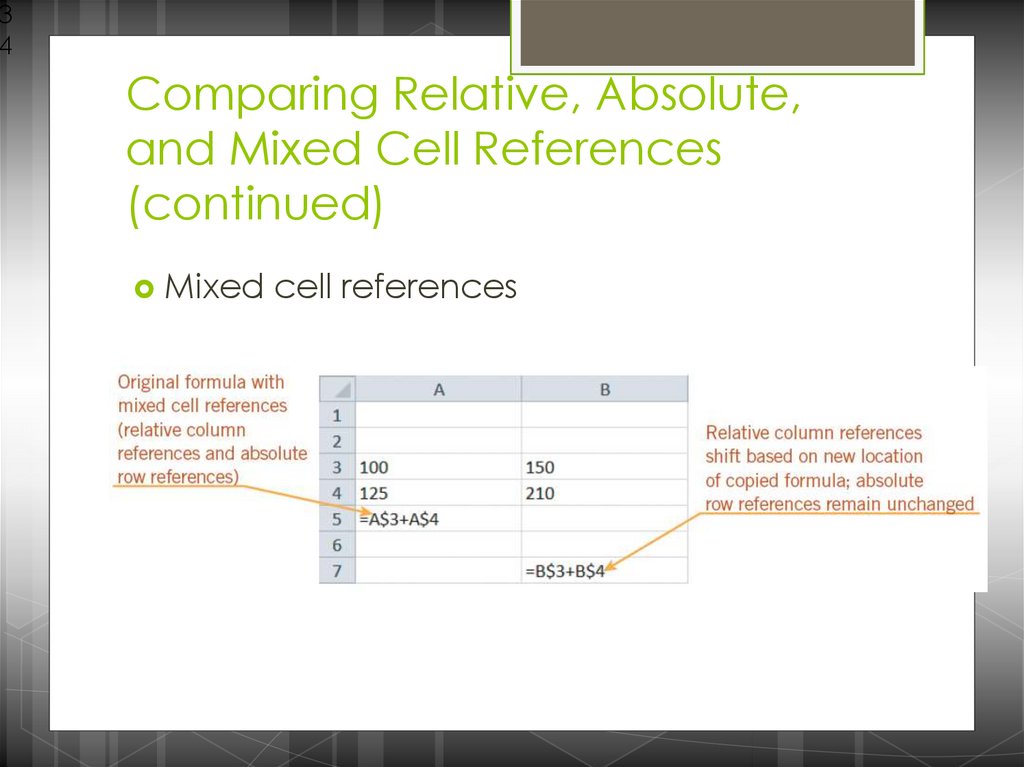
34
Comparing Relative, Absolute,
and Mixed Cell References
(continued)
Mixed
cell references