


 industry
Similar presentations:


Installation of electrical wiring
1.
Installation ofelectrical wiring
2.
Generalprovisions
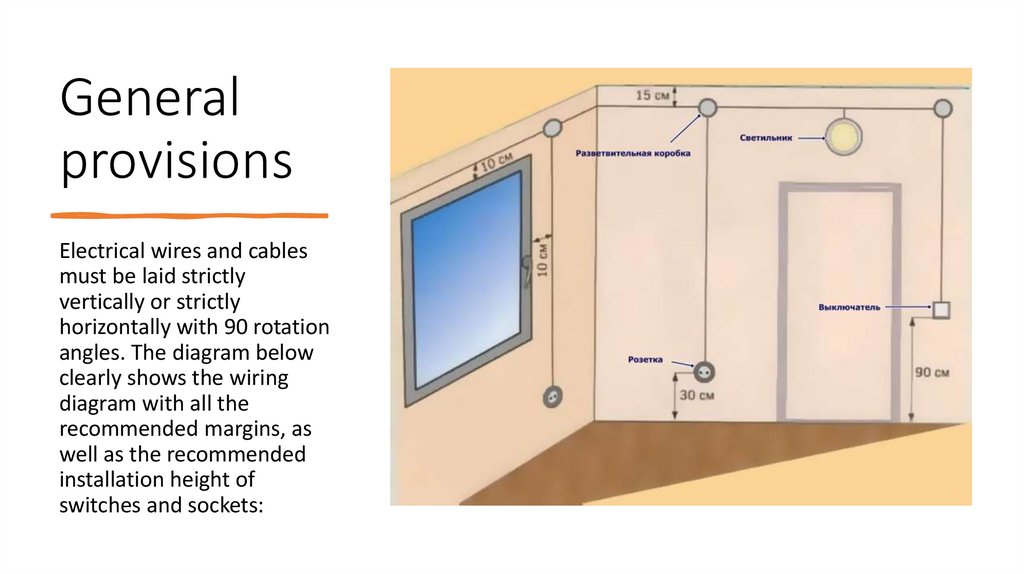
Electrical wires and cables
must be laid strictly
vertically or strictly
horizontally with 90 rotation
angles. The diagram below
clearly shows the wiring
diagram with all the
recommended margins, as
well as the recommended
installation height of
switches and sockets:
3.
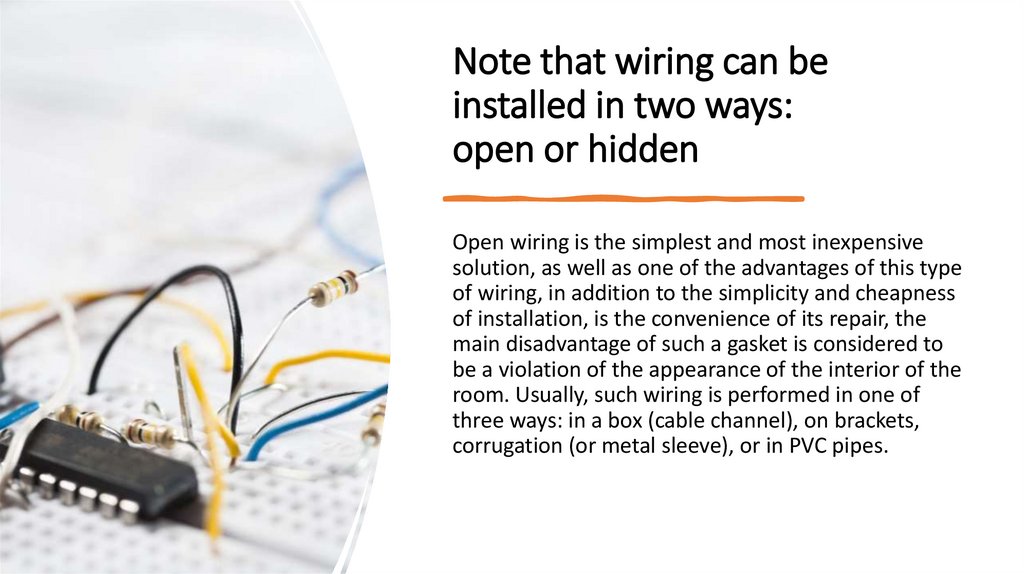
Note that wiring can beinstalled in two ways:
open or hidden
Open wiring is the simplest and most inexpensive
solution, as well as one of the advantages of this type
of wiring, in addition to the simplicity and cheapness
of installation, is the convenience of its repair, the
main disadvantage of such a gasket is considered to
be a violation of the appearance of the interior of the
room. Usually, such wiring is performed in one of
three ways: in a box (cable channel), on brackets,
corrugation (or metal sleeve), or in PVC pipes.
4.
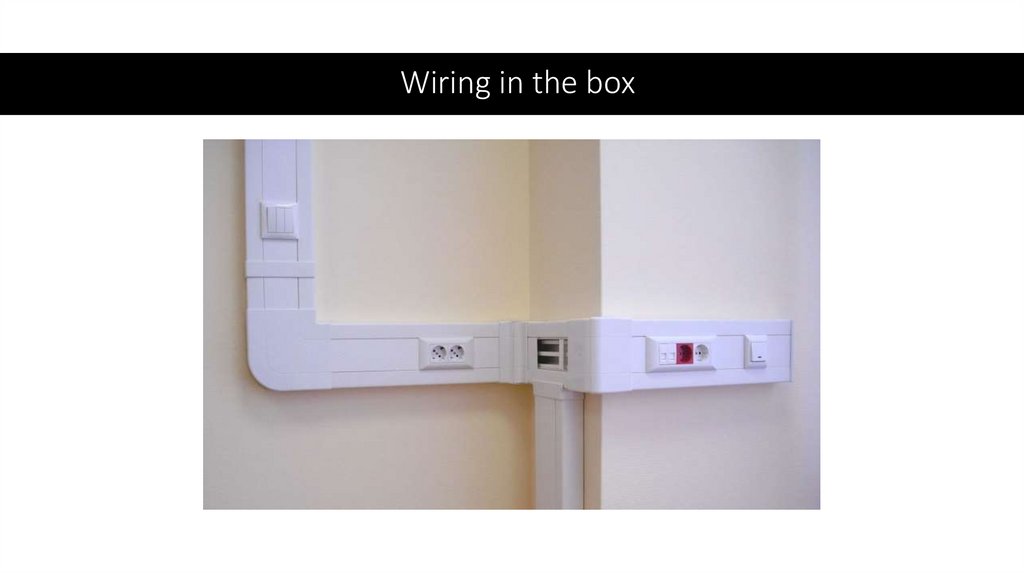
Wiring in the box5.
Wiring on brackets6.
Wiring in the corrugation7.
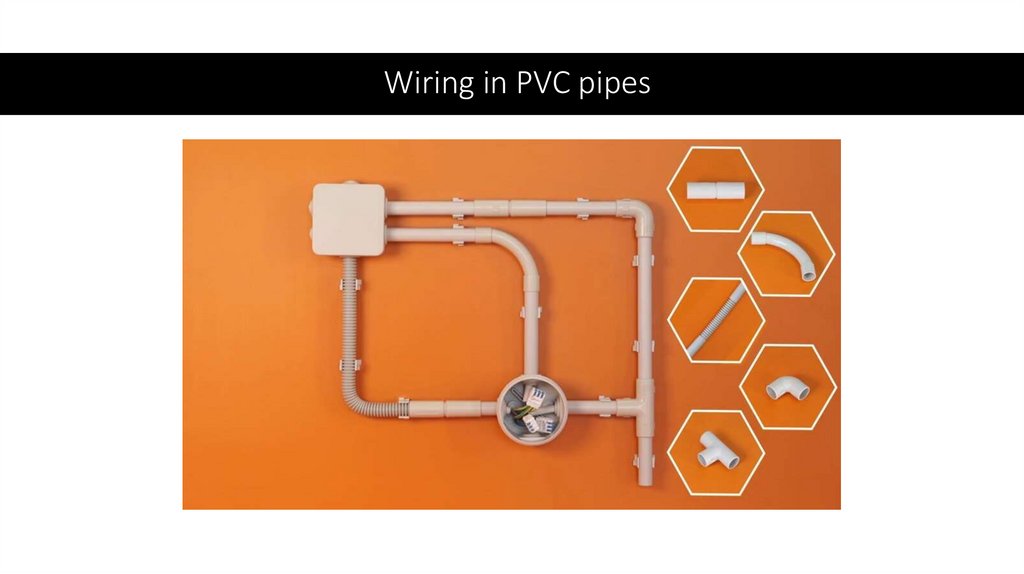
Wiring in PVC pipes8.
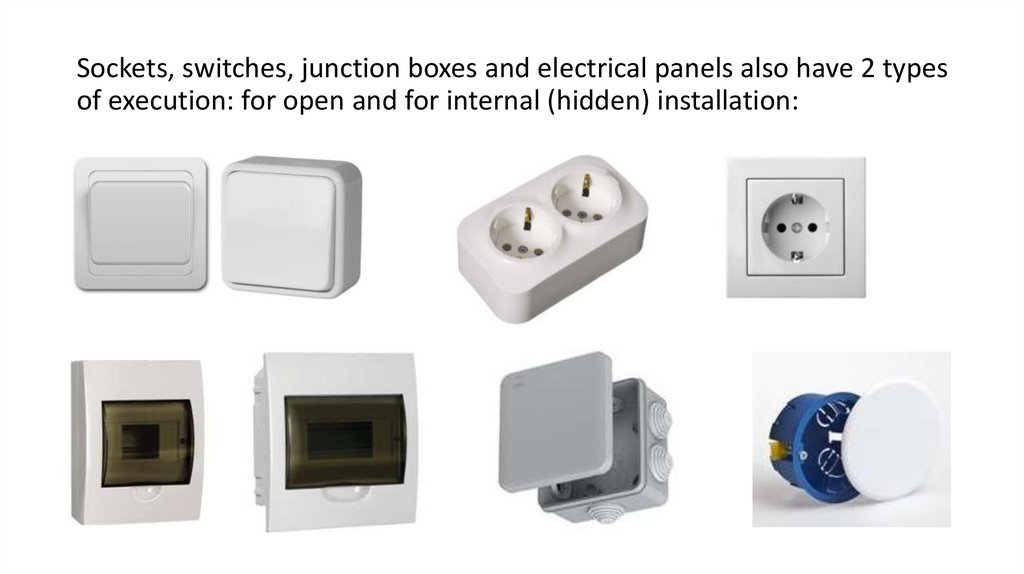
Sockets, switches, junction boxes and electrical panels also have 2 typesof execution: for open and for internal (hidden) installation:
9.
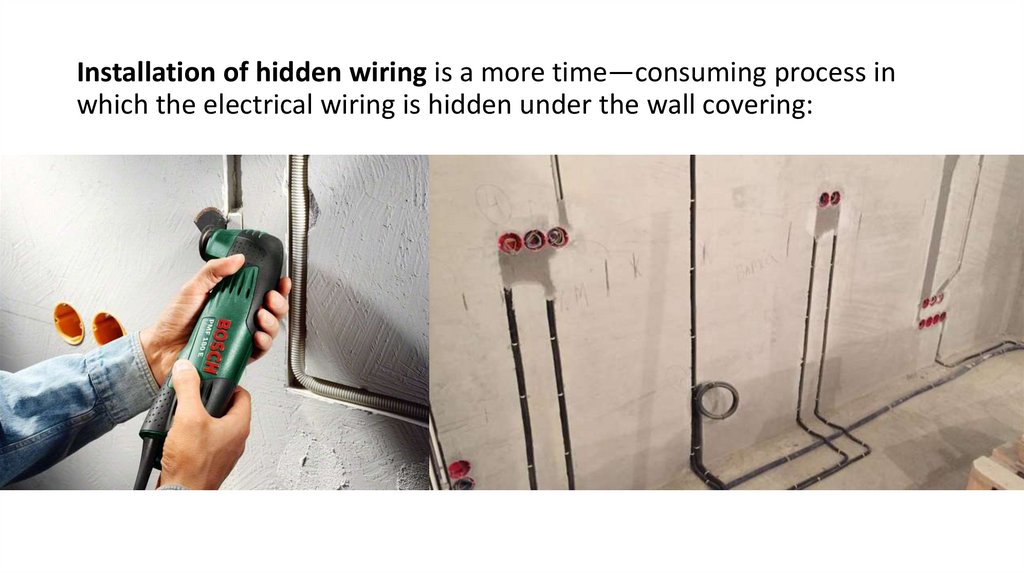
Installation of hidden wiring is a more time—consuming process inwhich the electrical wiring is hidden under the wall covering:
10.
Installationof hidden
wiring
The main advantage of this method of
wiring is the preservation of the
appearance of the interior, and in
addition, good protection of the wiring
from mechanical damage is provided
(although of course it is still possible to
drill it or pierce it with a nail by hanging a
picture). The disadvantages are the
complexity of installation and the
complexity of repairing such wiring, in
addition, this method of laying, as a rule,
is more expensive.
11.
Installation of hidden wiringSTAGE 1 Drawing up the installation scheme
STAGE 2 (Installation of hidden wiring) Drilling holes in the wall
It is necessary to start drilling holes in the wall with a diameter of 69-71
mm (standard diameter for sub-sockets) in places where we will have
switches, sockets and junction boxes installed. Drilling holes is usually
performed with a puncher (or drill) with a special crown on concrete:
12.
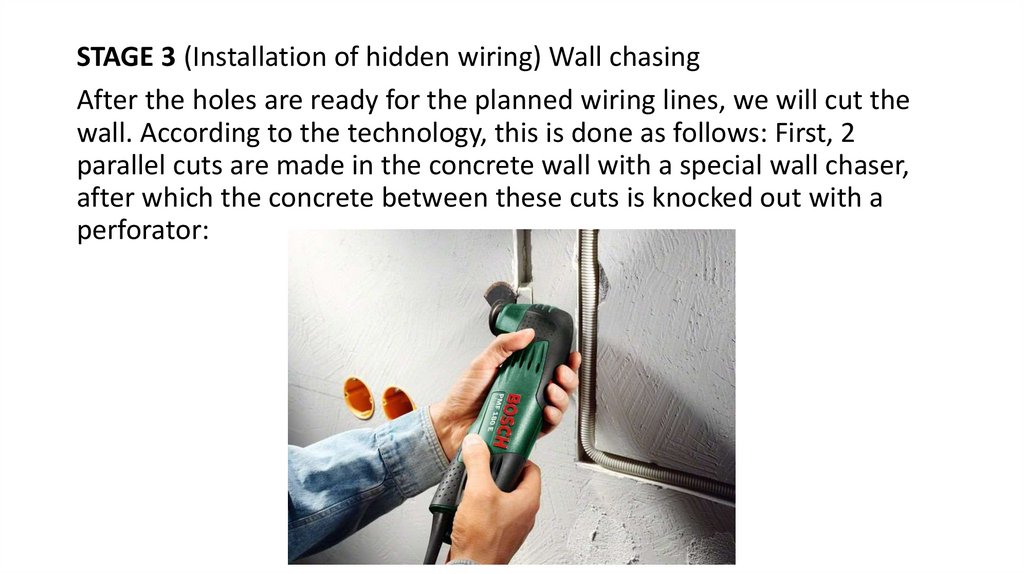
STAGE 3 (Installation of hidden wiring) Wall chasingAfter the holes are ready for the planned wiring lines, we will cut the
wall. According to the technology, this is done as follows: First, 2
parallel cuts are made in the concrete wall with a special wall chaser,
after which the concrete between these cuts is knocked out with a
perforator:
13.
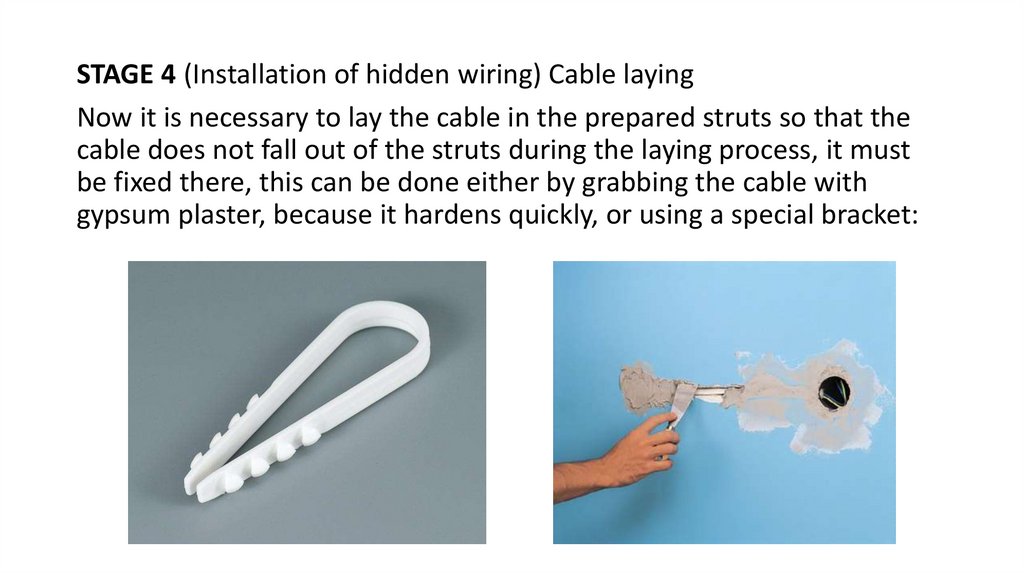
STAGE 4 (Installation of hidden wiring) Cable layingNow it is necessary to lay the cable in the prepared struts so that the
cable does not fall out of the struts during the laying process, it must
be fixed there, this can be done either by grabbing the cable with
gypsum plaster, because it hardens quickly, or using a special bracket:
14.
STAGE 5 (Installation of hidden wiring) Installation of mounting boxes15.
Installation of open wiringSTAGE 1 (general) Drawing up the installation scheme
We determine the places of installation of sockets, switches, lamps and
an electrical panel (if it is needed).
STAGE 2 (Installation of open wiring) Installation of electrical
equipment
For convenience, installation of open wiring is recommended to start
with the installation of sockets, switches, junction boxes and an
electrical panel.
STAGE 3 (Installation of open wiring) Installation of boxes (cable
channels), laying of cables.
16.
Staples (clips) for fixing cables are plastic ofdifferent sizes, designed for certain types
and sizes of cables:
Also, staples can be universal: