


 software
Similar presentations:


The easiest way to make characters in Blender
1.
003C2The easiest way to make
characters in Blender
003C2_Easiest way to make characters
in blender
Note: The information in this document has not undergone full
testing. It is possible unexpected results may occur.
2.
OverviewThis manual is designed for people who were
still confused after reading the 003C Blender
manual.
Creating an entire character from scratch is
rather time and labor intensive. However
inserting a model is relatively simple.
This manual is more simple than the ones for
MAYA, Softimage or 3ds Max.
3.
Createflow
簡単
Your original char data
Put animation by
trans and rot (=FK)
Export dae
fmdl
Export dotXSI
fskl
Export dotXSI
fmot
Adding a character who's look you designed is easy!
* No need to worry about shaders
* No need to worry about skeletons
* Just using whatever data you created will work
Your char
On EF-12
4.
Advantages & DrawbacksAdvantages
Don’t need to worry about shaders & materials
The skeleton shape is up to you
Only requires one model weighted bones to work
Drawbacks
It won’t look that good
You will have to make motions for your bone setup
※minimum number of motion is 10.
You can download minimum motion sample here:
[DOWNLOAD]>[MISC]>[Minimum Fightstyle package]
5.
Explanation using SampleWe’ll use a dog-like model for this example. Thanks to @fsfs_hri for
the help!
6.
Necessary specificationWhen creating a model, all bone rolls must be set to 0.
Otherwise this can cause problems when making
motions.
7.
Install addon for BlenderWe provide an exporter add-on for Blender. Go to the
official site and navigate to [download] > [Tool and
converter] to get it for free.
- How to install
You need to install the addon for it to work.
You can run it from a Text editor, but you won’t be able to quit.
・Installing automatically
File >User Preferences > Addons tab > Install from File
select [ef12_model_export.py]
・ Manual installation
put [ef12_model_export.py] in the 2.66/scripts/addons folder of your
Blender installation
8.
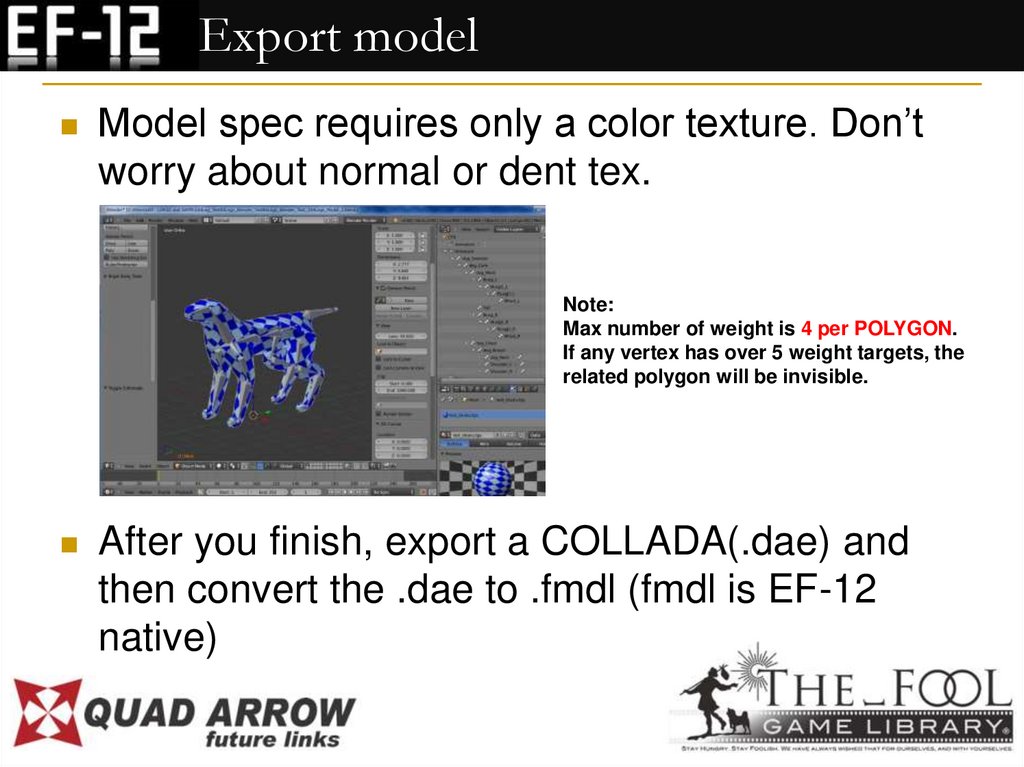
Export modelModel spec requires only a color texture. Don’t
worry about normal or dent tex.
Note:
Max number of weight is 4 per POLYGON.
If any vertex has over 5 weight targets, the
related polygon will be invisible.
After you finish, export a COLLADA(.dae) and
then convert the .dae to .fmdl (fmdl is EF-12
native)
9.
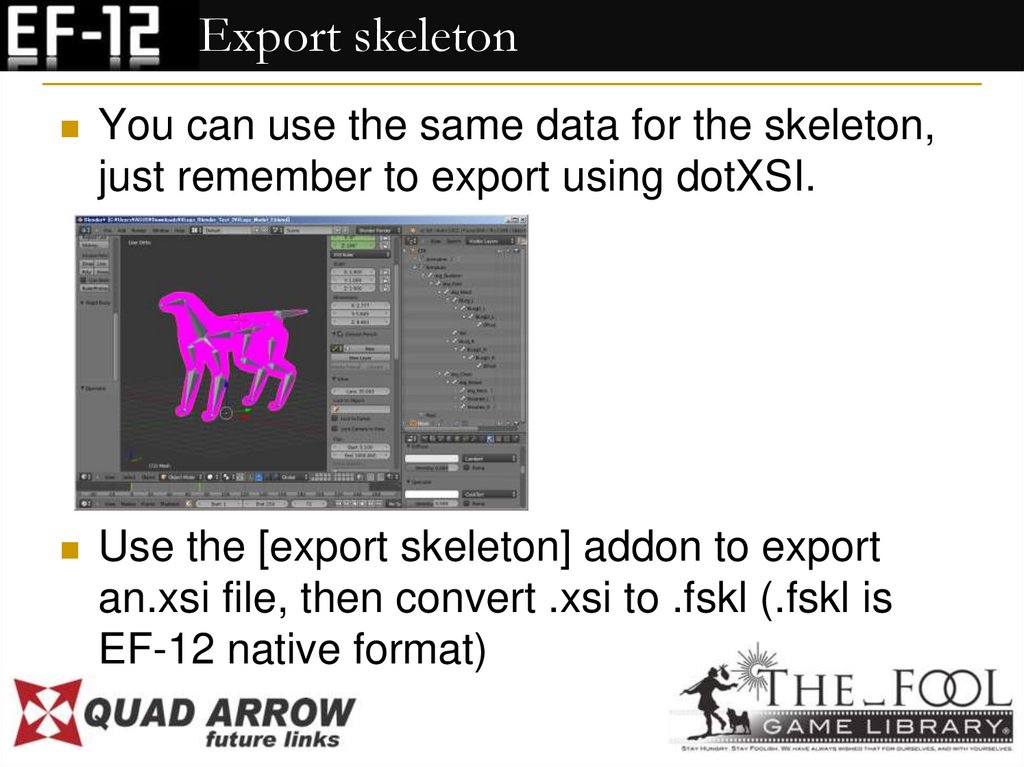
Export skeletonYou can use the same data for the skeleton,
just remember to export using dotXSI.
Use the [export skeleton] addon to export
an.xsi file, then convert .xsi to .fskl (.fskl is
EF-12 native format)
10.
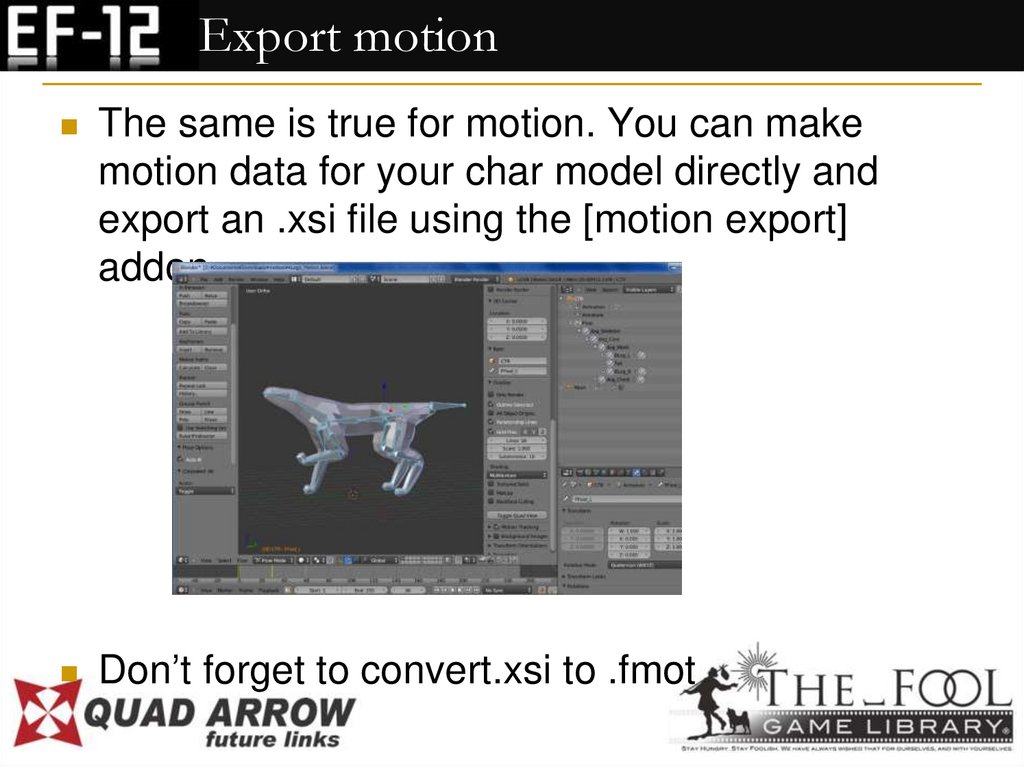
Export motionThe same is true for motion. You can make
motion data for your char model directly and
export an .xsi file using the [motion export]
addon.
Don’t forget to convert.xsi to .fmot
11.
Check on foolviewerPut the three files in foolviewer and run.
→to Model folder
fmdl
fskl
fmot
→to Skeleton folder
→to Motion folder
→ choose these files
using the in-viewer menu.
That’s it!
12.
NoteIf you hope to get more detail, see official website. [HOW
TO CREATE]>[Character Model]>[Create model by
Blender].http://ef-12.com/?page_id=2281(Currently in Japanese)
This manual is the most simple but the quality level is
limited. Think Dreamcast graphics.
13.
…one more thing!We recommend adding more schematics to
your character model (see next slide).
If you handled this guide up to now, you
should be fine!
14.
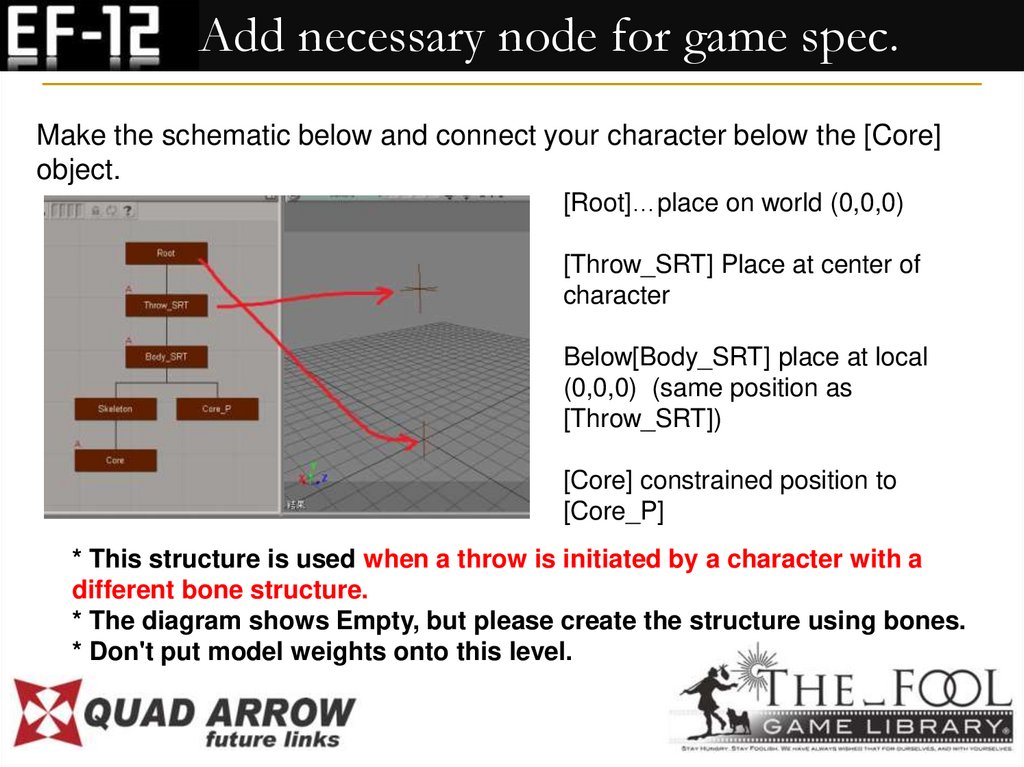
Add necessary node for game spec.Make the schematic below and connect your character below the [Core]
object.
[Root]…place on world (0,0,0)
[Throw_SRT] Place at center of
character
Below[Body_SRT] place at local
(0,0,0) (same position as
[Throw_SRT])
[Core] constrained position to
[Core_P]
* This structure is used when a throw is initiated by a character with a
different bone structure.
* The diagram shows Empty, but please create the structure using bones.
* Don't put model weights onto this level.