
 english
Similar presentations:


Quiver
1.
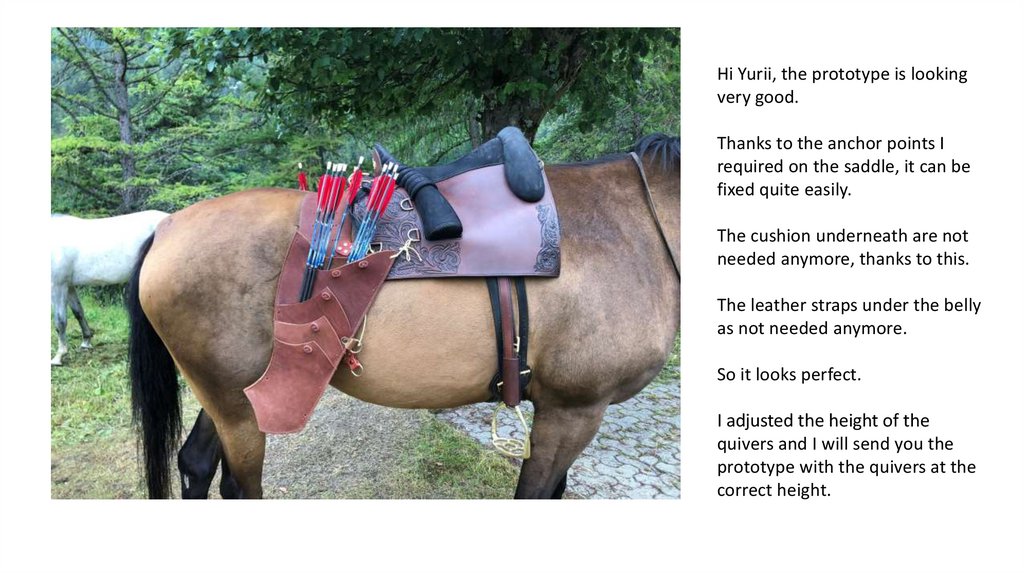
Hi Yurii, the prototype is lookingvery good.
Thanks to the anchor points I
required on the saddle, it can be
fixed quite easily.
The cushion underneath are not
needed anymore, thanks to this.
The leather straps under the belly
as not needed anymore.
So it looks perfect.
I adjusted the height of the
quivers and I will send you the
prototype with the quivers at the
correct height.
2.
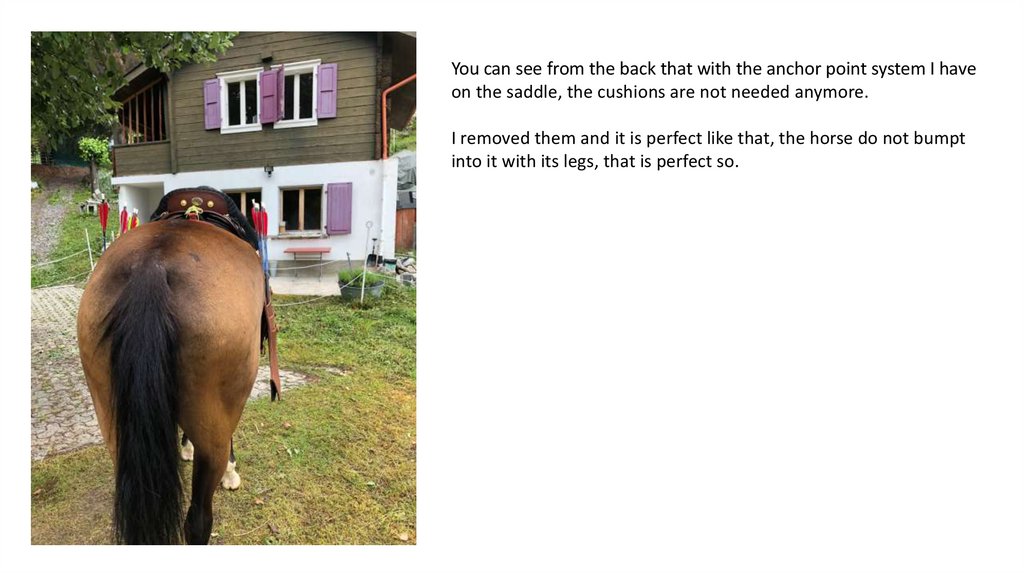
You can see from the back that with the anchor point system I haveon the saddle, the cushions are not needed anymore.
I removed them and it is perfect like that, the horse do not bumpt
into it with its legs, that is perfect so.
3.
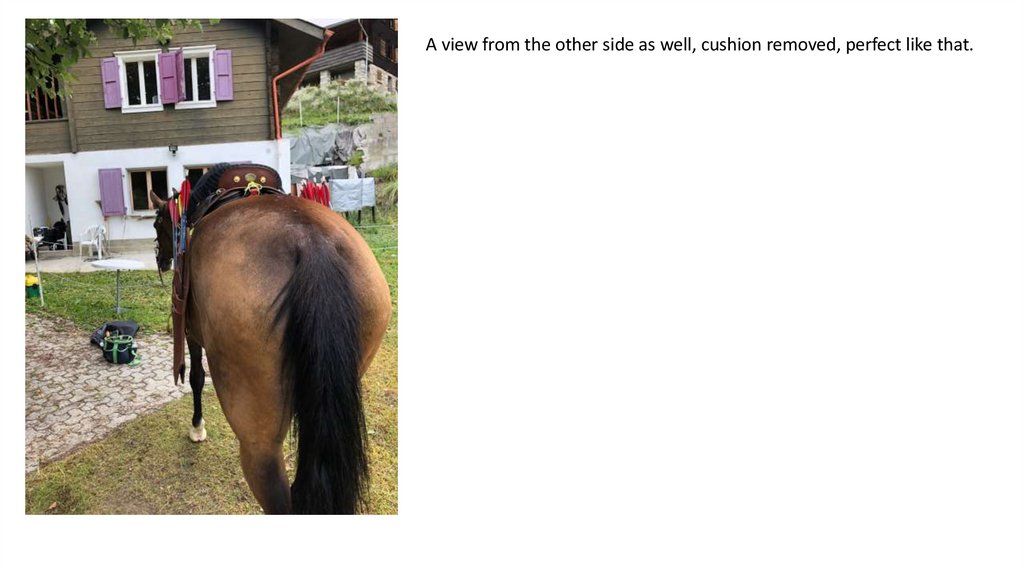
A view from the other side as well, cushion removed, perfect like that.4.
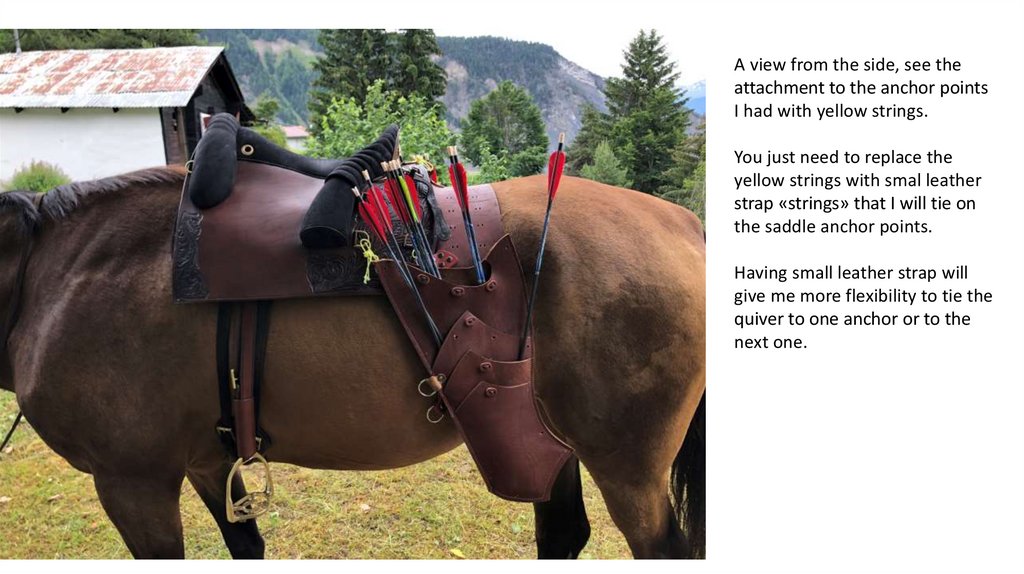
A view from the side, see theattachment to the anchor points
I had with yellow strings.
You just need to replace the
yellow strings with smal leather
strap «strings» that I will tie on
the saddle anchor points.
Having small leather strap will
give me more flexibility to tie the
quiver to one anchor or to the
next one.
5.
You see here the anchor points.I tie the suspension belt always on
anchor 1, it does not change.
However, I may use anchor 2 or 3 to
attach the quiver, depending on the
horse.
3
With my brown horse that you see
on the picture, I tie the quiver to
the anchor point number 1.
2
1
With my grey horse, I saw that I
needed to tie the quiver to the
anchor point number 2, to avoid too
much moving of the quiver when
riding.
Therefore, its important to keep this
flexibility. So on your side, you just
need to attach leather strings
(strap) to replace the yellow strings.
6.
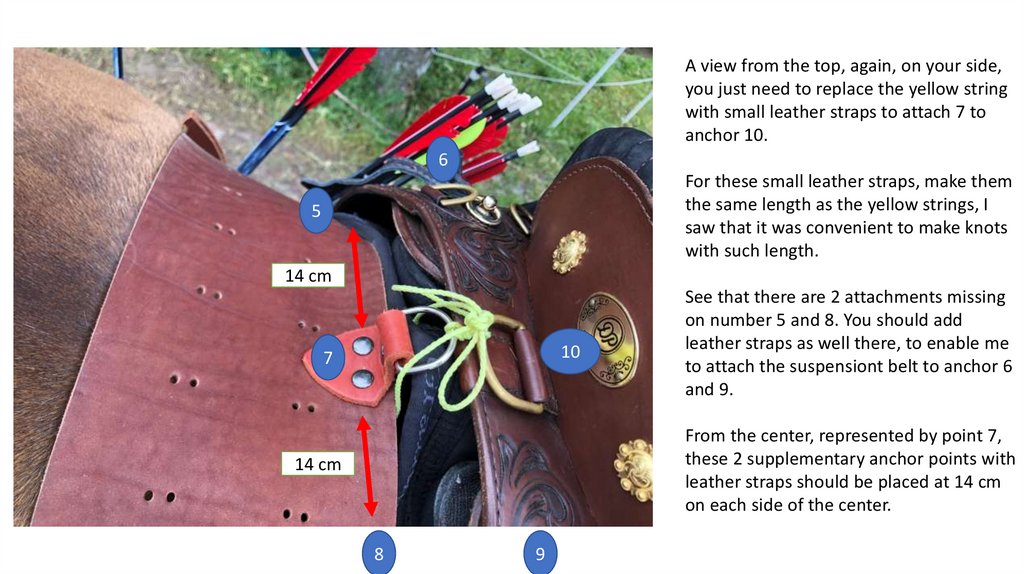
A view from the top, again, on your side,you just need to replace the yellow string
with small leather straps to attach 7 to
anchor 10.
6
For these small leather straps, make them
the same length as the yellow strings, I
saw that it was convenient to make knots
with such length.
5
14 cm
10
7
See that there are 2 attachments missing
on number 5 and 8. You should add
leather straps as well there, to enable me
to attach the suspensiont belt to anchor 6
and 9.
From the center, represented by point 7,
these 2 supplementary anchor points with
leather straps should be placed at 14 cm
on each side of the center.
14 cm
8
9
7.
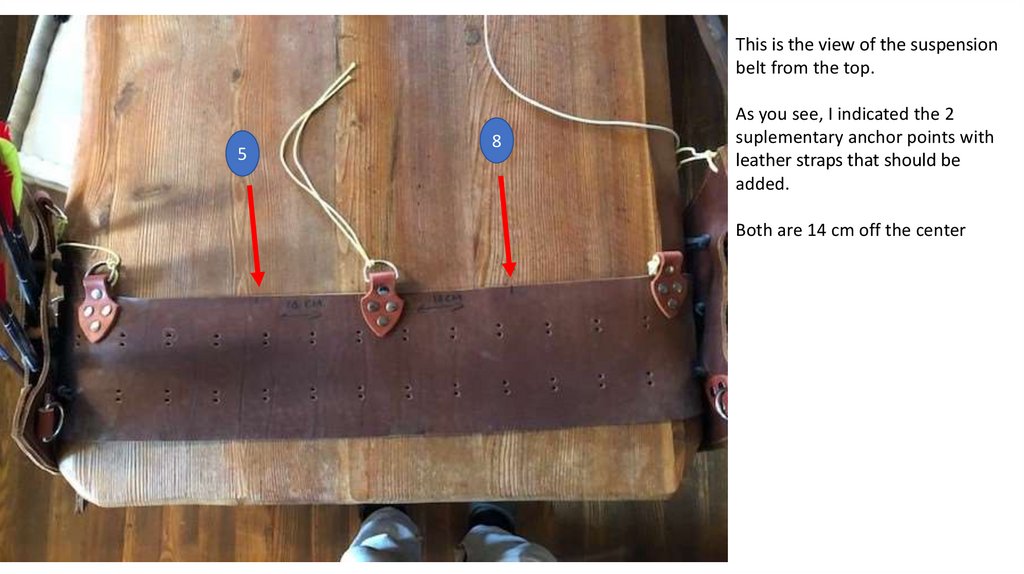
This is the view of the suspensionbelt from the top.
5
8
As you see, I indicated the 2
suplementary anchor points with
leather straps that should be
added.
Both are 14 cm off the center
8.
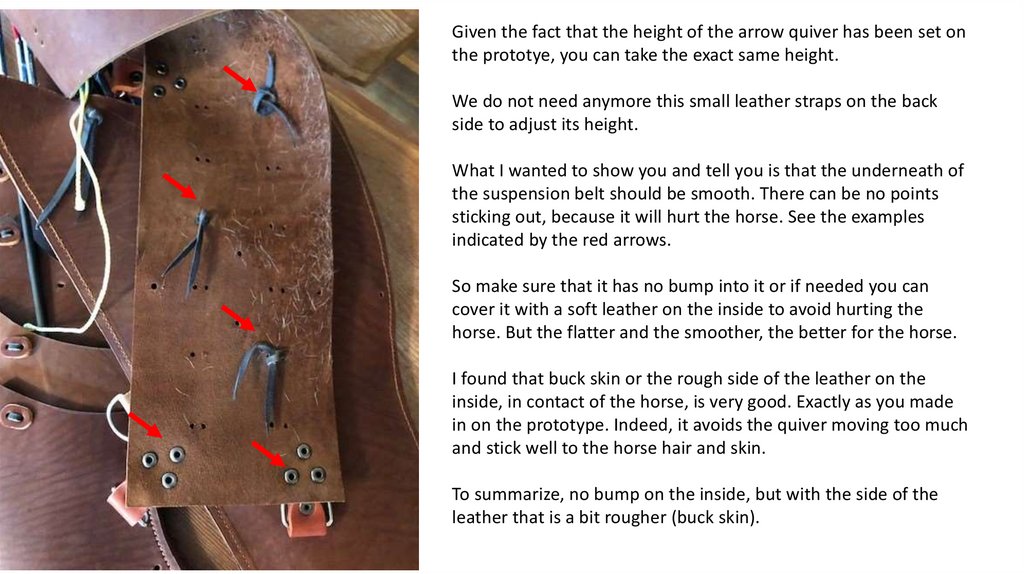
Given the fact that the height of the arrow quiver has been set onthe prototye, you can take the exact same height.
We do not need anymore this small leather straps on the back
side to adjust its height.
What I wanted to show you and tell you is that the underneath of
the suspension belt should be smooth. There can be no points
sticking out, because it will hurt the horse. See the examples
indicated by the red arrows.
So make sure that it has no bump into it or if needed you can
cover it with a soft leather on the inside to avoid hurting the
horse. But the flatter and the smoother, the better for the horse.
I found that buck skin or the rough side of the leather on the
inside, in contact of the horse, is very good. Exactly as you made
in on the prototype. Indeed, it avoids the quiver moving too much
and stick well to the horse hair and skin.
To summarize, no bump on the inside, but with the side of the
leather that is a bit rougher (buck skin).
9.
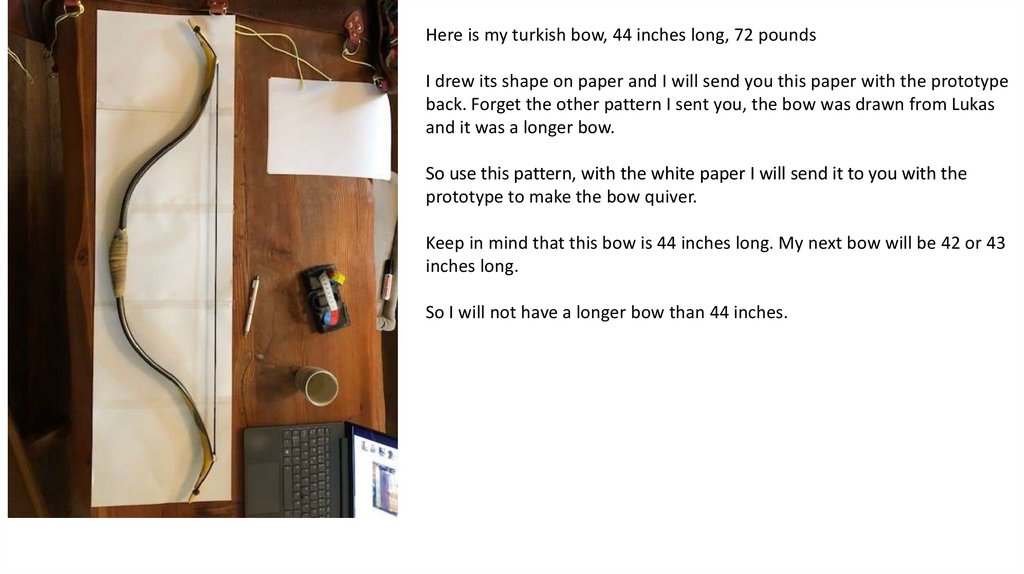
Here is my turkish bow, 44 inches long, 72 poundsI drew its shape on paper and I will send you this paper with the prototype
back. Forget the other pattern I sent you, the bow was drawn from Lukas
and it was a longer bow.
So use this pattern, with the white paper I will send it to you with the
prototype to make the bow quiver.
Keep in mind that this bow is 44 inches long. My next bow will be 42 or 43
inches long.
So I will not have a longer bow than 44 inches.
10.
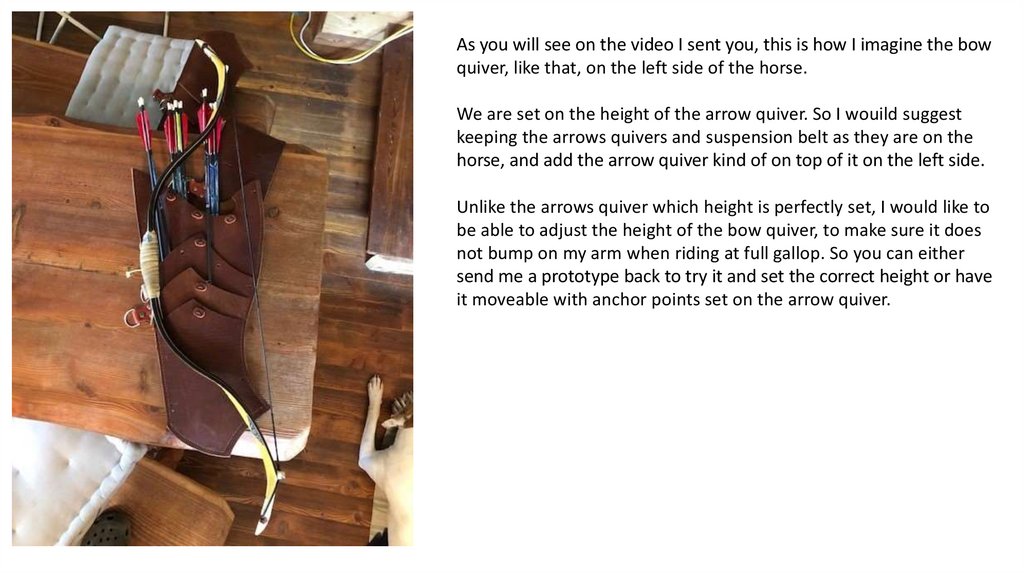
As you will see on the video I sent you, this is how I imagine the bowquiver, like that, on the left side of the horse.
We are set on the height of the arrow quiver. So I wouild suggest
keeping the arrows quivers and suspension belt as they are on the
horse, and add the arrow quiver kind of on top of it on the left side.
Unlike the arrows quiver which height is perfectly set, I would like to
be able to adjust the height of the bow quiver, to make sure it does
not bump on my arm when riding at full gallop. So you can either
send me a prototype back to try it and set the correct height or have
it moveable with anchor points set on the arrow quiver.
11.
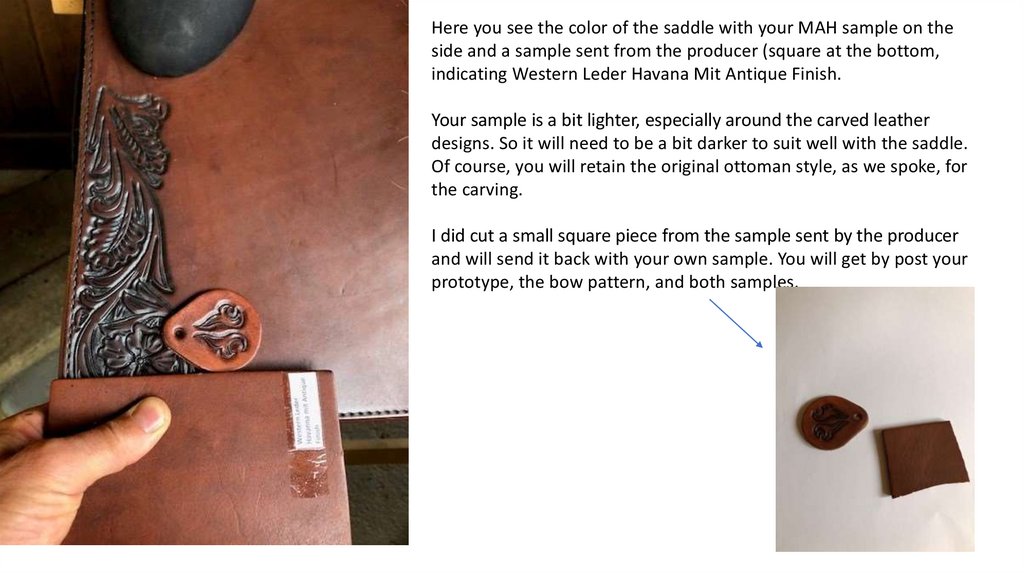
Here you see the color of the saddle with your MAH sample on theside and a sample sent from the producer (square at the bottom,
indicating Western Leder Havana Mit Antique Finish.
Your sample is a bit lighter, especially around the carved leather
designs. So it will need to be a bit darker to suit well with the saddle.
Of course, you will retain the original ottoman style, as we spoke, for
the carving.
I did cut a small square piece from the sample sent by the producer
and will send it back with your own sample. You will get by post your
prototype, the bow pattern, and both samples.
12.
Thank you for your great work Yurii. I will for sure send some picture to Lukas with his bow, when finished ;)Do not hesitate to ask me, if any questions.
Take care,
Best,
Manu