Similar presentations:
Technical English. Vocabulary
1. Unit 1: Drawings Dr. Basil Hamed Technical English Islamic University of Gaza February, 2017
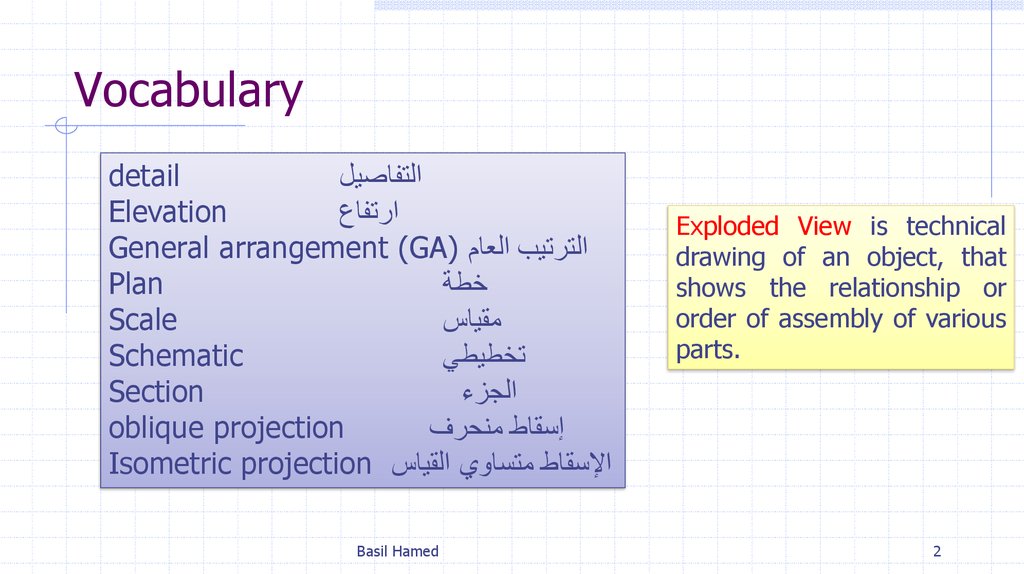
2. Vocabulary
detailالتفاصيل
Elevation
ارتفاع
General arrangement (GA) الترتيب العام
Plan
خطة
Scale
مقياس
Schematic
تخطيطي
Section
الجزء
oblique projection
إسقاط منحرف
Isometric projection اإلسقاط متساوي القياس
Basil Hamed
Exploded View is technical
drawing of an object, that
shows the relationship or
order of assembly of various
parts.
2
3. Outline
A. Drawing types and scalesB. Types of views used on drawings
4. A. Drawing types and scales
In engineering, most design information is shown on drawings.Today, drawings are generally not drawn by hand. They are
produced on computer, using CAD (computer-aided design)
systems.
Basil Hamed
4
5. A. Drawing types and scales
A key factor on a drawing is the scale - that is, the size of itemson the drawing in relation to their real size. When all the items
on a drawing are shown relative to their real size, the drawing is
drawn to scale, and can be called a scale drawing.
An example of a scale is 1:10 (one to ten). At 1:10, an object
with a length of 100 mm in real life would measure 10 mm on
the drawing.
Basil Hamed
5
6. A. Drawing types and scales
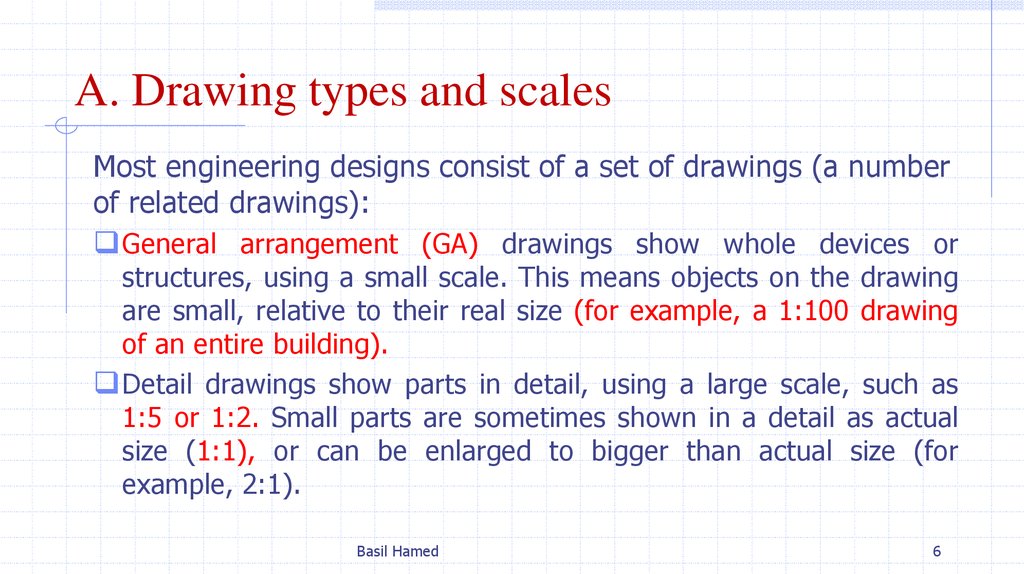
Most engineering designs consist of a set of drawings (a numberof related drawings):
General arrangement (GA) drawings show whole devices or
structures, using a small scale. This means objects on the drawing
are small, relative to their real size (for example, a 1:100 drawing
of an entire building).
Detail drawings show parts in detail, using a large scale, such as
1:5 or 1:2. Small parts are sometimes shown in a detail as actual
size (1:1), or can be enlarged to bigger than actual size (for
example, 2:1).
Basil Hamed
6
7. A. Drawing types and scales
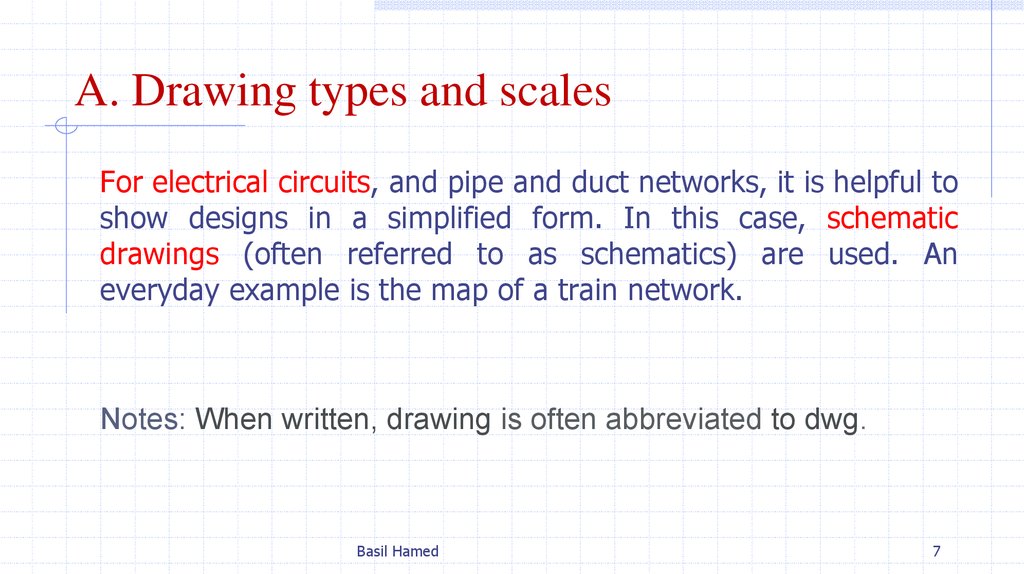
For electrical circuits, and pipe and duct networks, it is helpful toshow designs in a simplified form. In this case, schematic
drawings (often referred to as schematics) are used. An
everyday example is the map of a train network.
Notes: When written, drawing is often abbreviated to dwg.
Basil Hamed
7
8. B. Types of views used on drawings
Technicians are discussing different views shown on drawings(looking at components from above, from the side, etc.), as they
search for the information they require.
We need a view from above showing -the general arrangement
of all of -the roof panels - a plan of -the whole area.
According "to this list, -there are of all elevation four sides of the machine on drawing 28. So one of Those should show the
front of the machine.
Basil Hamed
8
9. B. Types of views used on drawings
There should be a section Through the pipe, showingthe valve Inside, on drawing 36.
We need an exploded view of -the mechanism,
showing -the components spaced out.
It's hard "to visualize This assembly, based on twodimensional elevations and sections. It would be
clearer if we had a three-dimensional view, as either
an oblique projection or an Isometric projection.
Basil Hamed
9
10. Appendix I Three-dimensional drawings
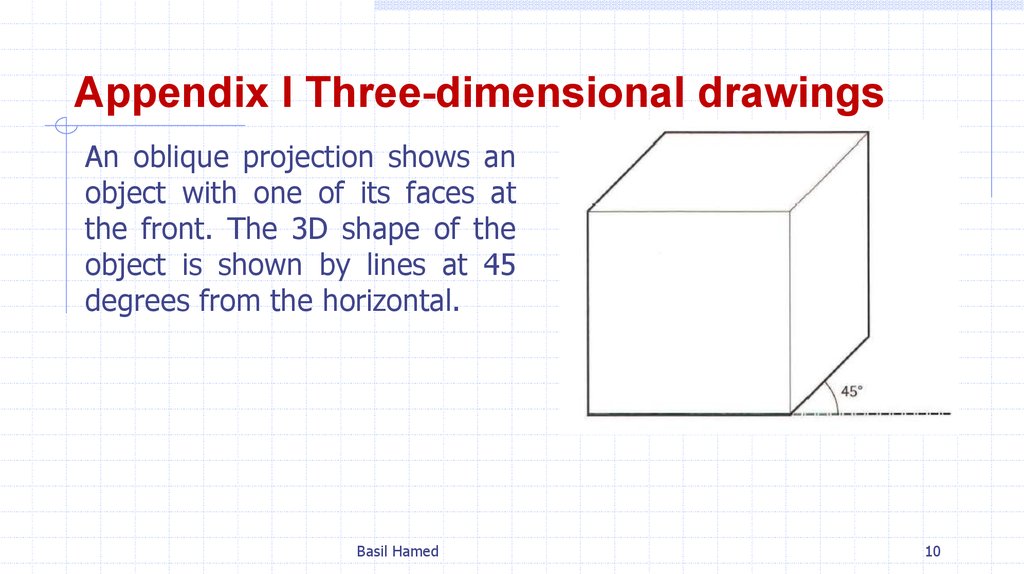
An oblique projection shows anobject with one of its faces at
the front. The 3D shape of the
object is shown by lines at 45
degrees from the horizontal.
Basil Hamed
10
11. Appendix I Three-dimensional drawings
An isometric projectionshows an object with one
of its corners at the front.
The 3D shape of the
object is shown by lines at
30 degrees from the
horizontal.
Basil Hamed
11
12. Appendix I Three-dimensional drawings
An exploded view shows an assembly with its componentsspaced out, to show how the components fit together.
Basil Hamed
12
13. Exercise
1.1 Complete the sentences. Look at A opposite to help you1. Enlarged drawings show components larger than their ........... .
2 For engineering drawings, 1:5 is a commonly used ..........................
3 Whole machines or structures are shown on ............................ drawings.
4 Electrical drawings don't usually show sizes. They're shown as ............. .
5 A ......................... of drawings for a large project can consist of hundreds of pages.
6 Most drawings are produced on computers, using .................... software.
Basil Hamed
13
14. Exercise
1.2 Match the descriptions (1-6) with the names of views used ondrawings (a-f). Look at B opposite and Appendix I on page 98 to
help you.
Basil Hamed
14
15. Exercise
1.3 Write the full forms, in words, of the abbreviations andshortened terms below. Look at A and B opposite and Appendix I
on page 98 to help you.
1
2
3
4
5
6
Basil Hamed
general arrangement
computer-aided design
drawing
three-dimensional
cross-section
one to fifty
15
16. Exercise
1.4 Complete the sentences, taken from conversations about drawings, usingthe words and abbreviations in the box. Look at A and B opposite
1
2
3
4
5
6
7
8
Basil Hamed
section
GA
plan
elevation
3D
schematic
scale
detail
16
17.
End ofUnit One


 english


